
Everyone knows that Twixtor is the acknowledged leader in quality slow-motion effects using Premiere and After Effects. But did you know the great combination of the VuzeXR, Adobe Premiere and Twixtor Version 7?
Twixtor 7 added 360 support with optical flow tracking so that it intelligently accounts for the wraparound nature and distorted geometry of pixels at the top and the bottom of the sphere.
The bottom line is that twixtor even makes your 30fps slow motion look really good.

Here is the completely new features list as provided by RE:Vision:
- Both RSMB and Twixtor add true 360 tracking and take into account the connectedness at the edges of the 360 video representation.
- After Effects: added a feature that Twixtor will work at the composition frame rate unless otherwise specified.
- Premiere Pro: RSMB and Twixtor works in floating point color.
- An option is provided that uses the alpha channel to help tracking of dark images with mattes. This is especially useful for CG, masked and/or keyed material. This feature is available in the Pro versions of RSMB and Twixtor for After Effects, Premiere Pro and Final Cut Pro, as well as all other versions for other host programs supported.
- An option for linear footage that provides better tracking. This option was provided in some versions of Twixtor and RSMB but is now available for all hosts.
- Known issue: There is ambiguity in how to represent motion vectors in 360, so RSMB Vectors does not current support true 360 blurring.
Here is a great example. I was in Chinatown in Bangkok and found one of the world famous street vendor cooking noodles. But he was more than cooking he was engaged in performance food art. I didn’t have time to switch mu Vuze XR from 5.7K 30fps to 4k 60 fps, plus then it would not have fit well with my other footage so I shot away at 5.7k 30fps.
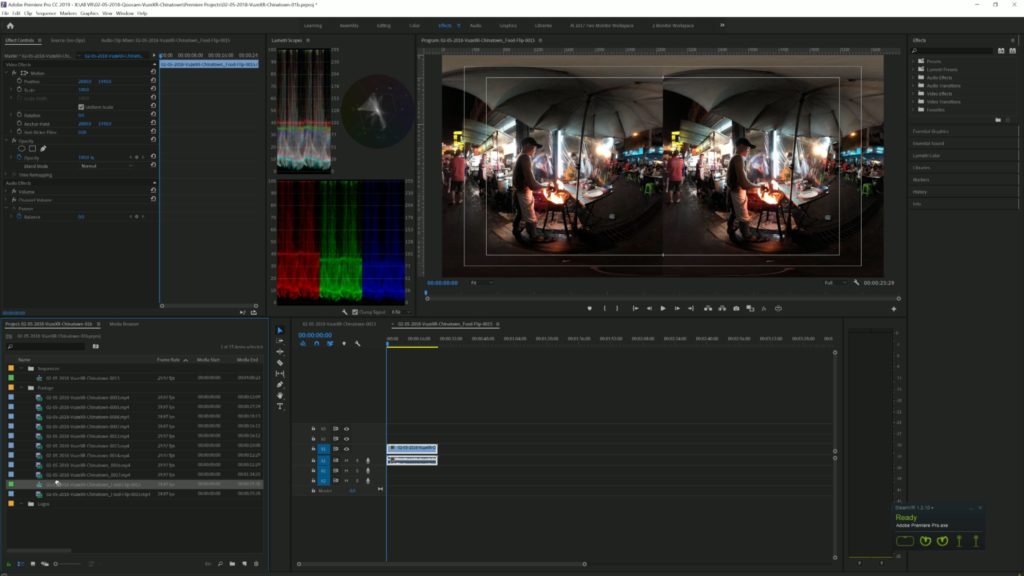
I brought the videos from that night into Premiere Pro CC 2019 and located my shot. Have a look at the original. I decided that I wanted to slow down the action by 50%.

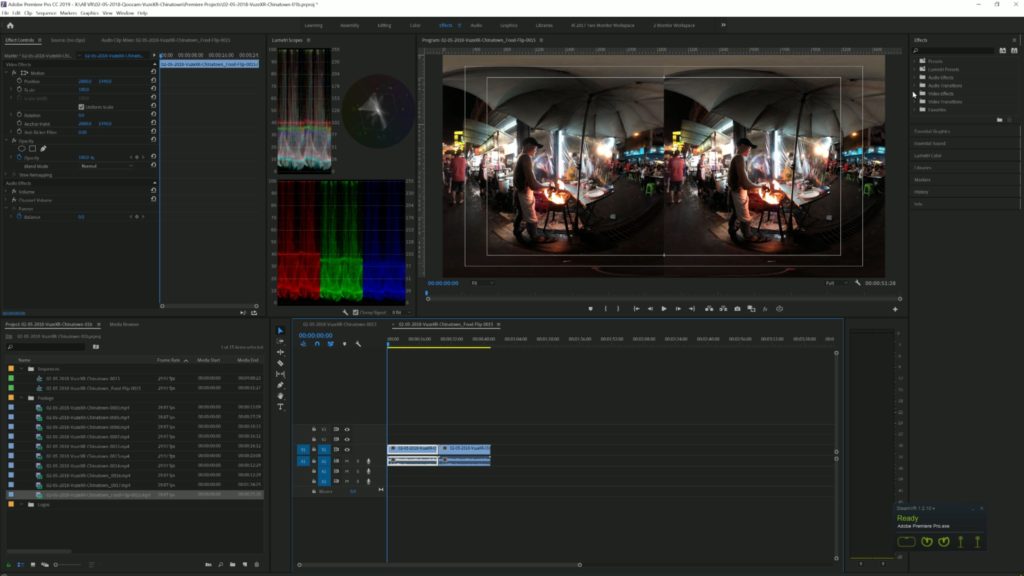
So next, I created a new sequence by dragging that clip to the new sequence icon. Because I was slowing it down by 50% I added another copy of the clip.
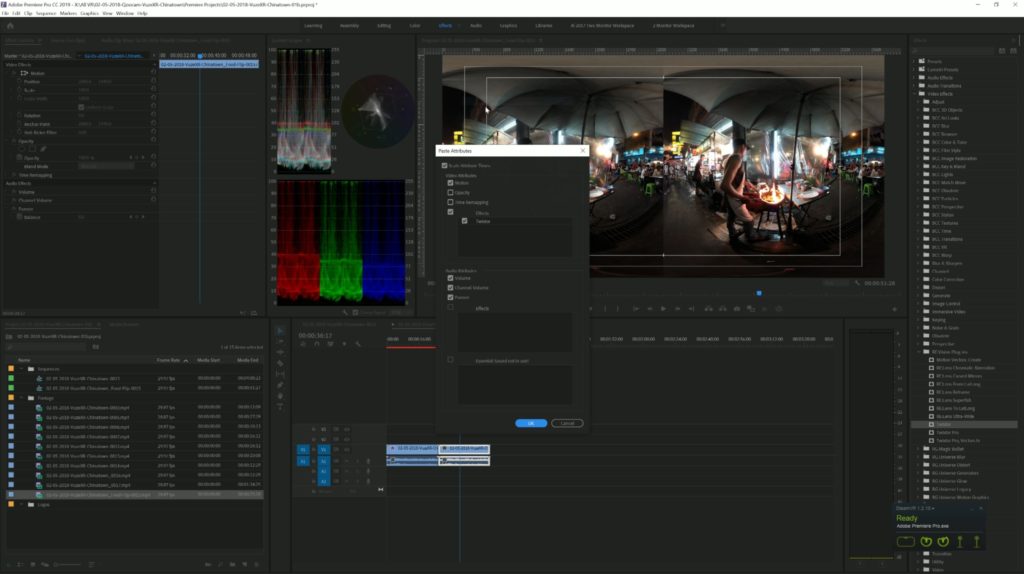
I then added Twixtor to both clips and adjusted the speed to 50%.
The last step was to then take that sequence and add it to my edit of the night sequence. So in other words, I created a nested sequence.

Here is the final version of just that clip so enjoy and be sure to add Twixtor 7 to your arsenal of video weapons!
I’ll have more tutorials coming soon for using VR180 videos in Premiere and getting them posted on your YouTube Channel. And please Subscribe to my YouTube channel and leave a comment about this tutorial.