

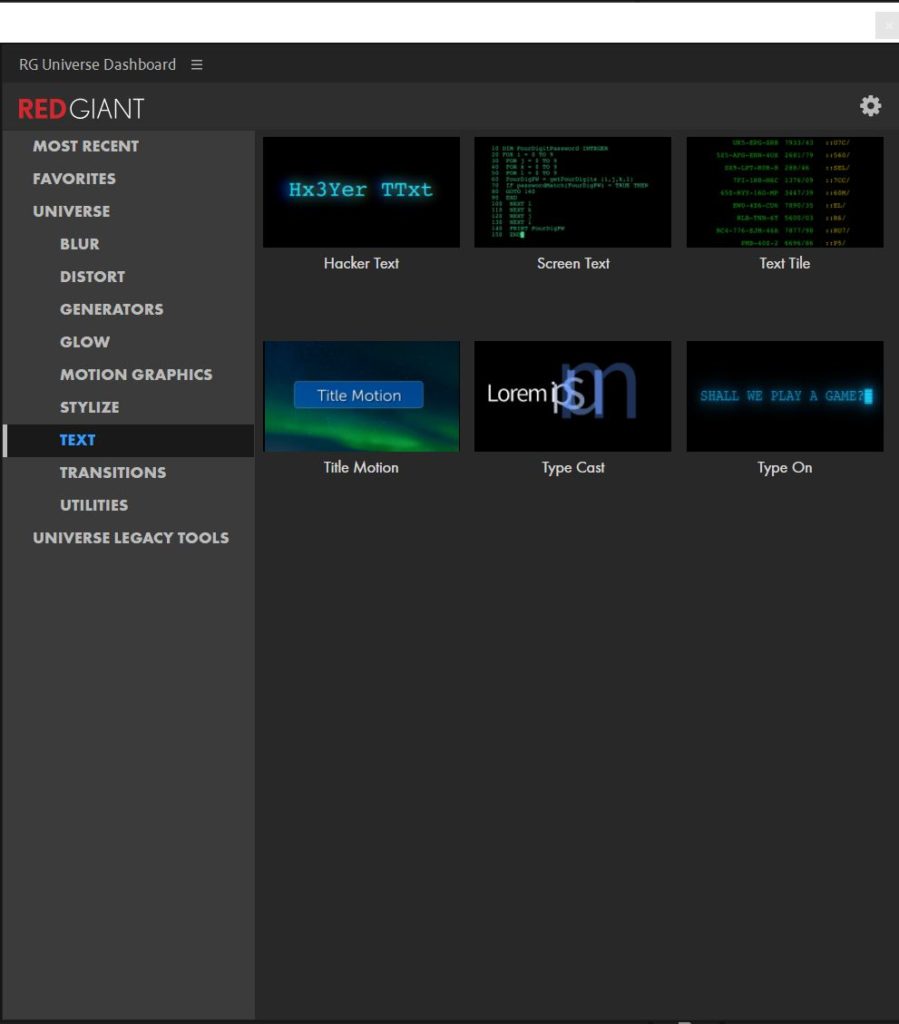
The new version of Red Giant Universe has arrived, and it offers a multitude of advancements including a beautiful new dockable dashboard that makes it easier than ever to apply Universe effects and presets. Plus you get five new text generation effects with presets for every tool. Also, you have the option to save customized presets.
Below are the new Text Generation additions.
- Type Cast enables users to easily animate text properties like color, opacity, size, position, and rotation – by the word or character.
- Type On allows users to quickly create computer terminal-style type reveals. It includes many options for customization and randomization.
- Screen Text enables filling the screen with scrolling code to create the look of an old-school or modern computer terminal.
- Hacker Text lets users easily create computer “hacker-style” scrambled text animations. It can simulate encrypting or decrypting text with many options for randomization and look.
- Text Tile can generate multiple columns full of random data for use in motion graphics and computer terminal effects. The displayed information can be static or animated.
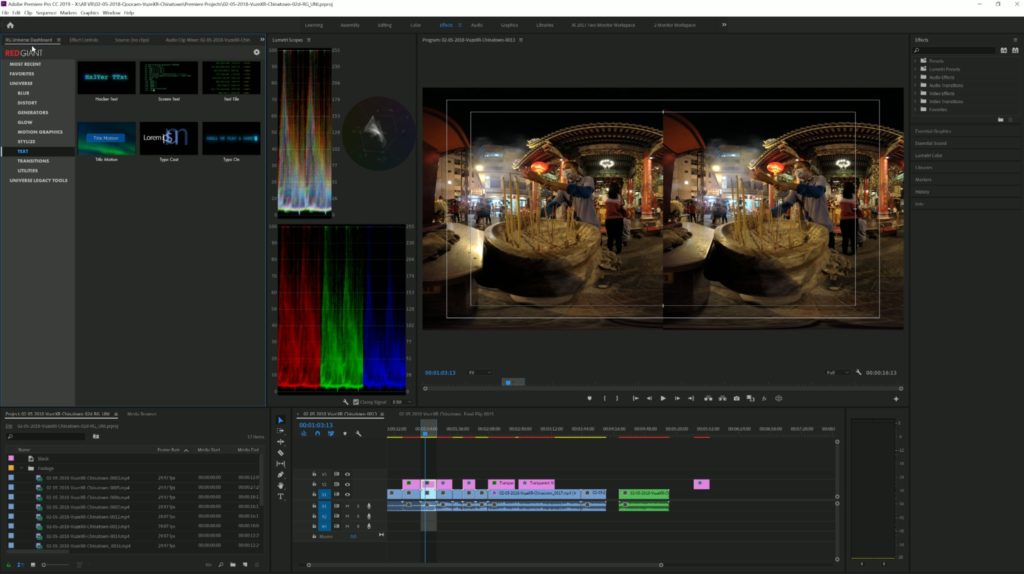
I decided to test out what Red Giant Universe could do for my VR180 videos shot with the VuzeXR.
After importing my video files and conforming them for VR180 Side by Side format, I placed them on the timeline.
Then I’ll create a transparent video and place it on the timeline above the VR180 videos.
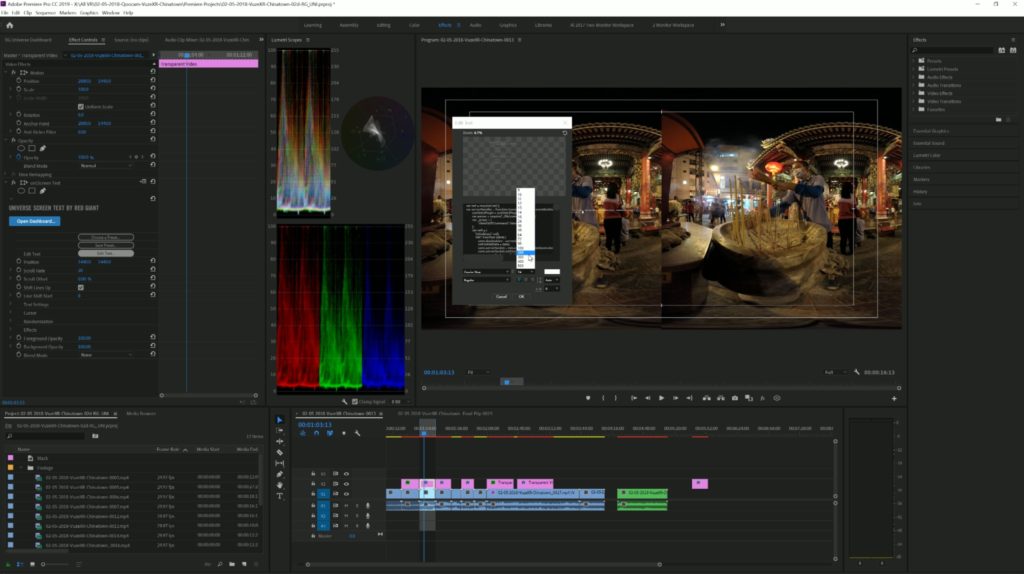
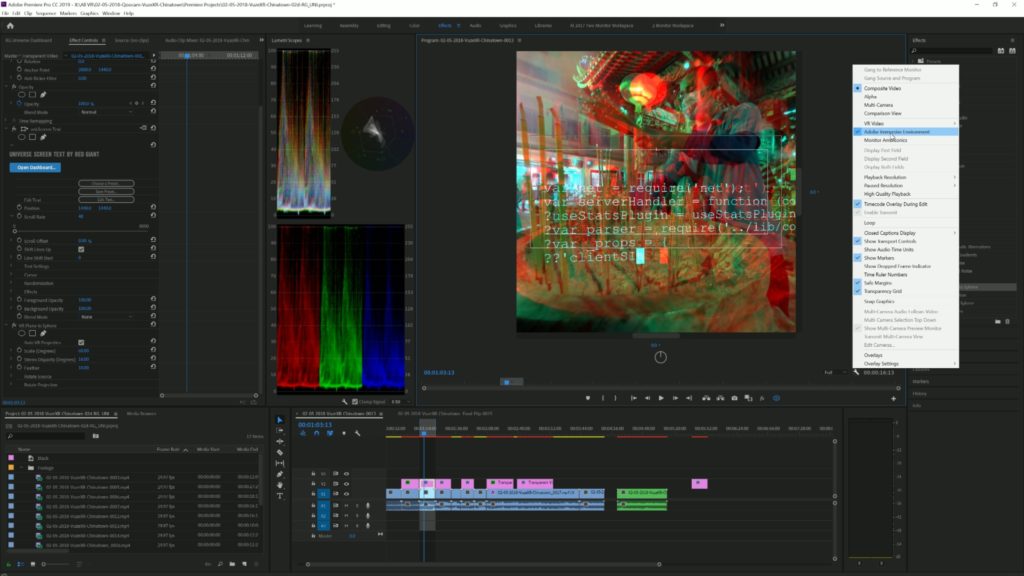
The Red Giant Universe Dashboard is where you will find all your effects. I’m going to select Screen Text from the choices in the Dashboard and then select “Apply Preset.”.
That will add the effect to the transparent video clip.
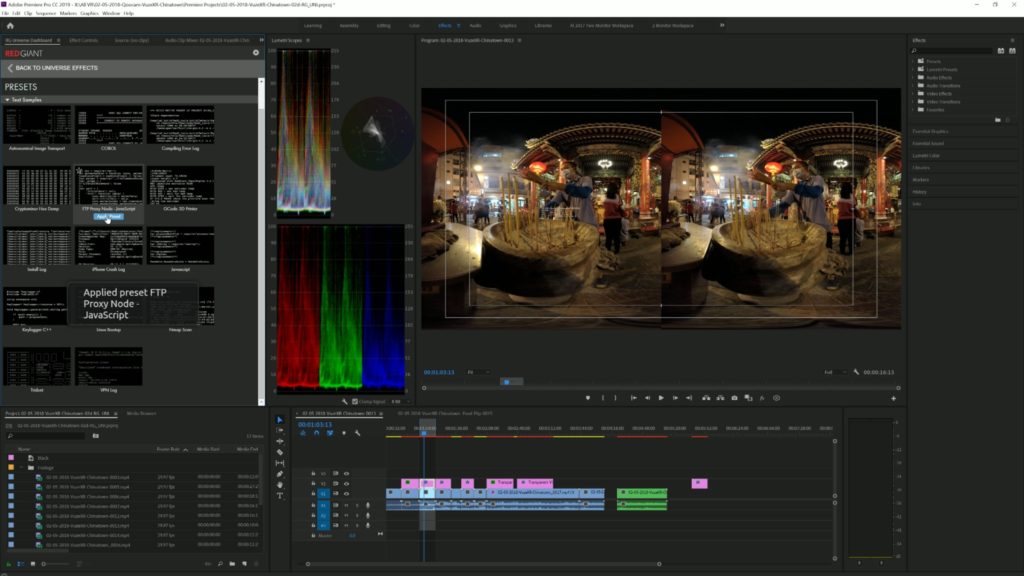
Going to the Effect Controls, I will then choose a preset from the 14 different presets available for Screen text. I picked the “FTP Proxy Node Javascript.”
Clicking “Apply Preset” adds it to the effect.
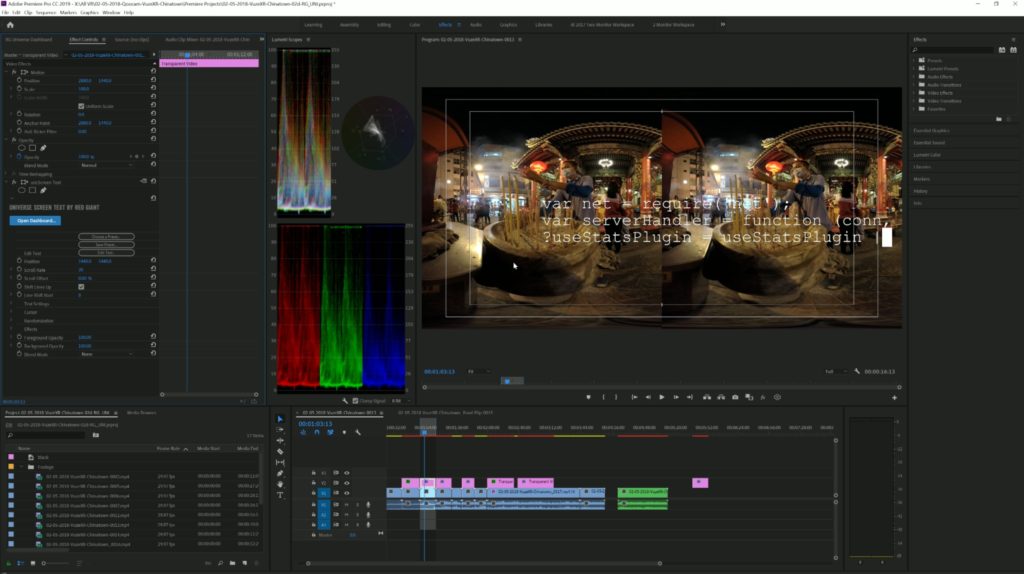
Going back to the Effect Controls I can now adjust my effect to fine tune it.
I will adjust the size of the text making it 200.
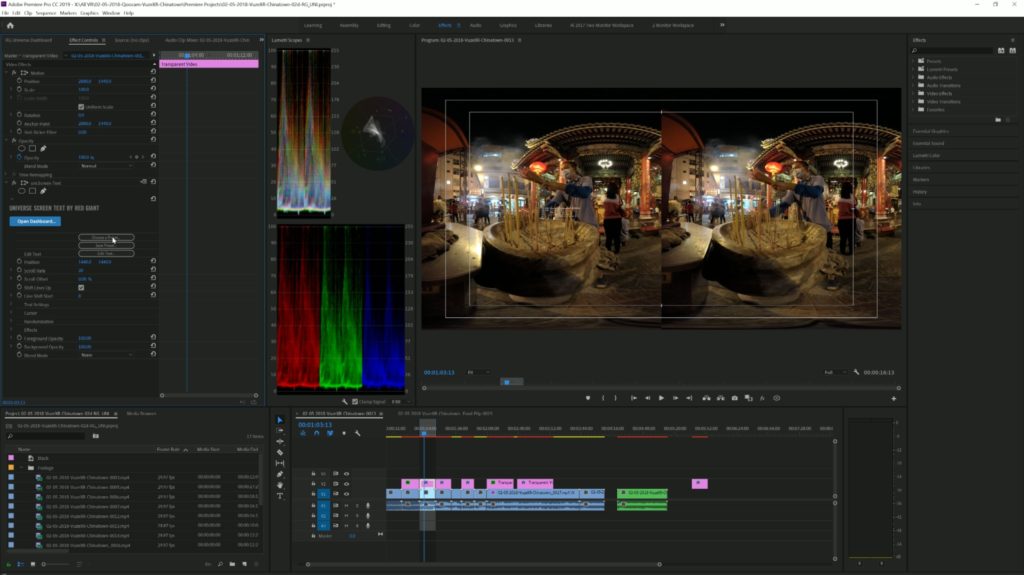
There are many adjustments available, and I think that the scroll rate should be higher.
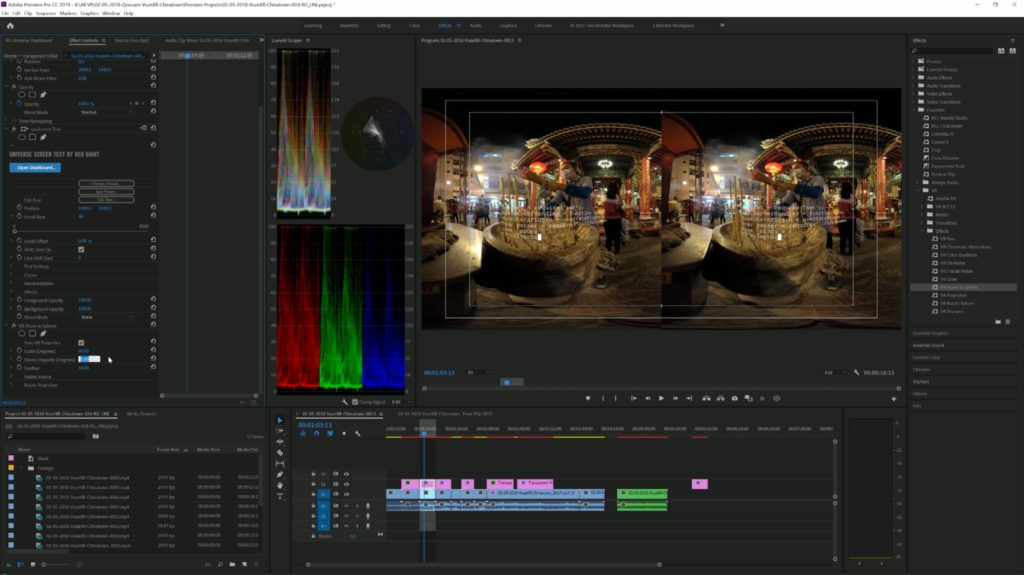
Since I am working in VR180, I now need to add my Immersive Effects, Plane to Sphere.
That will automatically recognize that this is VR180 side by side 3D stereoscopic.
Notice that the size is reduced and it fits very nicely in the image.
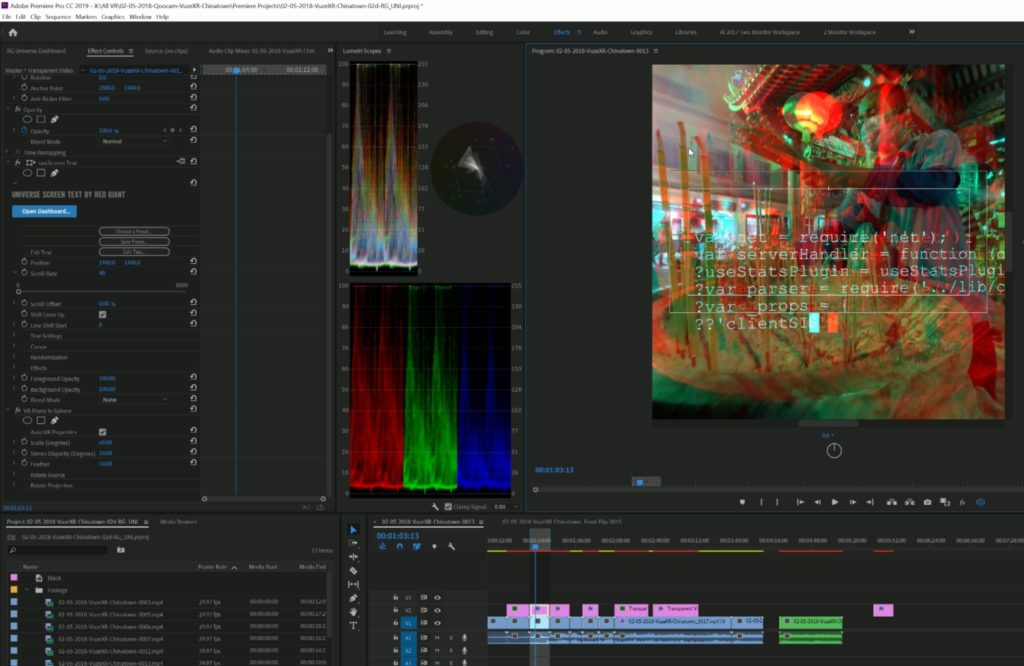
But we also need to add several disparity so that it comes off the screen and creates good 3d Stereoscopic.
I can check that in two ways to make sure that the disparity is enough.
First I can click the toggle VR display to bring up an anaglyph view. And I can see the separation between the red and cyan and also with my red-cyan glasses I can view the image.
I’m going to adjust that a little more to 16
The second way to check it is to activate the Adobe Immersive Environment and put on your VR headset. In my case I have the Oculus Rift and I can check the disparity there.
My final adjustment goes out to 18.
All that is left to do is to finish the edit and then export my finished edit.
You can add any of the new text effects as you can see here in my video.
This will open up a whole new set of creative tools for you to use in your VR180 or 360 VR videos.
I hopw that you enjoyed this and if you have any questions please leave them in the comments.
And please don’t forget to subscribe to my channel.