
Hi everyone, Al Caudullo here for 360 Today.
And today I am going to show you the procedures for how to process your files from the Vuze XR.
The Vuze XR by Human Eyes is the best VR180 & 360 camera on the market. With 5.7K quality and an easy to use software for both computers and smartphones, this camera can do everything that you want it to do.
The first thing to do after shooting your videos and stills with the Vuze XR is to get the files into your computer.
There are two basic ways to proceed, you can either pull out the card and put it in a card reader, or you can simply connect the Vuze XR to your computer via the USB-C connector, and turn it on.
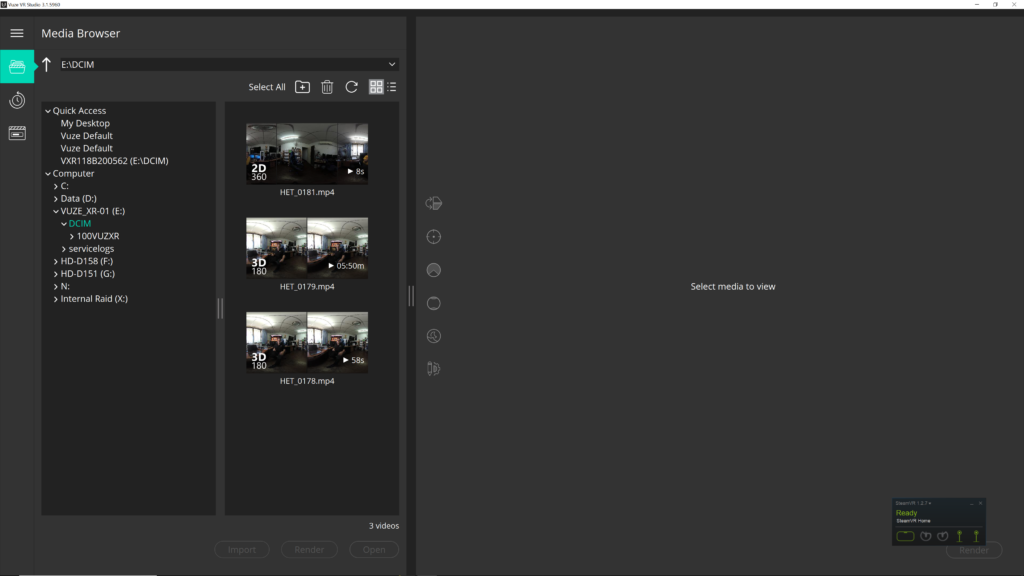
As long as you have the Vuze VR Studio installed, it will auto-detect the files and open the software.
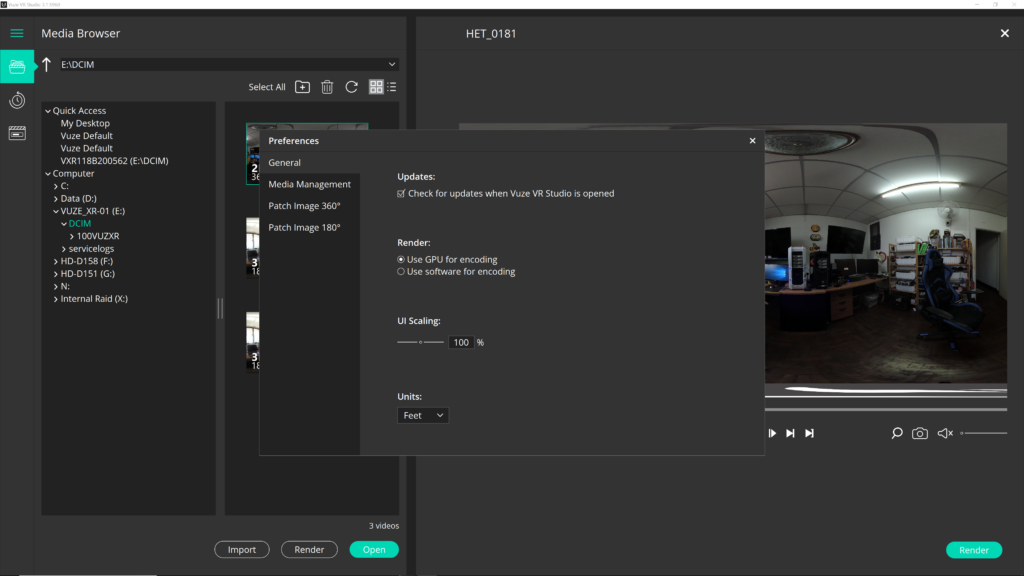
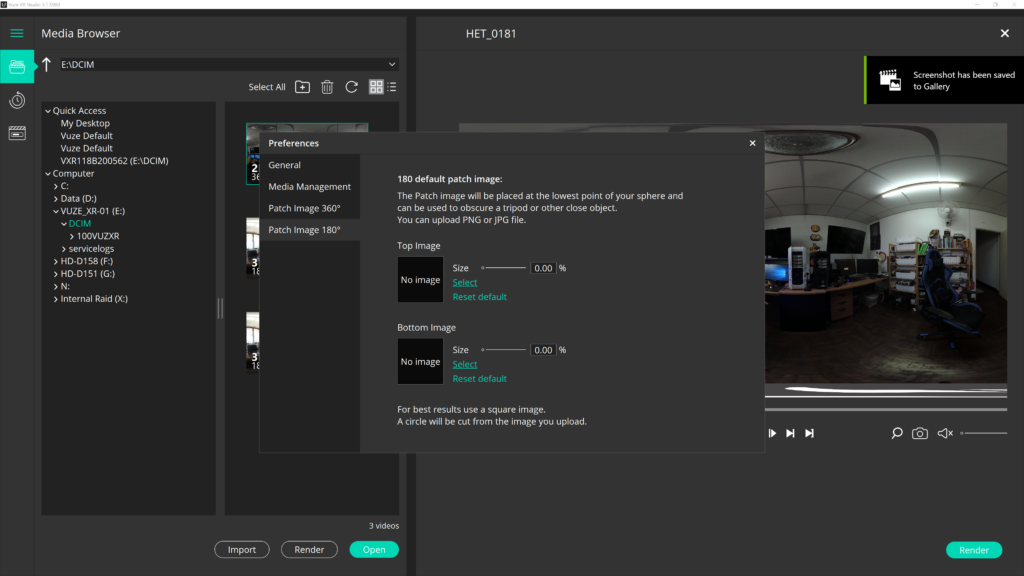
Once inside the software, it is a good idea to set up your defaults. Click on the three lines in the upper left of the screen and select Preferences. From there you have a list and choices to be made, including checking for updates when views VR studio is opened turning on your GPU for encoding adjusting the GUI scaling and decide whether you want to use feet or meters for your units of measure.
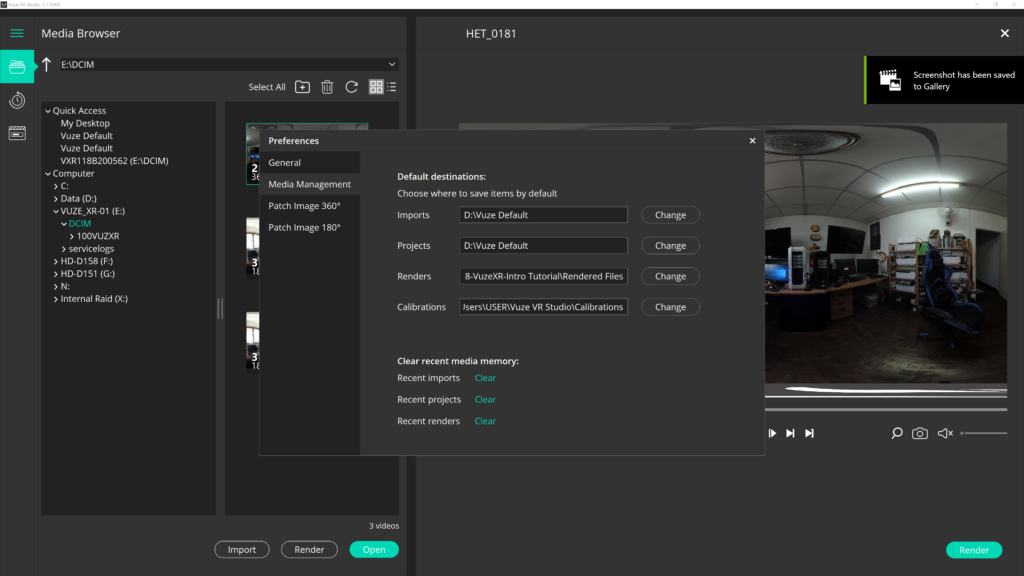
In the media management section, you get to choose your default locations for imports, projects, render, and calibrations.
The Default is initially set for your C drive. I like to change it over to my D drive, and then I can adjust it for wherever I have set up my project folders.

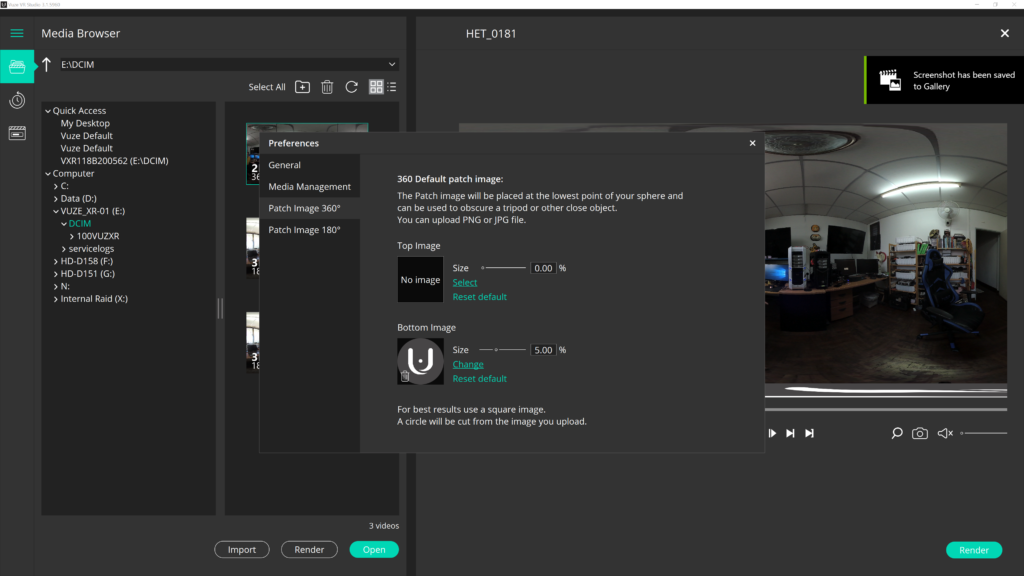
Lastly, you have a choice of picking your Patch image for both 360 and VR 180 if you wish to do so
I like to create a folder for all my projects to keep everything straight. In it, I have a Camera folder. In that folder is where I copy the MicroSD card contents. But that is up to you.
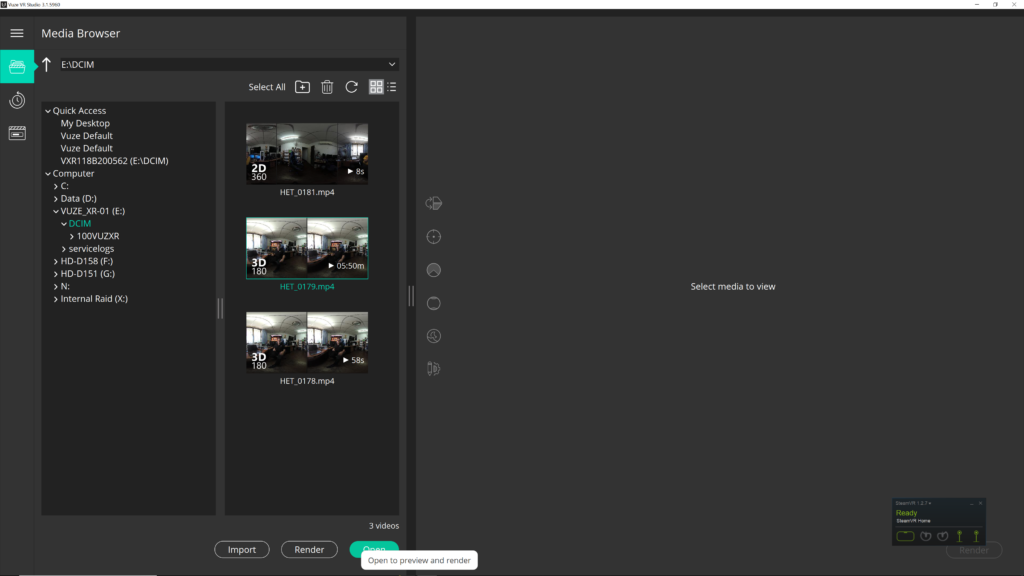
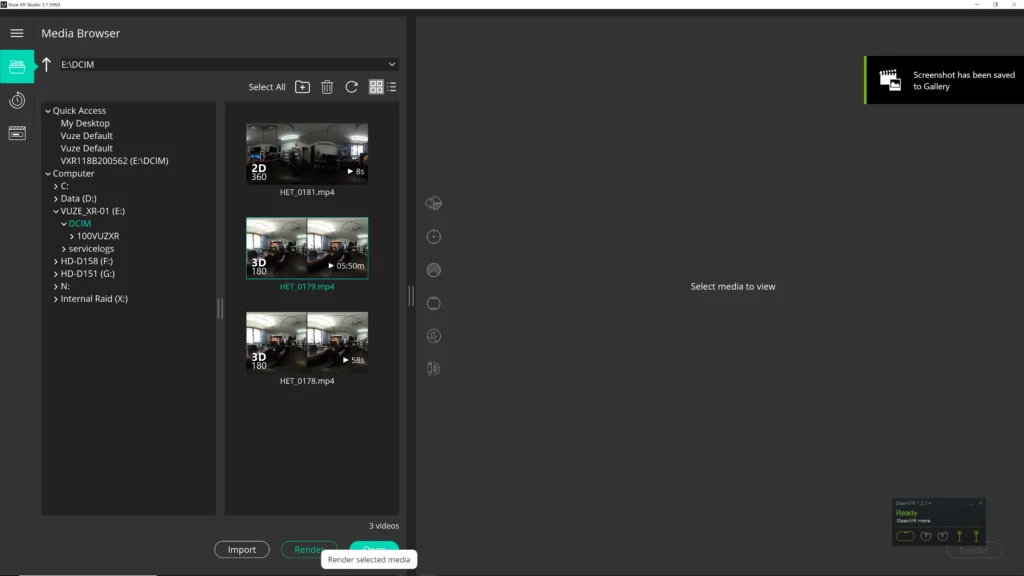
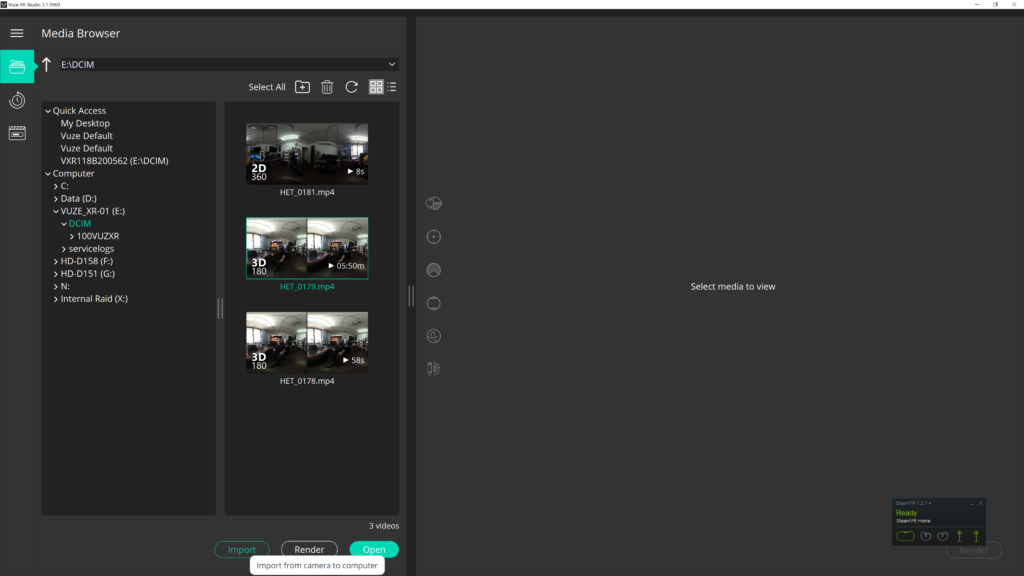
Next, you have several options. You can select the file that you want to start with and either double click on it or click the open button. You can also Import the file to the default Selection, or you can change and put it into your project folder in the camera folder.

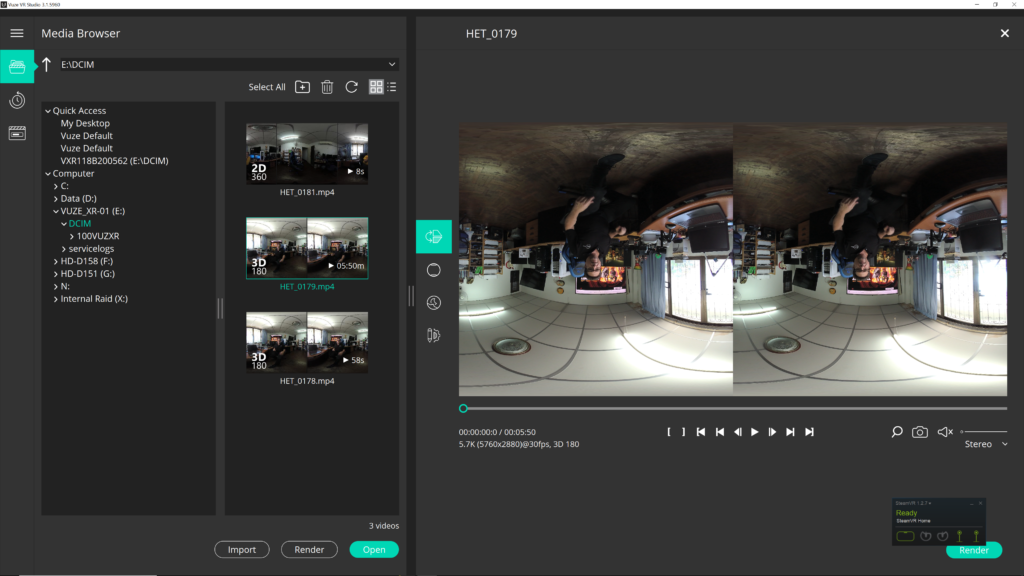
You can also select all of the files and render them directly from there without any adjustment. But the views VR studio does give you adjustment choices by opening up one file at a time.
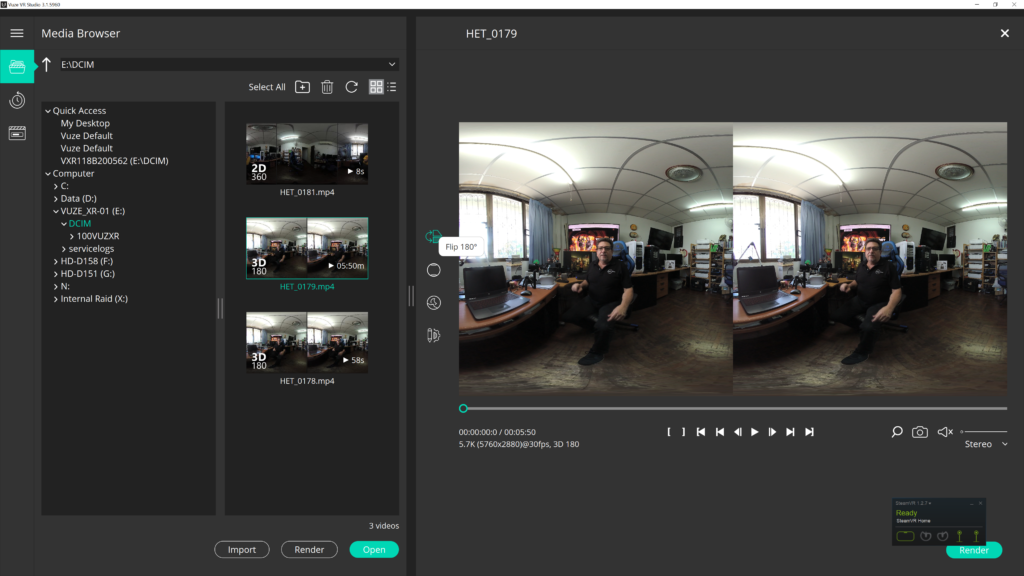
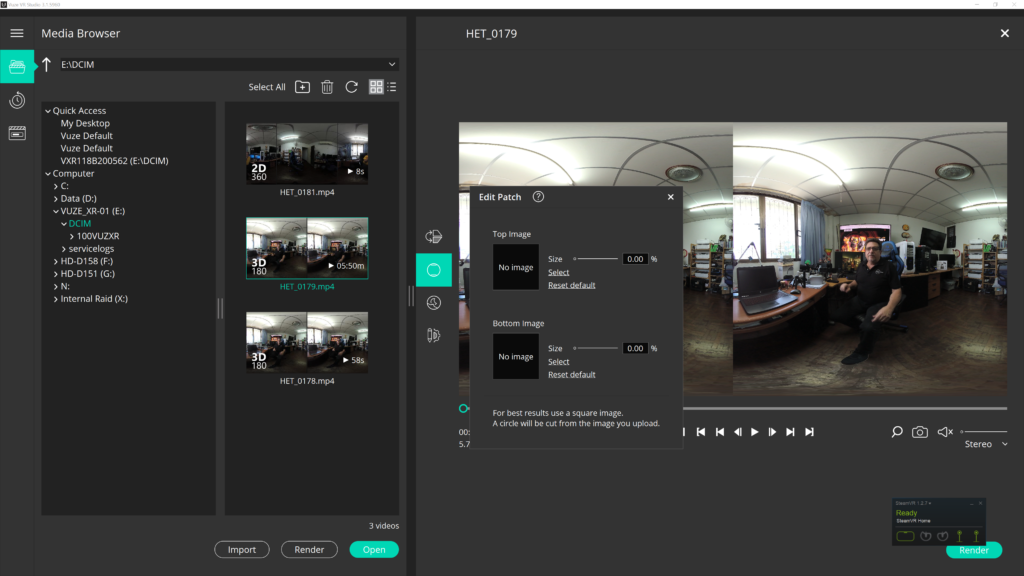
If you decide to do the adjustments, to your VR 180 files you have a choice of flipping them upside down in case you shot with the camera upside down.


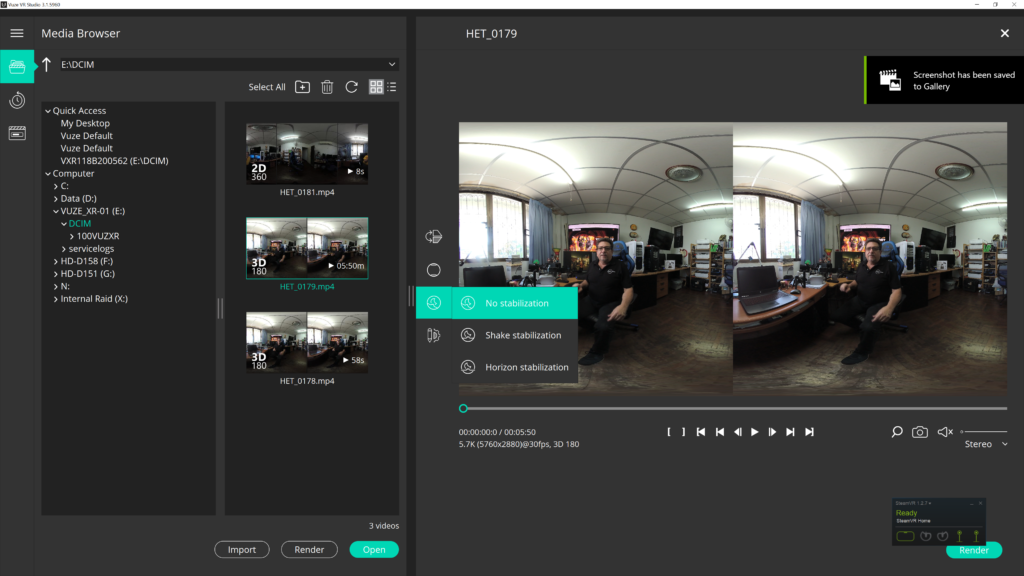
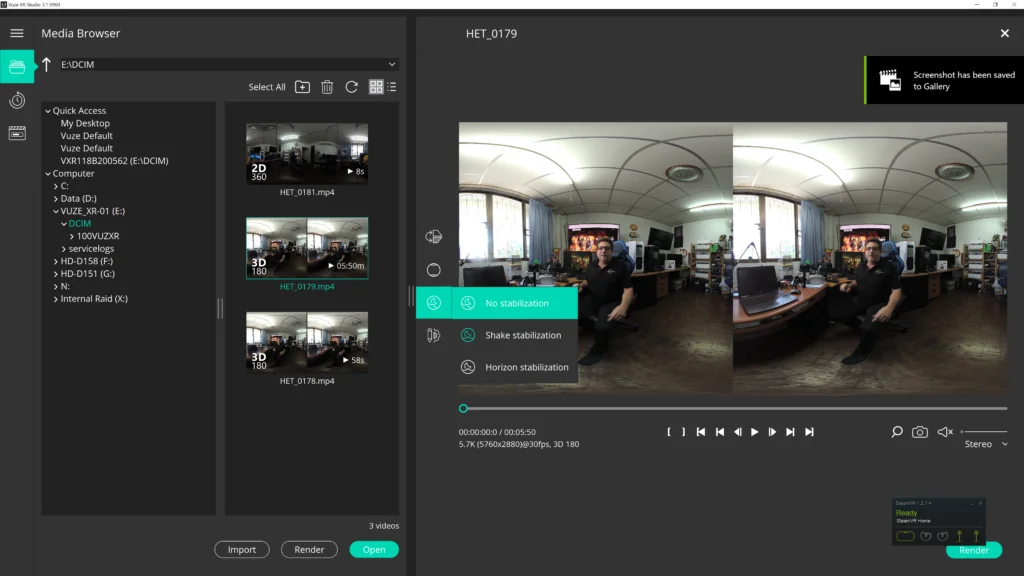
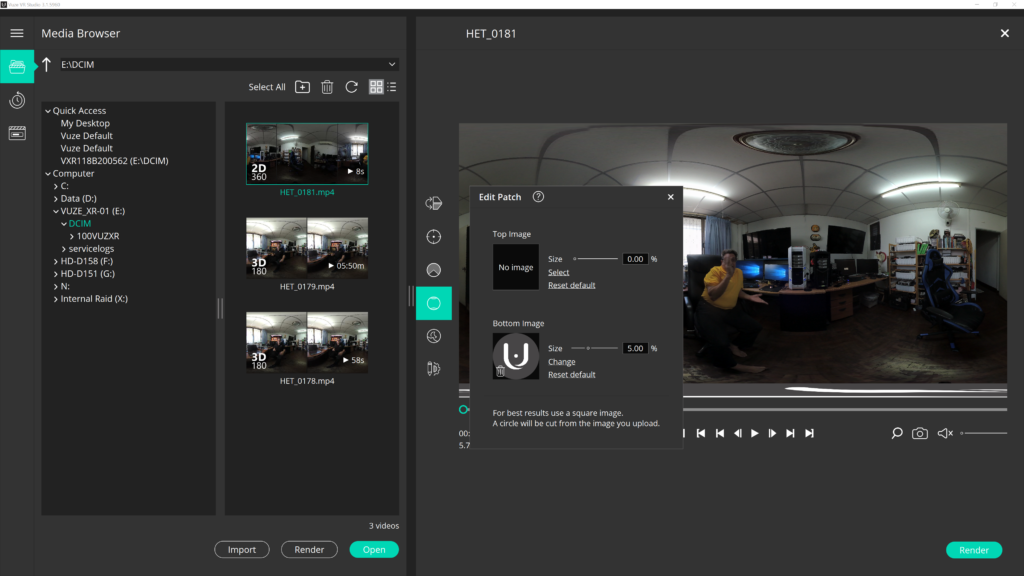
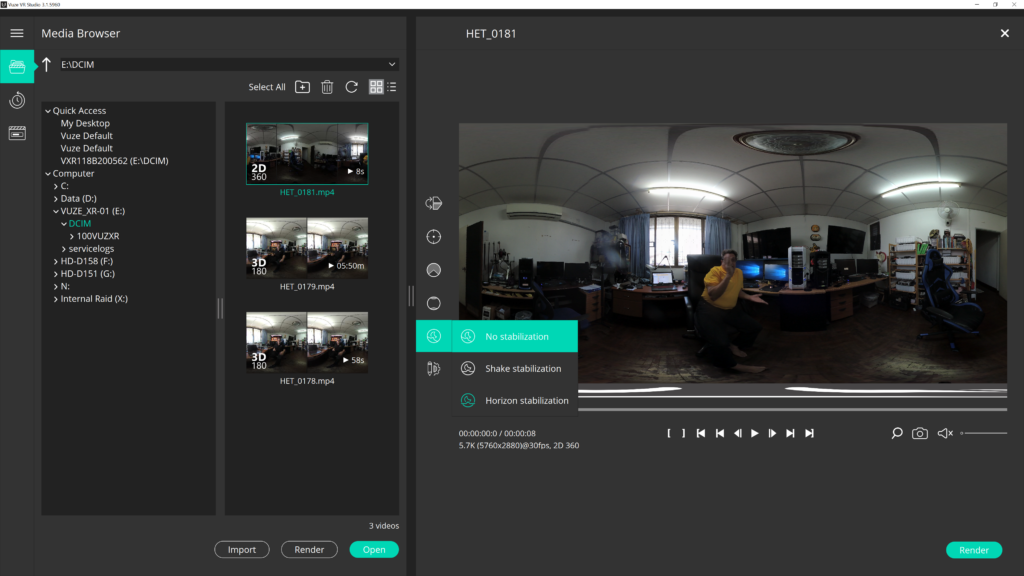
Also editing your Patch image and size of the Patch. The next item is your stabilization you have a choice of no stabilization, shake stabilization, or horizon stabilization.
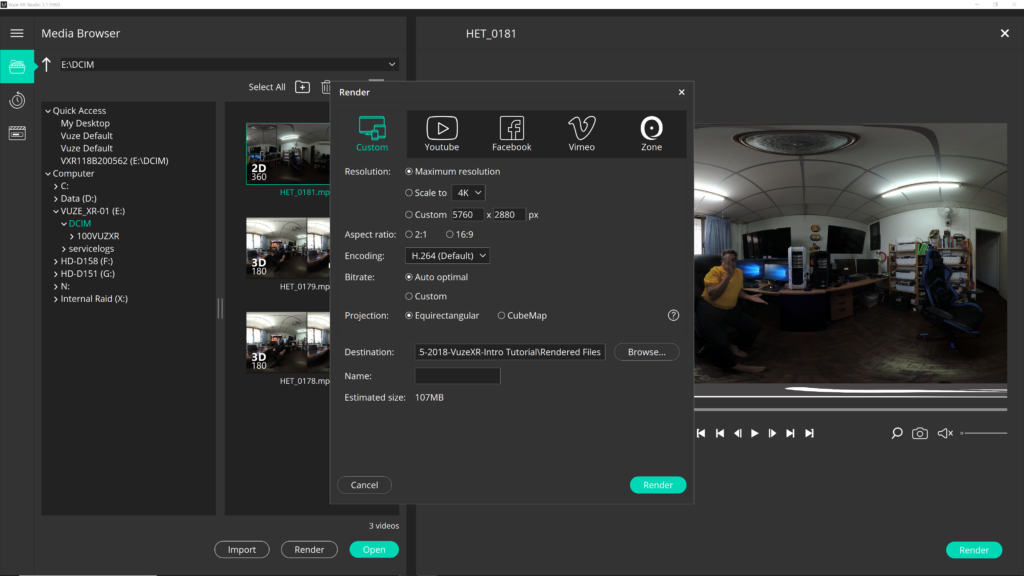
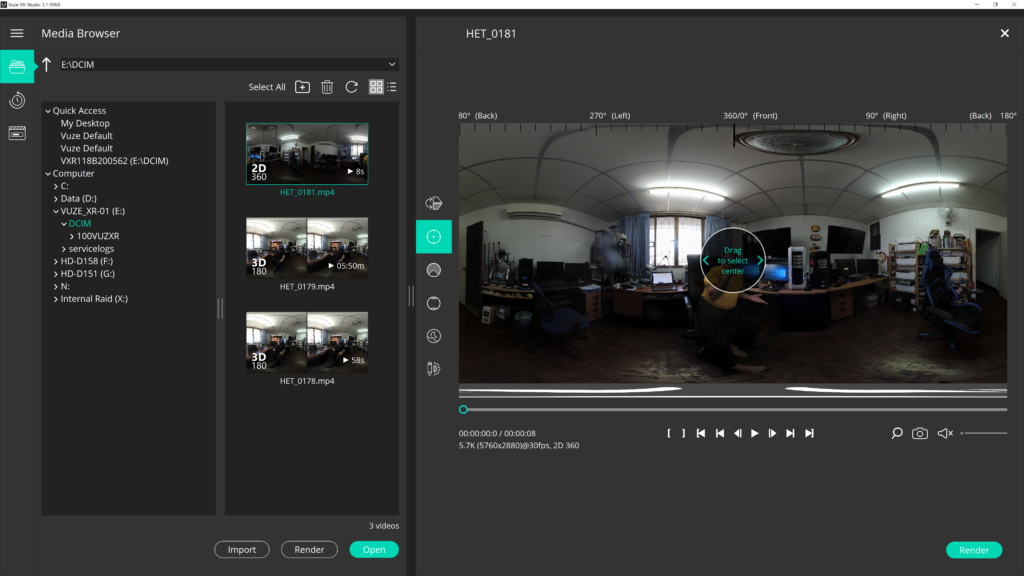
If you shot 360 VR with your views XR, you get a few more choices. Besides flipping the image, You can also drag to select the center of your image.
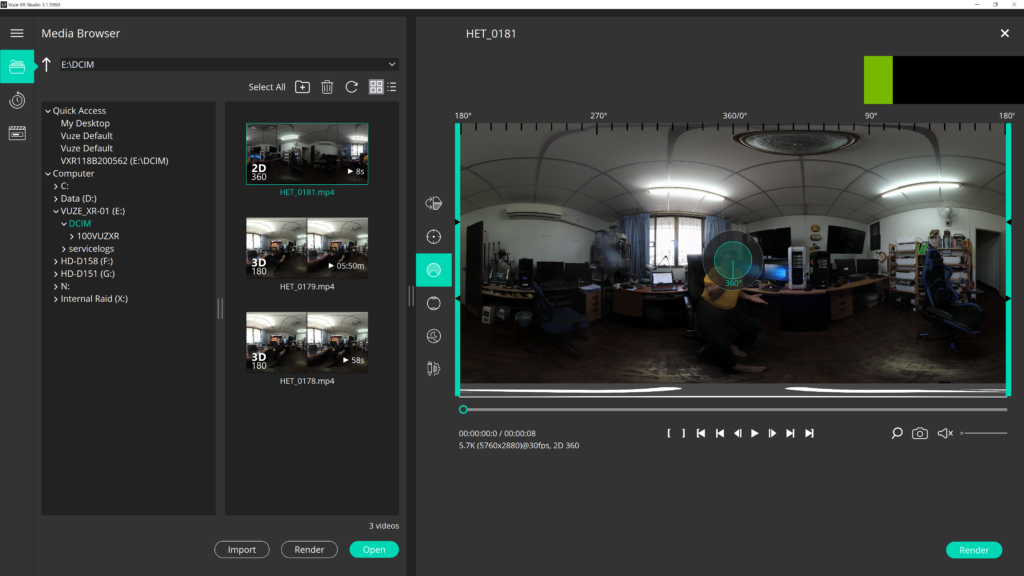
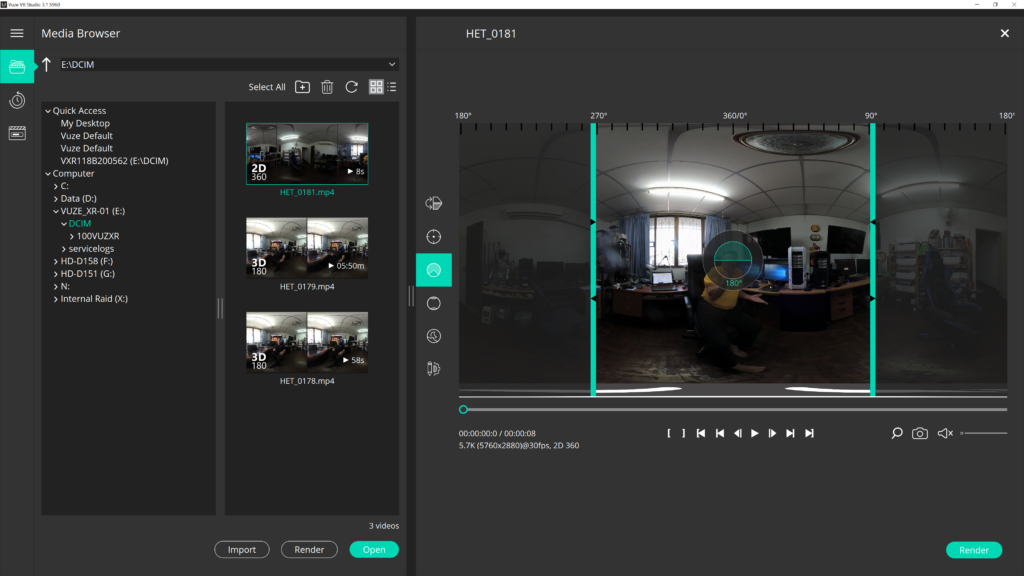
The next selection you’re faced with is being able to not show all of the image you could reduce it to any point that you want from a full 360 degrees down to 270, 180 or even 90 degrees or less.
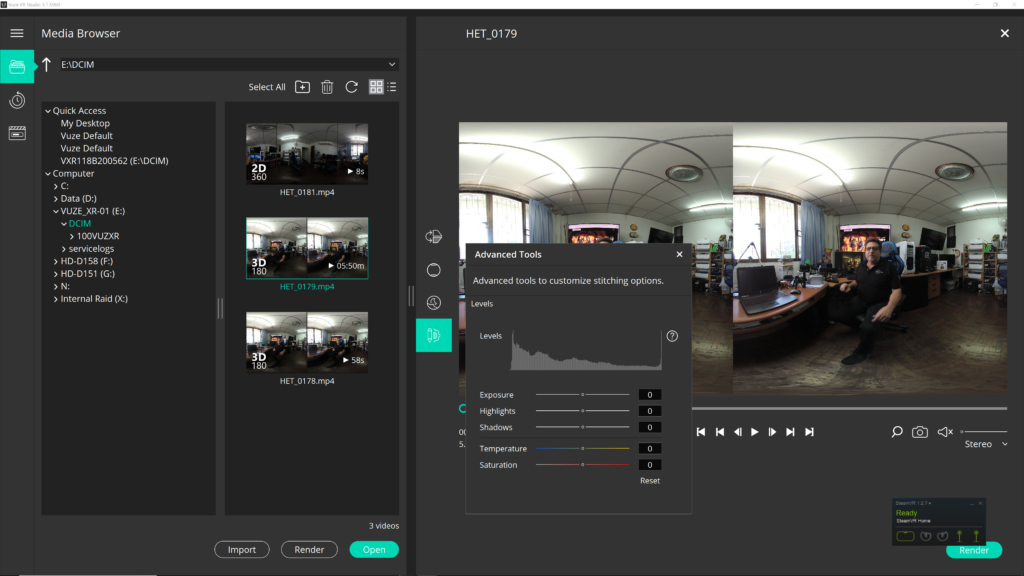
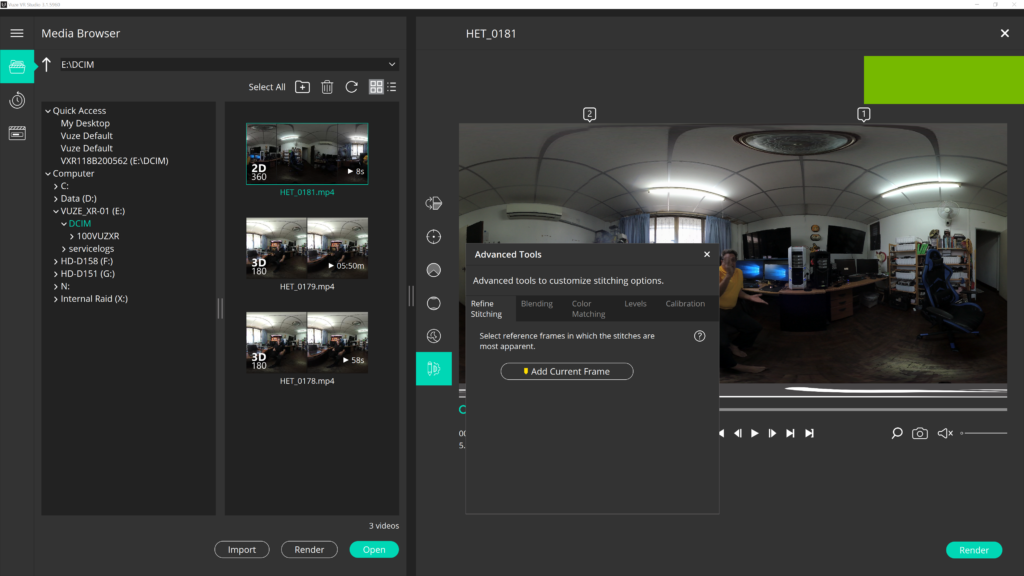
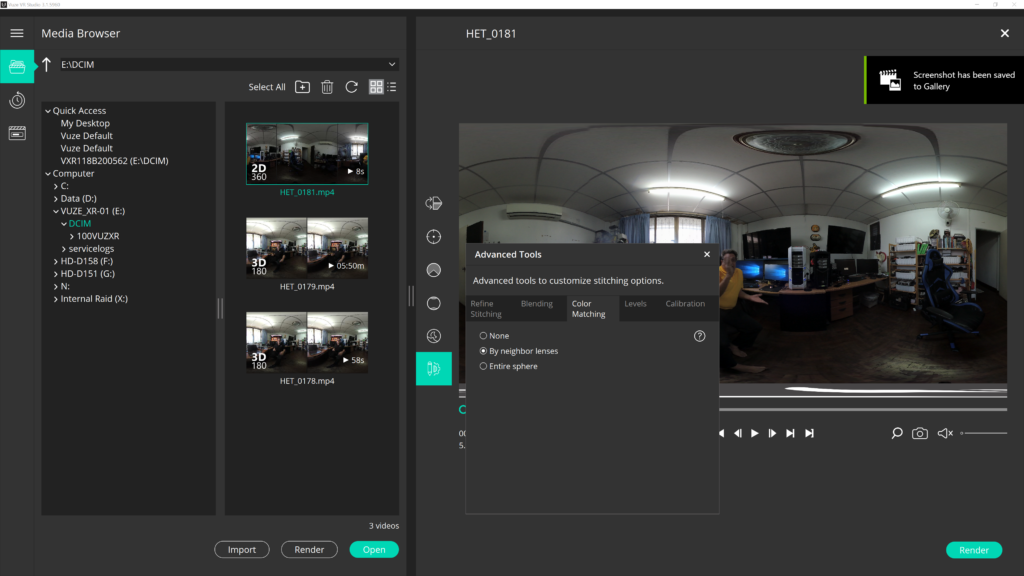
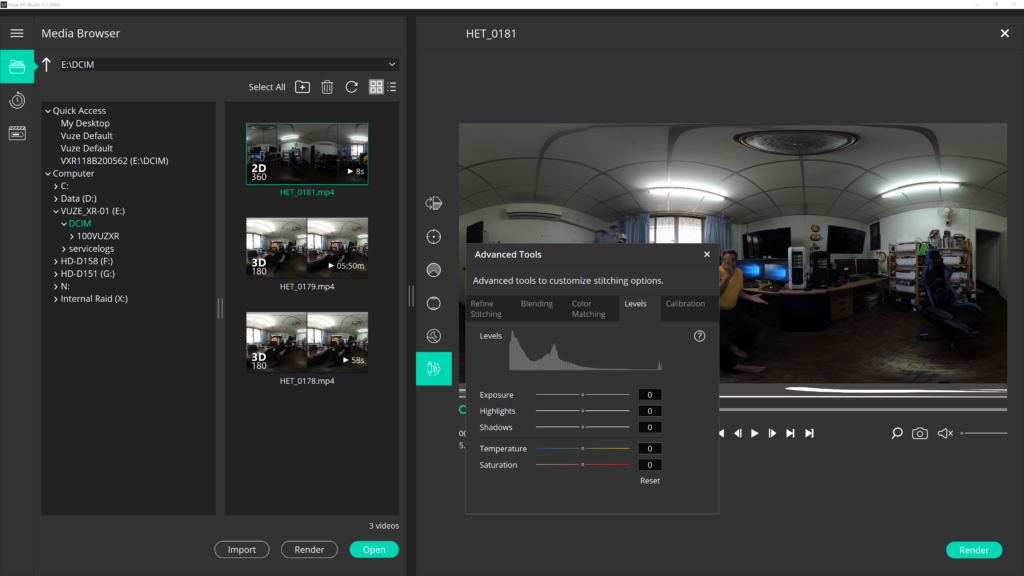
In the advanced tools you do get more selections here you can refine your stitching you can do blending for exposure color matching levels, and there is even a calibration setting.
I’ll get into those options and how to use them in a future tutorial.
Once you have all your images rendered the next step will be to import them into Premiere Pro CC 2019. That will be my next tutorial coming up soon so keep watching and keep shooting immersive video!