
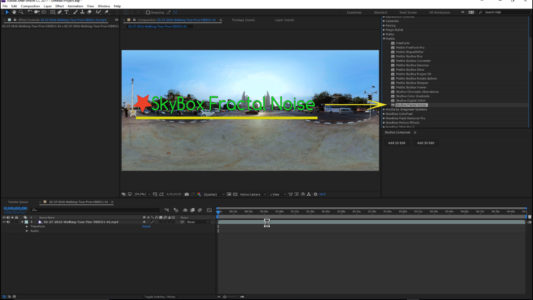
Getting rid of SkyBox Digital Glitch let’s go your last one which is SkyBox Fractal Noise. I will add the Fractal Noise to the video clip, and I will show you some of the cool effects that you can do with this and how you can adjust it.
With the basic controls, you can adjust your contrast, you can adjust the brightness. You can invert everything to change the look.
There are so many options.
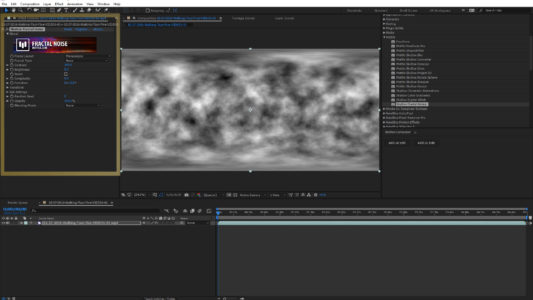
You can change the complexity of it. By changing the evolution the shape and form changes.

When you open up these transform controls. Here you can adjust the scale. In the video, you can see the kind of movement that it creates, and by keyframing it, you can mimic the real flow of the shapes.
Also, you can adjust the complexity is far as the tilt axis, so by combining these together, you can create different looks to your images. You open up an entirely different world of changes with the sub Settings.

First of all, so that we can go ahead and let’s see just what the basic controls are.
• Frame Layout – choose between Monoscopic or Stereoscopic Over/Under.
• Fractal Type – make a choice between four different fractal types: Basic, Turbulent Sharp, Max, and Strings.
• Contrast – adjust the image contrast for the fractal noise. The default is 100.
• Brightness – Adjust the brightness level of the fractal noise. The default is 0.

• Invert – Invert the color channels of the fractal noise.
• Complexity – adjust the overall visible complexity of the fractal noise. Higher values will result in more detailed fractals. Lower values will result in softer, less detailed fractals. The default is 6.
• Evolution – cycle this setting to animate the fractal noise. Faster cycling will result in faster fractal animation. (i.e. animating the evolution will result in more fractal movement animation to occur on your footage.)

Transform
• Scale – adjust the overall size of the fractals on your footage. A higher scale value results in larger visible fractals. The default is 4.
• Tilt (X axis) -reposition the fractal noise on the X-axis of your footage.
• Pan (Y axis) -reposition the fractal noise on the Y-axis of your footage.
• Roll (Z axis) -reposition the fractal noise on the Z-axis of your footage.
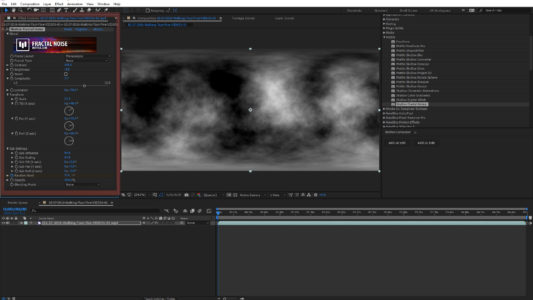
Sub Settings
• Sub Influence -adjust how much influence the sub-layer of fractal noise has on your fractal noise effect. (i.e. fractal noise is made up of multiple fractal noise layers, this setting gives you the option to adjust how much visible ‘influence’ the sub-layer has on the overall appearance.)
• Sub Scaling -adjust how much scaling influence the sub-layer of fractal noise has on your fractal noise effect. (i.e. similar to a noise map displacement on the fractal noise.)
• Sub Tilt (Y axis) -reposition the sub-scaled fractal noise layer on the X-axis of your footage.
• Sub Pan (Y axis) -reposition the sub-scaled fractal noise layer on the Y-axis of your footage.
• Sub Roll (Z axis) -reposition the sub-scaled fractal noise layer on the Z-axis of your footage.
• Random Seed– used to select a pseudorandom application of the Fractal Noise effect with the same current settings set by the user. (i.e. you will see another version of the Fractal Noise effect, with the same input settings, but with a different appearance on the footage.)
• Opacity -use this setting to adjust the overall opacity of the Fractal Noise effect on your footage. At 100% the effect is completely opaque. At 0% the effect is completely transparent. The default is 100%.
• Blend Mode – select from various color blending modes for the effect on top of your original footage. The default is Normal. (Screen and Overlay blending modes are two popular choices for this effect.)
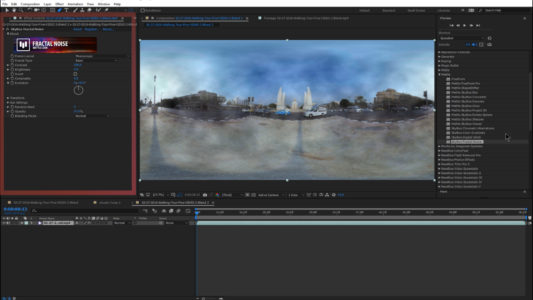
Now, I’m going to show you how you can do something really cool with a fractal noise plugin. We’ve added it to our original video layer again and as you can see the fractal noise is on top of our video. We turn down the opacity, and now we’re going to do some keyframing of the effect as we move across the video.

We will change the Evolution, in the Transform section, the Scale, Tilt, and Roll controls.Continue changing these as you move towards the end of the timeline.
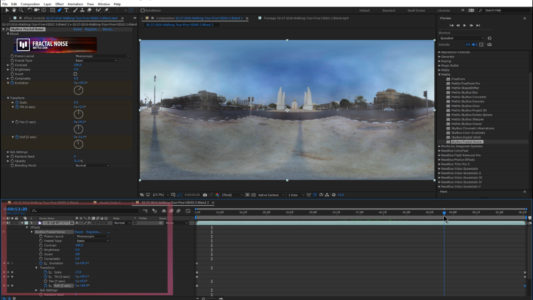
But, we still have the effect on top of the video. That can be fixed by right-clicking and adding an Adjustment Layer. Next, copy the effect that you created with the keyframing and paste it into the Adjustment Layer.

Turn off the effect on the video layer so that you only have the plugin on the Adjustment Layer active.
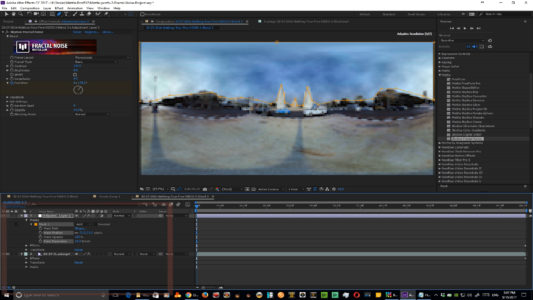
Select you Pen Toll, and we will outline the sky in the shot. Once that is completed and adjusted you will need to adjust the Mask by increasing the Mask Feather and the Mask Expansion.
Now, all that it left to do is to preview and make sure that you like how the effect looks. That’s all you need to do to add realistic clouds to your 360 videos.

This is a very practical effect to use with your 360 images, and it looks absolutely fantastic when you put it in the headset or if you watch it on Facebook or YouTube or Vimeo whatever you prefer. There you go guys, enjoy!


One thought on “How To Use Mettle SkyBox Fractal Noise in Adobe After Effects”