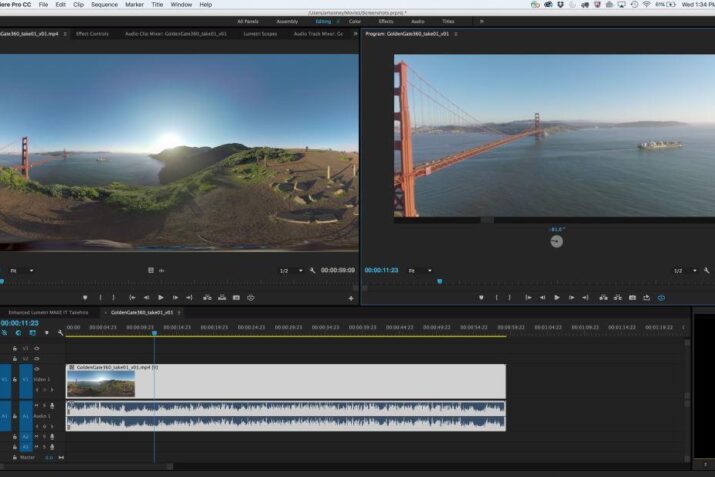
Adobe announced the long awaited upgrade dubbed 2015.3 yesterday. This upgrade features the first step for Adobe into native control for 360 VR editing. But, don’t get too excited. This version of the software dips it’s toe into utilizing it for 360 VR editing.
Don’t give up on Kolor because Adobe does not stitch. Don’t give up on Mettle Skybox because the only thing that Adobe has given us is 360 VR preview and Rotate The Sphere. But is definitely a step in the right directions and a very welcome one for 360 VR content makers.
Here is the straight scoop from Adobe.
Premiere Pro offers support for viewing VR video in the Monitor panels. You can also publish VR Video directly to the web from Premiere Pro, to popular sites like YouTube or Facebook.
Configuring the monitors to display VR Video
- Open the VR Video Settings dialog from the monitor’s settings or context menu. In the dialog, configure the Frame Layout (Monoscopic or Stereoscopic).
- You also have options to adjust Stereoscopic Layout, Captured View Horizontal & Vertical and Monitor View Horizontal & Vertical, which determines the field of view for your monitor when viewing VR Video footage.

VR Video Settings
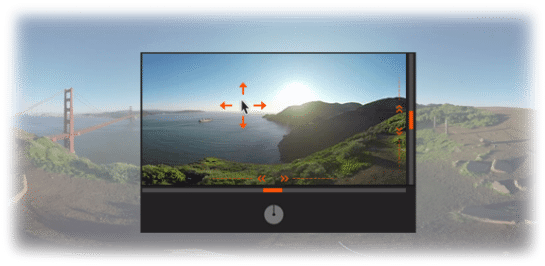
After configuring the settings, choose “Enable” from the settings menu to turn on the VR Video display. When enabled, the Monitor displays an interactive field of view within the spherical projection. Horizontal and vertical sliders along the bottom and right edge of the video frame allow you to pan and tilt the field of view. Numerical values presented next to these sliders display the current degrees of pan and tilt. You can click and drag on these values to pan or tilt the view, or you can click on them to enter a numeric value directly.

360-degree panning
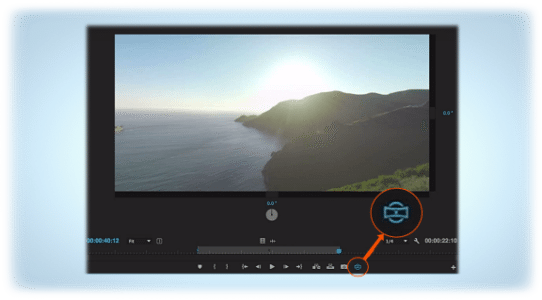
You may also toggle between enabling and disabling your VR Video display using a button which can be docked with the monitor’s playback buttons. Click on the “+” icon in the lower right corner of the monitor to open the Button Editor. Drag the “Toggle VR Video Display” button out of the editor and into the monitor panel to its desired location. This button toggles between normal monitor display and VR Video display.

Publishing your VR Video
The ‘Stretch to Fill’ scaling setting in the Export Settings dialog output typically gives the best results for most VR Video exports. Select the “Publish’ settings tab in the Export Settings dialog to upload this video directly to websites like YouTube or Facebook.
Note:
There may be a delay after the upload completes before the video becomes playable in VR mode.

