
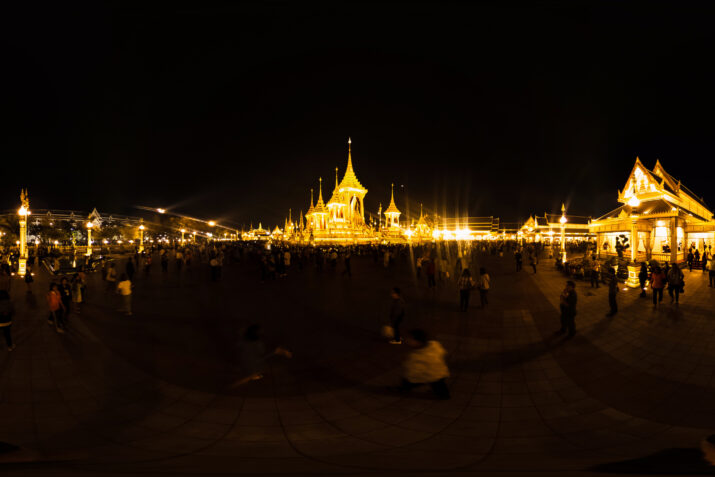
[vrview img=”https://kuula.co/post/7P49n” width=”500″ height=”250″ ]
GoPro updated the Fusion Studio software and gave anyone who likes to work with Raw still images a big gift. Now you can bring your images into Lightroom to adjust and then output them for Fusion Studio to stitch. It’s a process but not difficult at all.
Let’s go through it step-by-step.
When you first install the new update go to “File” and in the drop-down you will see “Open Files” and “Open Raw Photos.”
When you select “Open raw Photos” will be greeted by a popup dialog that tells you what you need to do to work with Raw Photos.
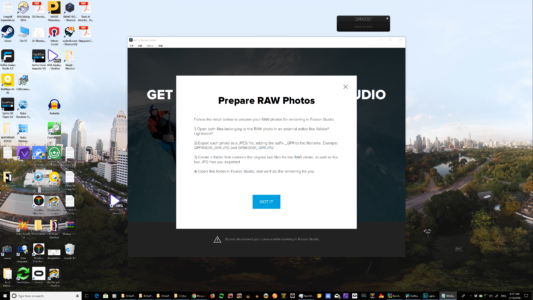
It reads:
1) Open both files belonging to the RAW photo in an external editor like Adobe Lightroom.
I found it easier to locate the files and copy them, the.JPG and the.GPR into a new folder. I labeled mine RAW.

After importing the GPR files into Adobe Lightroom adjust as you like and then…
2) Export each photo as a JPEG file, adding the suffix _GPR to the filename. Example: GPFR0001_GPR.JPG and GPBK0001_GPR.JPG
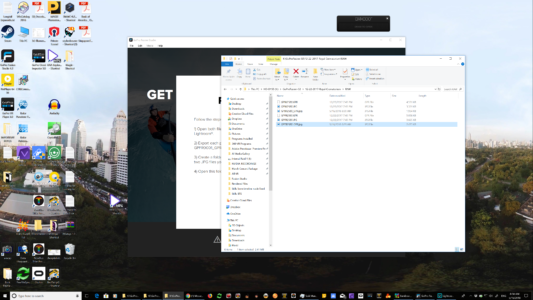
3) Create a folder that contains the two files for the RAW photo, as well as the two JPG files you exported.
Again, I exported these to my previously created RAW folder.

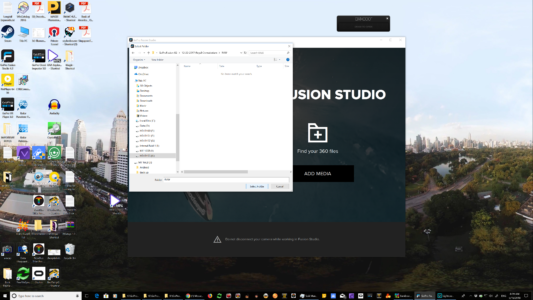
4) Open the folder in FusionStudio, and we’ll do the rest for you.
At that point when you open Fusion Studio with the newly adjusted and re-labeled RAW photo, you will see the image in the “Camera Media.”. Select it and if you need to you can still adjust anything else that you like.
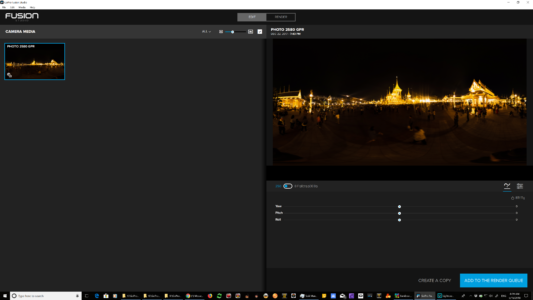
One thing, though, you won’t be able to select Flat or GoPro in the Color adjustments.

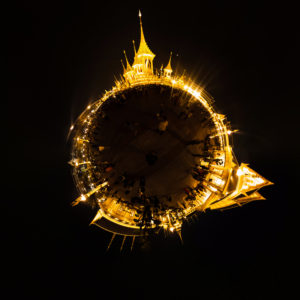
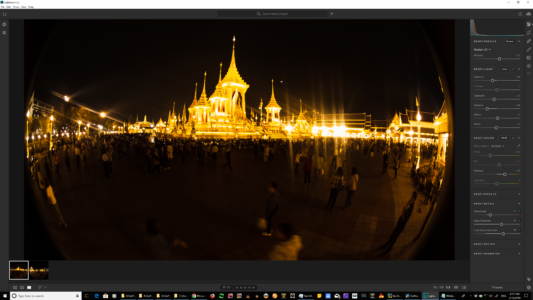
What I did want to do was to create a copy and make it into a Little Planet.
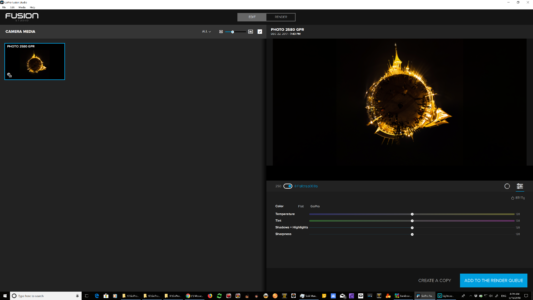
I also thought that the horizon needed a little straightening. The new Grid pattern comes up when I grab the image with my mouse. This made the adjustment much easier.

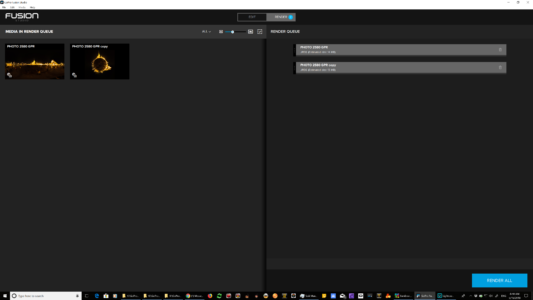
I selected both and added them to the render queue. Once in the render queue, you can open the selected photo and change to a .TIFF render instead of a .JPG, if you choose to.
Also in the update is the ability to grab a still from either a Multiburst or a Time-Lapse.
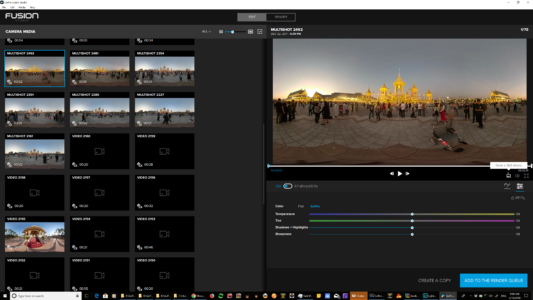
When you have your images import into the Camera Media if you select either a Multishot or a Time-Lapse, the “Grab a 360 photo” will appear in the icons on the right side.
Another very useful feature indeed.
Question: org file GPFR0001 / GPBK0001
when i change this file, exporting from lightroom, A You Tube film about this tells mee to add -1 and -2 tot these files and change them later into _GPR. Does that make any differance? In Lightroom you can export them with the _GPR directly. Save a lot of work.
And i like to add a date and clientname in front of a photo file like: 20180516_Garden_GPFR0001.XXX
I can do this in Bridge before anyb other action @ JPG and the GPR file. Some things work, some not.
What is the important part in the file/ filename that is used and may not bee changed?
I guess the JPG and the GPR – since they must be in the same map- must have the same name.
Thanks in advance
If you follow the steps in the tutorial, then it will work properly. If you look at the tutorial there are pictures that guide you through every step. Don’t follow any other instuctions.
Hello, please tell me what update I need. I have updated for firmware and fusion studio. last update available is febr 2018.
I do not see both ( raw and grid ect)
thanks
Toon
Go to https://shop.gopro.com/softwareandapp/gopro-fusion-studio-app/fusion-studio.html