
I’ve been getting a lot of request for a how to video about the Omni importers newest version beta 2.6. This newest is now the release candidate with most of the bugs fixed. The majority of changes in this version of Autopano Video have been to the Omni Importer. Let’s go through how to properly use the Omni Importer with your GoPro Omni 360 rig.
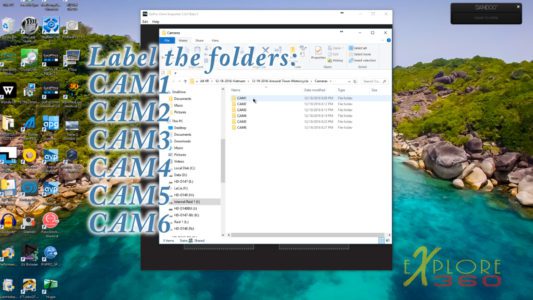
The first thing that I do is to create the folders that I will use for my event. The first name folder is called CAMERAS, inside cameras I create six folders labeled, CAM1, CAM2, CAM3, CAM4, CAM5, CAM6. Be sure to copy everything inside the root of the microSD card into each folder.
There are several reasons for doing this.
First, the USB hub containing your six microSD cards gets very hot, some have even reported the plastic melting on the USB hub while trying to use it with the Omni importer. Heat is your number one enemy when it comes to microSD card failure. To avoid the possibility of losing precious footage, transferring the card data to your hard drive in the appropriate CAM folders keep this from happening.

The second reason is very practical. Transfer rates are much faster working from an internal hard drive or raid then from an external USB 3.0 hub.
The third reason for labeling your folders in this manner is that by doing so, the Omni Importer will be able to read them when you click “Locate Your Footage.”

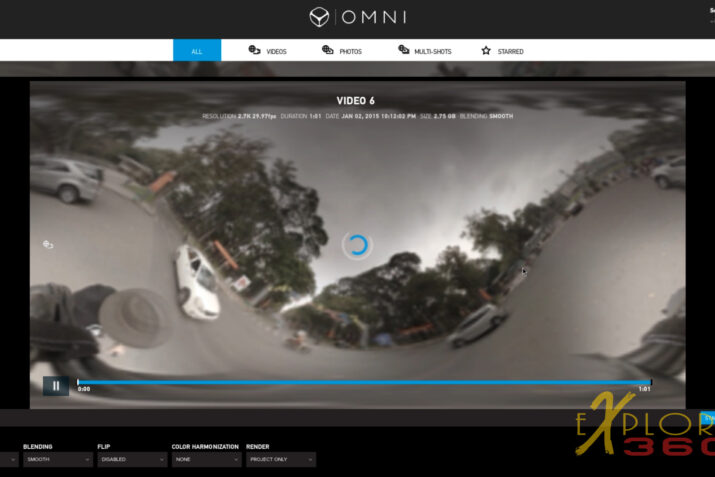
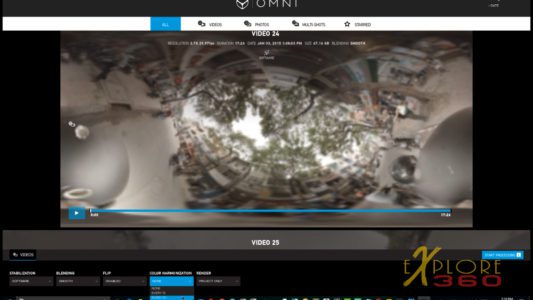
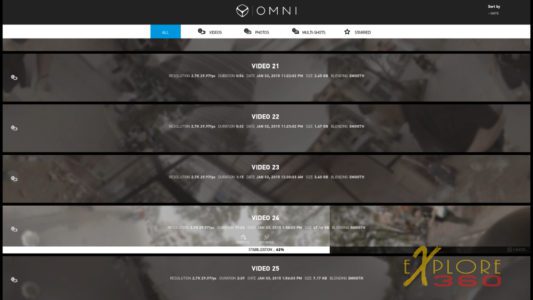
The only importer will finish all the data and recognize the spherical videos. Once all the shots are found, it will open up a new window. You’ll notice across the top bar; you can choose videos, photos, multi shots, and even select, “Starred” or favorites. When you click on one of the videos, it will expand showing you your video and giving you a chance to play through it. Since I shoot with my Omni in Cube mode, you will notice that the video as a kind of a roller coaster effect to it. But nevertheless, if you click play it will show you the lo-res version of your shot stitched together. Additional information is displayed across the top bar shows resolution, duration, date, size, and blending selection. Below the video you’ll see drop-down boxes where you can choose or change stabilization, blending, slip, color harmonization, and render choices.

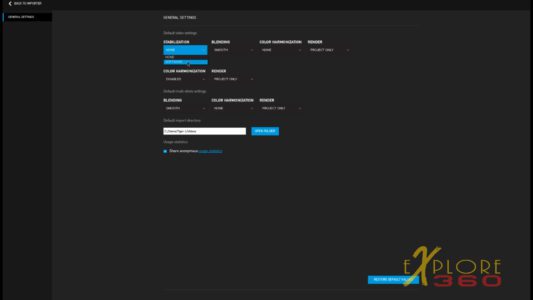
One new feature in 2.6 is that you can now go into preferences and set up your choices for most of the settings. You can choose additional videos to process by several methods.
First, hit the control key on windows and the “A” key, and that will select all of the videos.
Another method would be to hold down the control key and click on which videos you want to select.
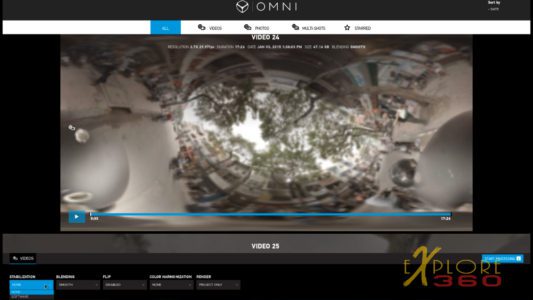
Stabilization, you have a choice of optical stabilization or none.

Blending gives you a choice of smooth or sharp. Will get into what each one is for in another article.

Flip gives you a choice if your video is shot upside down or right side up.
Color harmonization lets you choose to have the video checked every one second, every five seconds, or every 10 seconds. This can be very important for blending the six cameras.

Render gives you the choice of creating only the project or creating a project plus what I call a check file. This 360 video can be to KH.264, 4K H.26440 resolution Cineform 4:2:2 High.
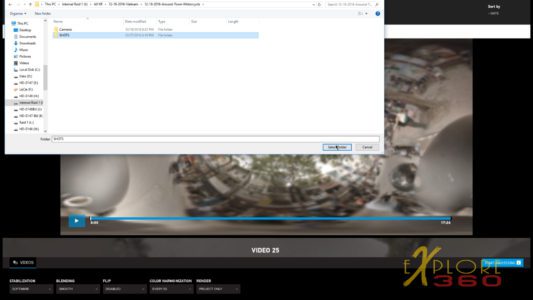
The last step in this process would be to click the “start processing” button. You will then be prompted for where to put your finished product. You can create a project folder called “Video” or you can stick with the older version when they were called “Shots.”
The Omni Importer well then do the rest.
For further explanation, please watch the video at the top or click here.