It’s a fact that high-quality aerial footage contributes heavily to the overall production value of any video. And the cost of doing these shots has dropped to reasonable levels with the introduction of drones like the DJI Phantom series. They all have excellent quality cameras onboard with gimbals. But along with those have come restrictions about where you can fly these. Also, 360 cameras are bigger and heavier than the single camera mounted on the drone. That means for something like the GoPro Omni, you realistically need an octocopter to carry the weight. That brings the cost up considerably, and the permits for flying become more complicated.

This is particularly the case for 360 VR productions. But there are unique challenges to achieving this goal. 360 cameras see everything. That means that the camera can also see the drone, either above or below it, depending on where the camera is placed. So, the quandary is, how do we get a good 360 shot with a drone?
I decided to put this to the test using the DJI Mavic Pro and a Samsung Gear 360 camera
.
The first step was figuring out how to mount the camera. Searching online, I found images of mounts for both the bottom and the top of the Mavic. One of the considerations is trying to avoid impeding the bottom crash avoidance sensors on the Mavic. I decided the best thing to do was to design my own 3D printed mount using TinkerCad, a free 3D design platform bu AutoCad. I didn’t want the Samsung too close to the bottom, so I created a riser to move it away from the Mavic Pro. This would give me a smaller area to paint out in post production. The combo is available on my Shapeways store if you want to try this. But, keep in mind, try at your own risk. I didn’t have any problems, but I caution you, just in case. You will need two parts to complete the mount that are not 3D printed. They are available at Amazon. They are a 1/4″ Camera Mount Screw and a ¼”-male to 1/4’” Male Screw Adapter.
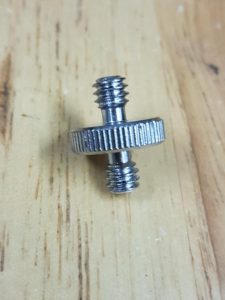
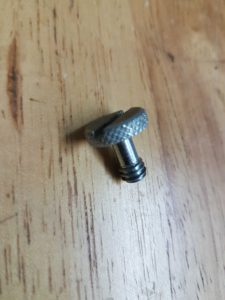
My friend Adrian was kind enough, to volunteer his DJI Mavic Pro for the test. We went to Benjasiri Park in Bangkok, Thailand for the maiden flight. Flying straight up from the grassy area we put the rig to the test. And we were not disappointed, the aerial test went very well.
Then it was back to the office to check it out the video. Along the way, I used my Samsung Galaxy S7 to stitch the shot. Watching it on the phone showed me that the video was ready to go.
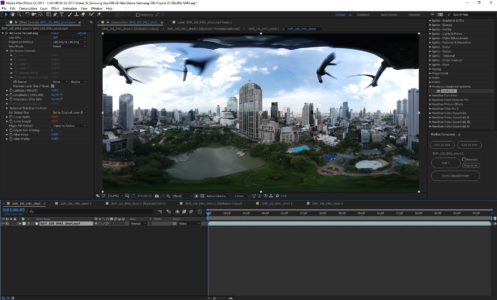
But now I had to remove the quadcopter and put the sky in its place. The first step in that process after importing the footage into my PC was to stabilize the video. The Mavic Pro handled the Samsung Gear 360 very well, but there was some jitter that would probably give you a headache if you tried to watch it in a Samsung Gear VR Headset.
Importing the footage into Adobe After Effects I created a composition to work my magic.
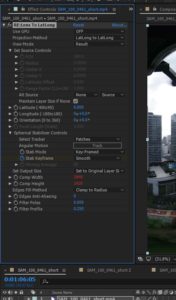
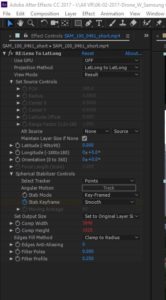
I applied the Re: Vision FX, RE: Lens plugin. This plugin is surprisingly simple to work with. Once applied, I expanded the Spherical Stabilizer Controls. The only choice that you have to make is if you think the Points or Patches process will yield a better result. Patches seem to work better for more difficult stabilization issues, so I decided to go with it. Then click, Track and sit back while RE :Lens does its magic.
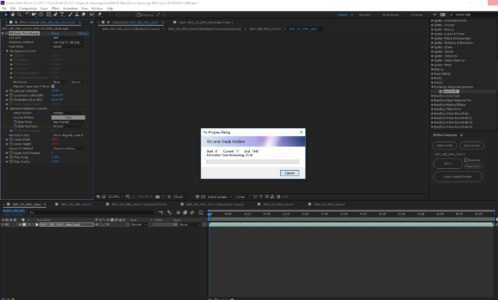
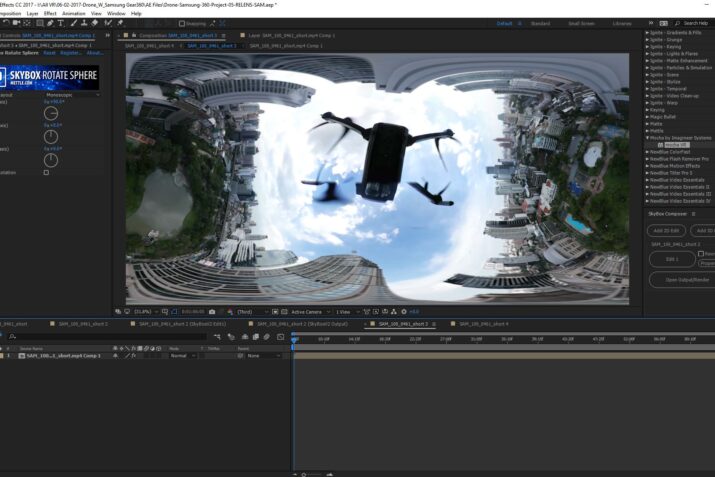
To go to the next step, I need to precompose the video to create a new composition, moving all of the attributes into the new composition. I then applied the Mettle Skybox Rotate Sphere to the image and changed the tilt (X) axis to +90degrees. This gave me the best view of the area that I needed to replace.

An Adjustment Layer would need to be added to the composition. On that Adjustment Layer, I added the Boris FX BCC Texture, Clouds. Using the Pen tool, I outlined the space that I wanted to replace leaving room around the edges close to the buildings.

To match the activity in the video, I adjusted the Cloud Speed and Billow Speed. For Cloud Type, I used Airy, which mated the original clouds. I used the Color Picker to select the right shades of white and blue to match. Next, I adjusted the Mask Path Shape to follow any remaining movement.
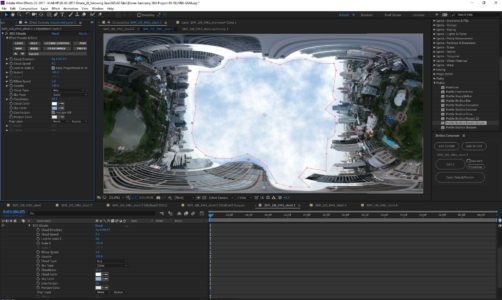
Finally, going back to the Project tab, I created a new composition from the composition that I was working to get to the final step. In that final composition, I added the Mettle SkyBox Rotate Sphere again and changed the Tilt (X) Axis to -90 degrees to create the final output.

That’s all it takes. One thing to keep in mind is that you could change several things in this production process. You could use a DJI Phantom or possibly put a second Samsung Gear 360 Camera mounted on the top. But those are things that I will leave for my next experiment. I hope that you enjoyed this one.

