
Today’s tutorial we are going to show you how to replace your monopod rig at the bottom, or nadir, in a 360 photo. This is a very quick process.
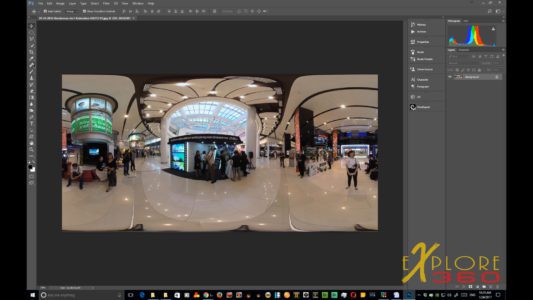
To begin, I have output my 360 still image from Autopano Giga.
Next, I open Adobe Photoshop and import the 360 still image.
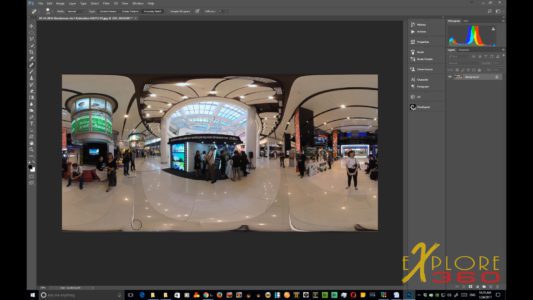
By far the easiest way to do this is with the spot healing brush tool so that we will try that first. In this case, it’s not doing as good a job as I’d like. Let’s step back and try another method.

We will Zoom in on that area and use our clone stamp tool. I want to bring the size of the tool down a little bit.
I want to do this quickly because I don’t want to take too much time with it.
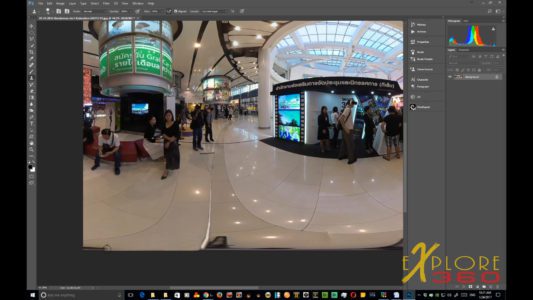
By clicking the Alt button, we will select an area to be cloned.
Notice that now we’re completely getting rid of the rig. It’s best to change the area often that you are cloning from to maintain accuracy.

In the video above, you can see this happening in real time. You can take as long as you need and you might even want to zoom in more to get a good selection area for the clone. But for this demonstration, I am showing how fast this can be done when you need to save time.

When you have it the way that you want it, adjust your Levels and color. In this case, I took this from a video so adjusting the levels is very important as videos and still utilize different levels. Once that’s done, do a Save As and post you finished 360 VR Still on Facebook or wherever you like.