Al Caudullo for 360Today
The Kandao QooCam is one of the new breed of convertible dual cameras offering both 4K 360 and 4K 3-D VR180
I’m going to give you a quick tutorial on how to work with the QooCam in QooCam Studio.
Shooting with the QooCam is a straightforward process, and I’ve already gone over that in a previous tutorial
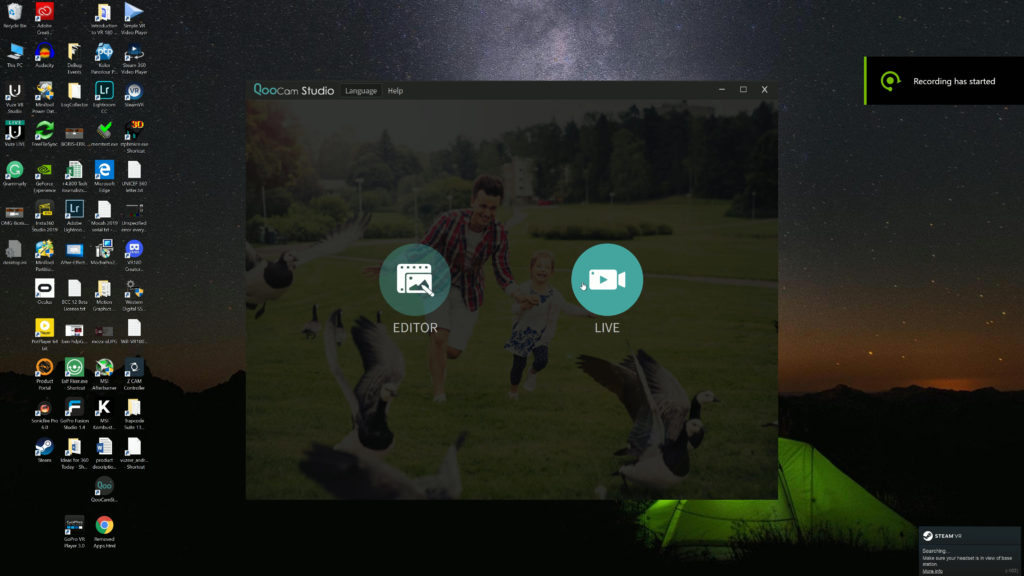
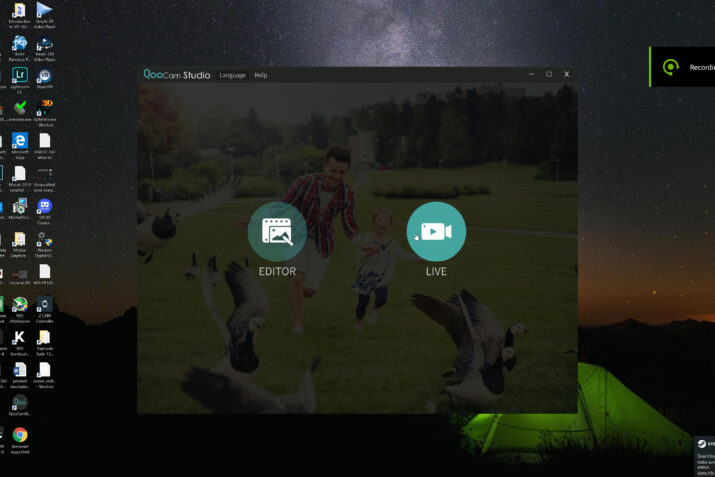
The next step is to import your videos into your computer. Once you have them imported, open up the QooCam Studio app on your computer, and you will click on the Editor icon.
When it is opened you drag and drop or click the Add+ button and select the videos that you want to render together.
QooCam Studio software will work for both your 360 and your VR180 videos, but for now, we’re going to work on the VR180 videos.
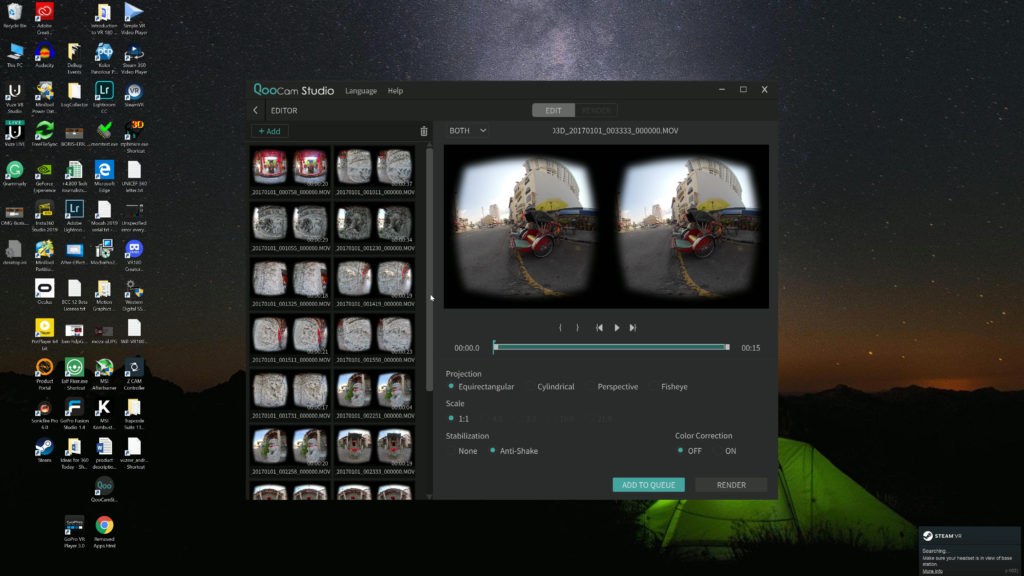
You can tell the difference between your VR180 videos because they have the prefix of KD3D. The 360 videos have a prefix of Q360.
The first choices that are offered in the software are for what type of projection you would like. Your choices are Equirectangular
Cylindrical
Perspective
Fisheye
I always use Equirectangular
I will use the anti-shake if it’s needed for the video.
You can either turn on or off the color correction.
There is also a scale adjustment if you are using cylindrical or perspective projection.
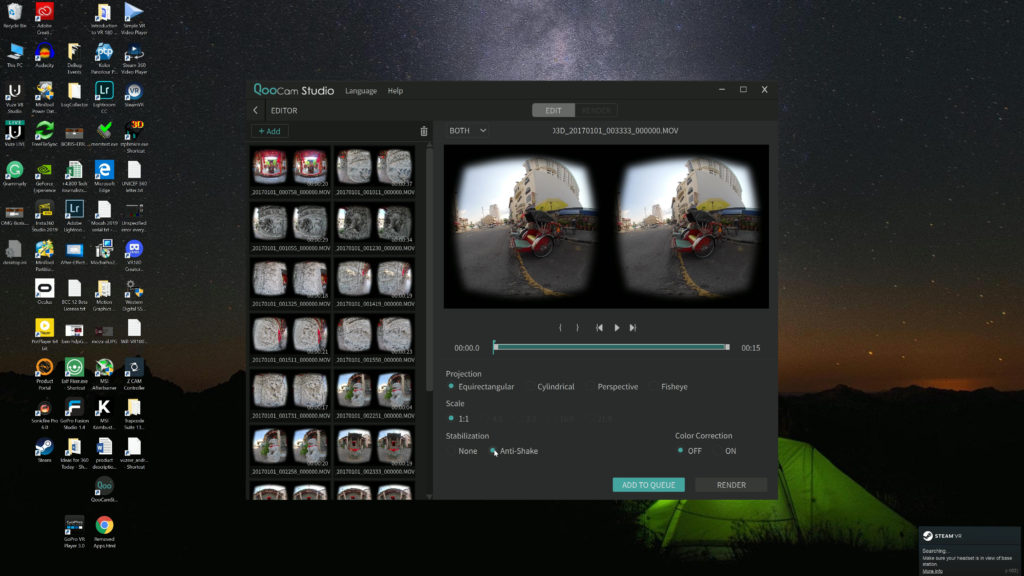
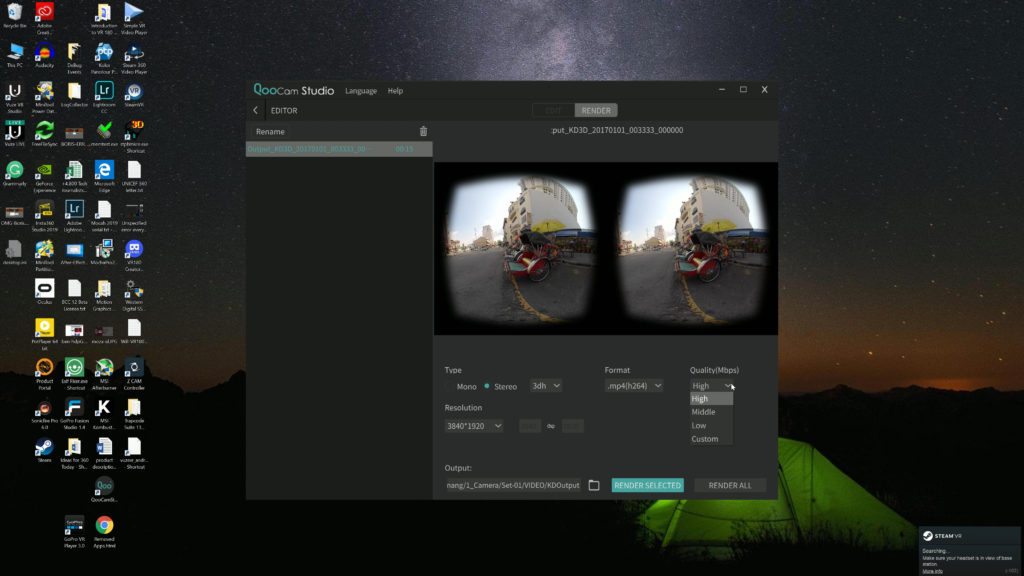
With those decisions made you have a choice of rendering immediately or adding one or more items into the Render Queue.
In the Render Queue you have several more decisions to make.
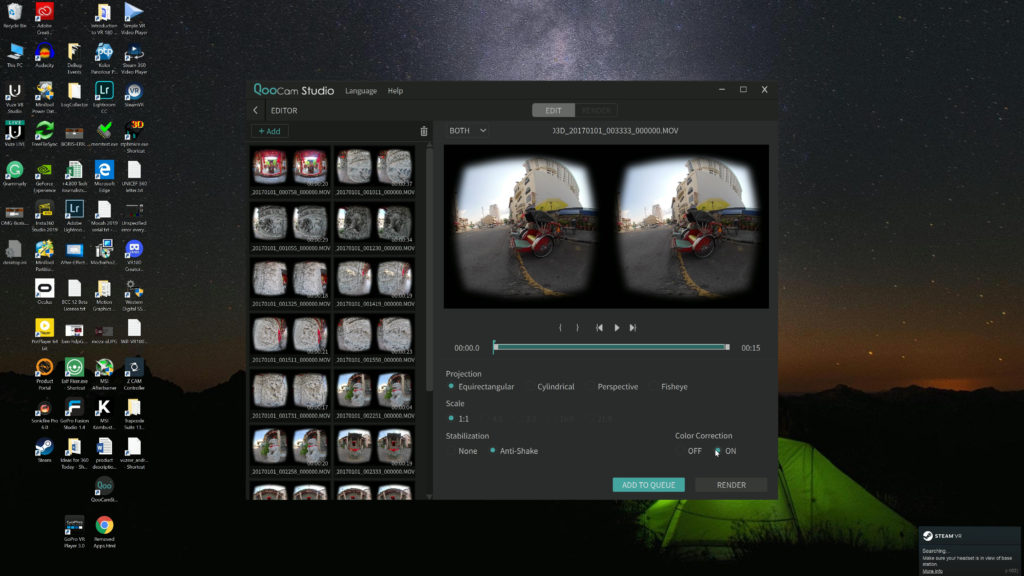
The image can be rendered as mono or stereo. In stereo mode you can use 3dh which is side-by-side format or 3dv which is top bottom format.
In the quality settings you can decide on high, middle, low, or custom.
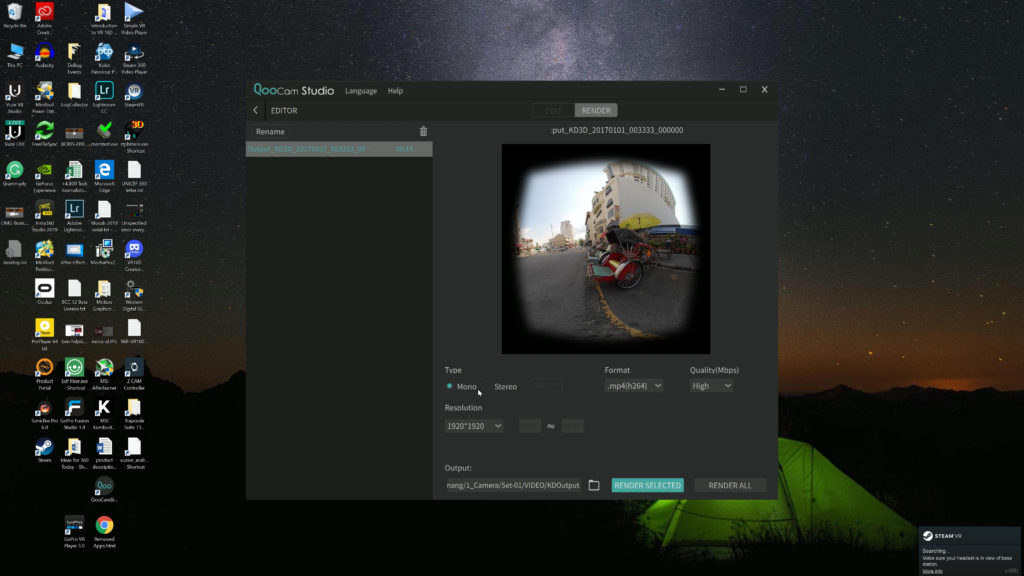
At the very bottom you can click the icon to decide where to render your files.
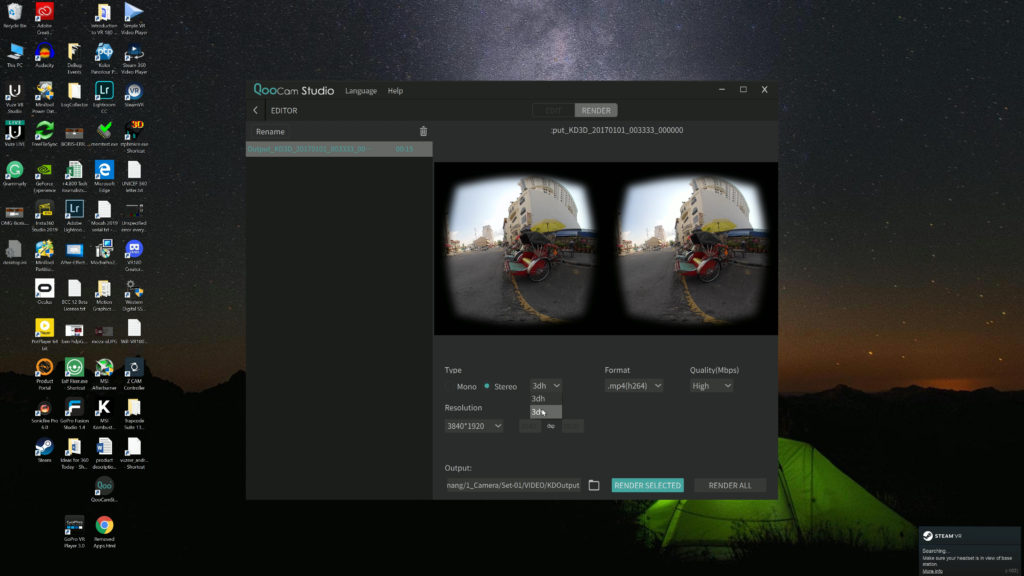
And finally you can render the selected item or all of your items.
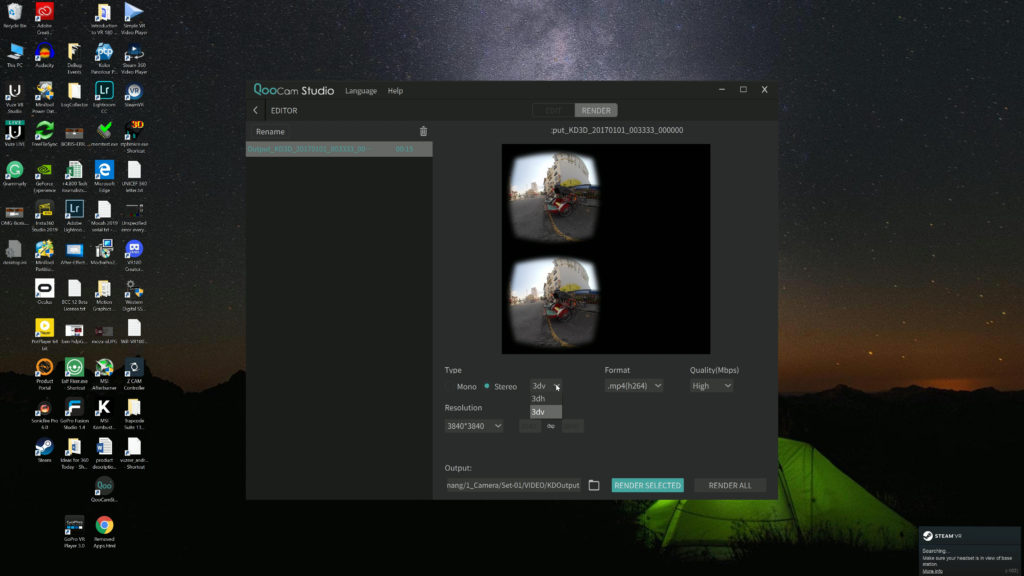
That wraps it up for QooCam studio.
From there or your next step would be to edit your videos in Premiere Pro CC 2019.

