Mantra, in case you didn’t know, comes from the brilliant team that created the VR plugins that we use in Adobe Premiere and After Effects. Mantra has always been a creative artist dream enabling them to master new virtual worlds with relative ease.
With so many clients clamoring for XR, Mantra can deliver AR in a fast and easy way. I am going to show you how to do this, step by step.
Here we go.
To begin with, please make sure you have the latest version of Mantra by either downloading from your Mettle account if you are a customer or downloading the demo version again from the Mettle website.

I recently did work for the Yanks Air Museum in Chino, California. Yanks is a fantastic museum dedicated to housing and restoring to original specifications vintage aircraft from American history. I love their logo, and I will use that as my example in this exercise.
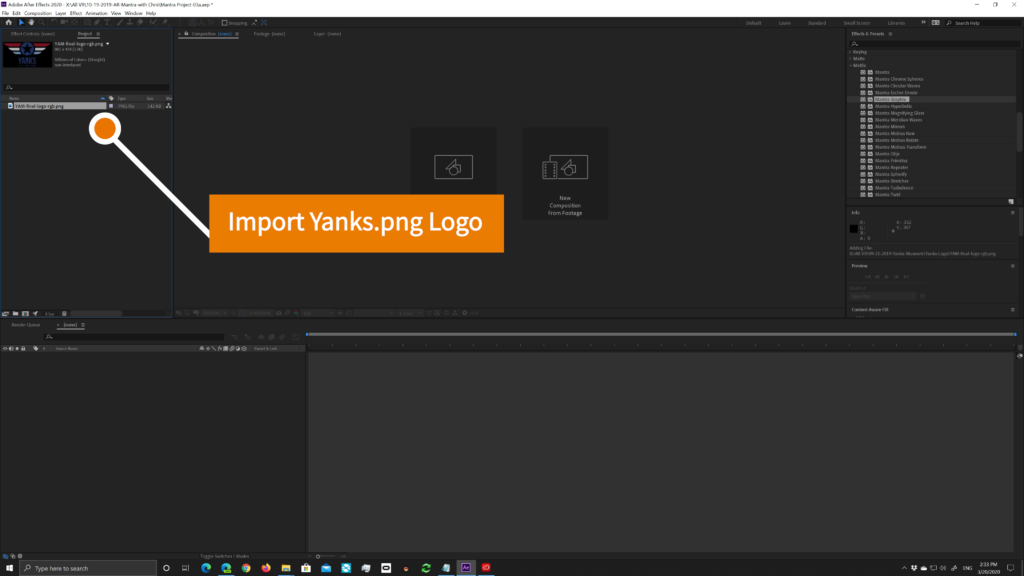
The first step was to open the logo in Photoshop to create a png.
Once that is completed, I open After Effects with Mantra V2 installed.
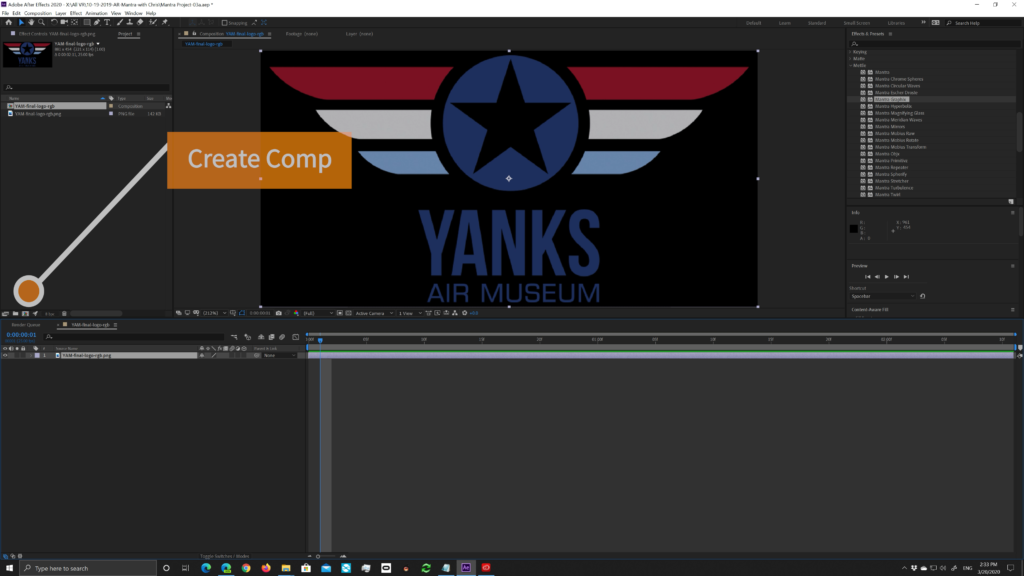
The next step is to drag the Yanks logo into a new composition.
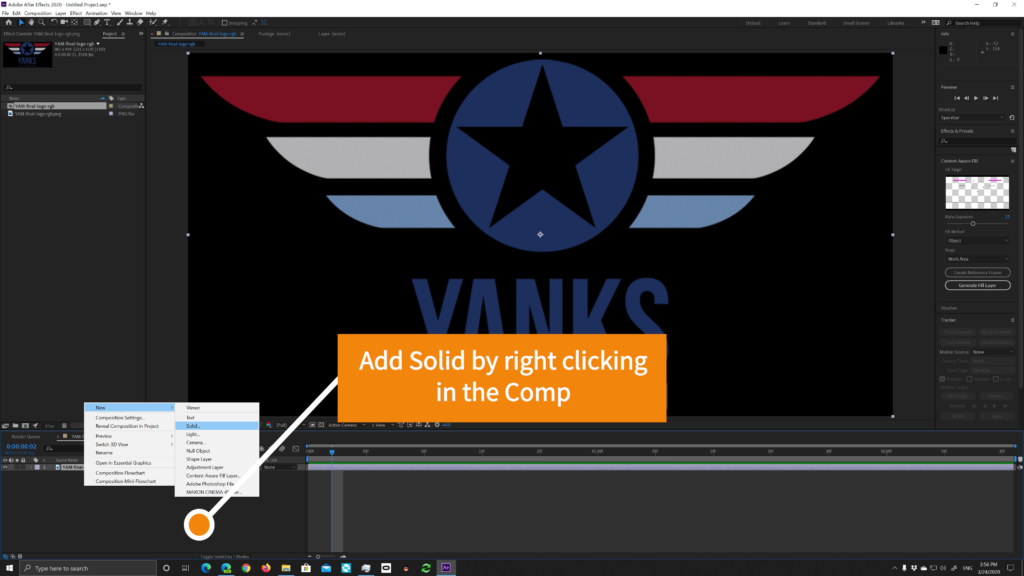
We will need to use a solid, so I right-click inside the comp and create a black solid, and I make sure to make the solid match the comp resolution.
Be sure that the solid is above the png on the timeline.
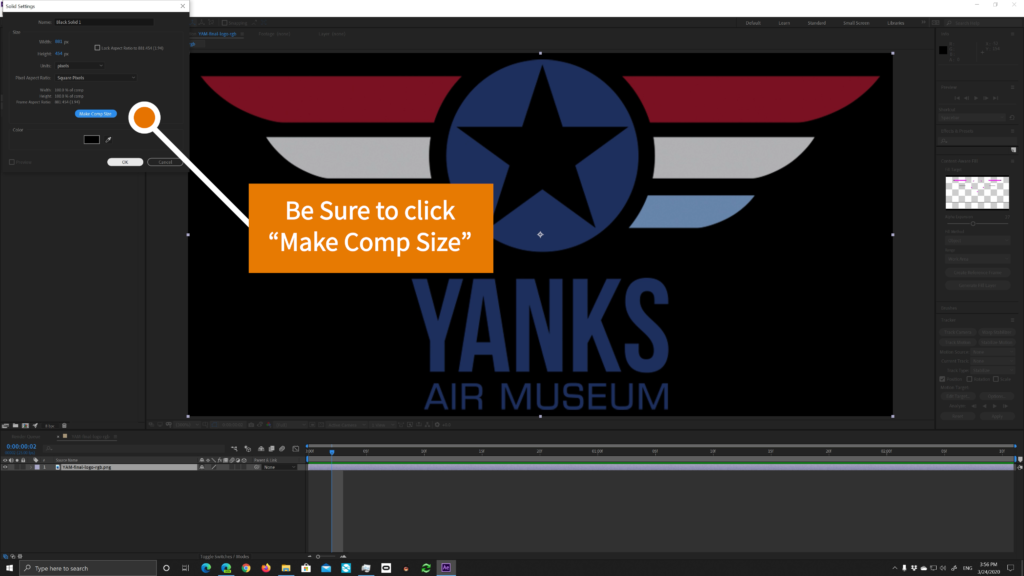
Go over to effects and open the menu for Mettle. Select Mantra Graphix and drag it onto the solid.
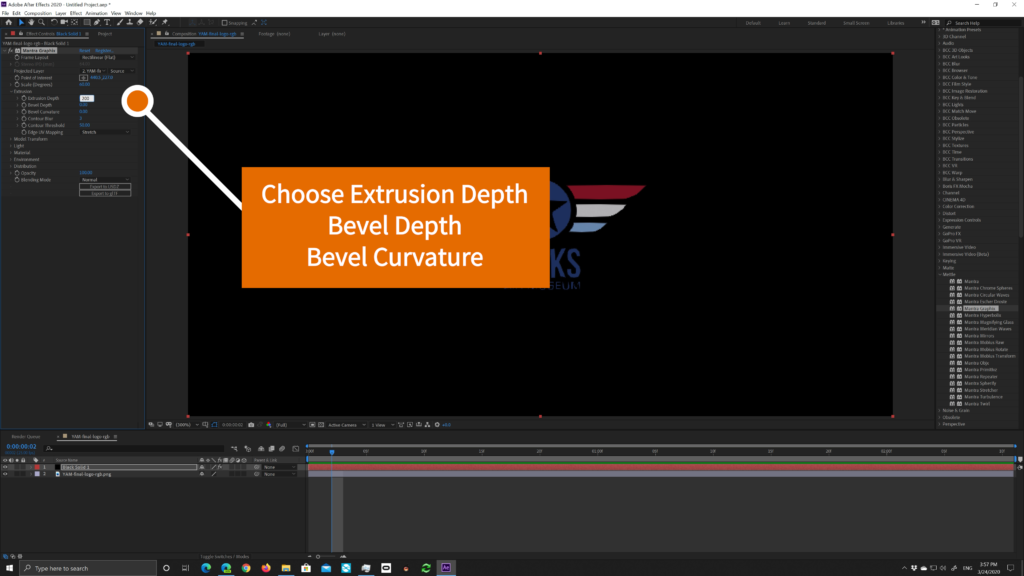
In the Effects Control window, there are a few quick adjustments to make.
- Frame Layout, make sure it is set to rectilinear.
- Projected Layer, From the dropdown menu, select layer 2, the Yanks png
- Open Extrusion and adjust the following
- Extrusion Depth, this is up to you as to how deep you want your AR logo. I chose 200
- Bevel Depth and Bevel Curvature, Again these can be either left alone or adjusted to your liking.
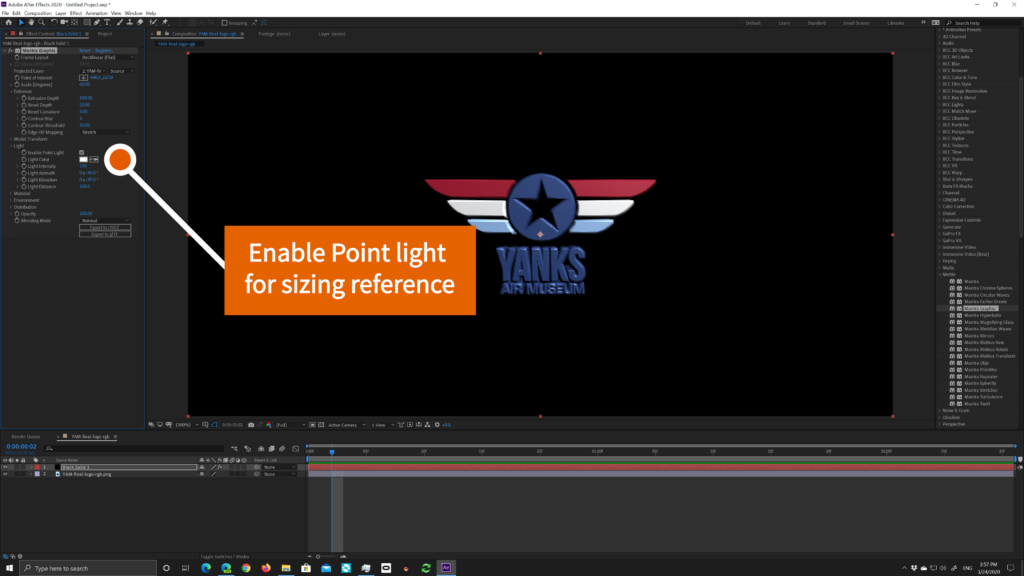
- Light, To make it easier for you to decide on the above settings, you can Enable Point Light and play around with the light Color, Light Azimuth. Light Elevation, and Light Distance. But keep in mind when you export this and use it in the Project Aero (or other AR App), these settings will not appear. Your AR logo will take on the lighting from its parameters in the App.
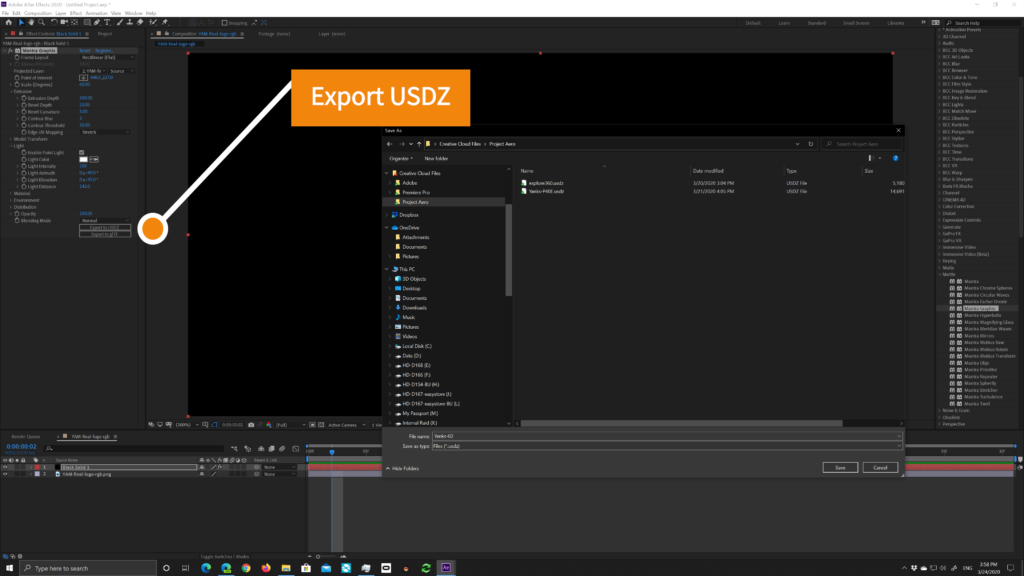
With your choices made, you are ready to export your 3D models for your AR Logo.
Here there are two options.
- Export to USDZ- USDZ is a 3D file format that shows up as AR content on a website when you click on it while reading the news or shopping. It is also used in iOS AR apps. It’s like a PNG for 3D, with optimizations for storage and sharing.
- Export to glTF- glTF (GL Transmission Format) is a 3D file format that stores 3D model information in JSON format. … It was adopted for the efficient transmission and loading of 3D scenes and models by applications. glTF was developed by the Khronos Group 3D Formats Working Group and is also described as JPEG of 3D by its creators.
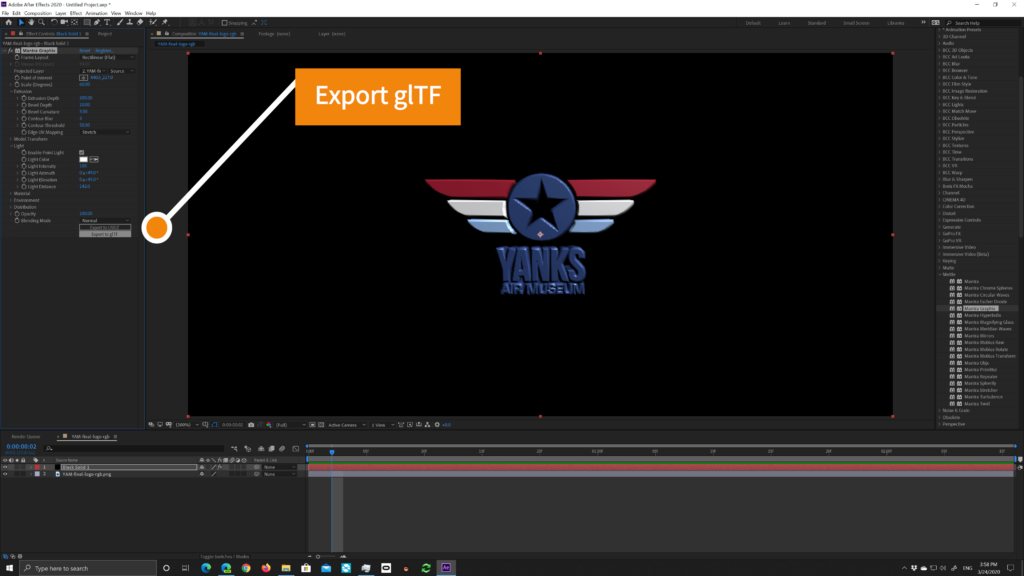
First, we are going to cover using it in Adobe Project Aero, which was introduced by Adobe to work with Apple’s ARKit.
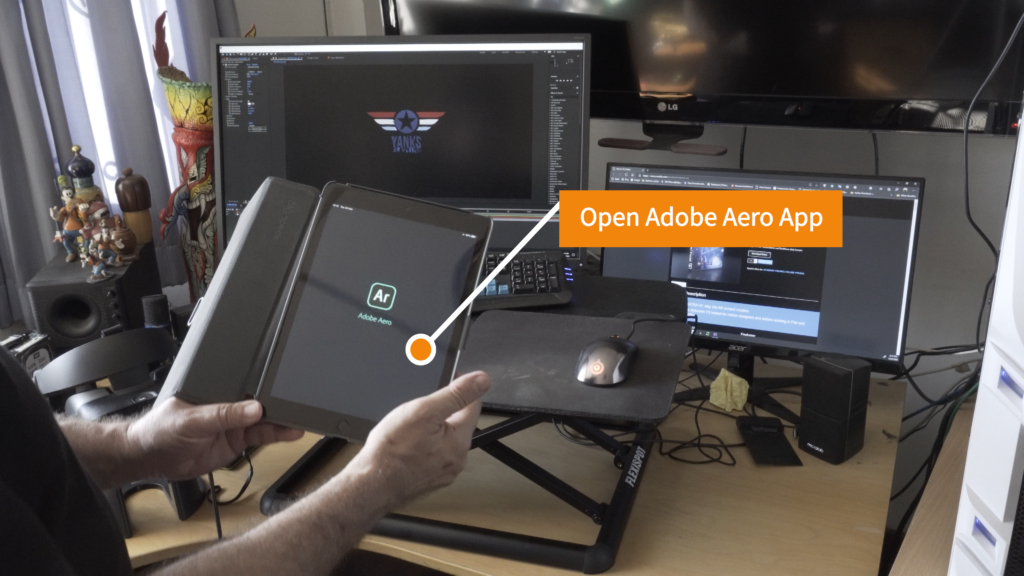
- I’ve exported the glTF to my Creative Cloud set of folders into the Project Aero folder. If you don’t have one, just create one.
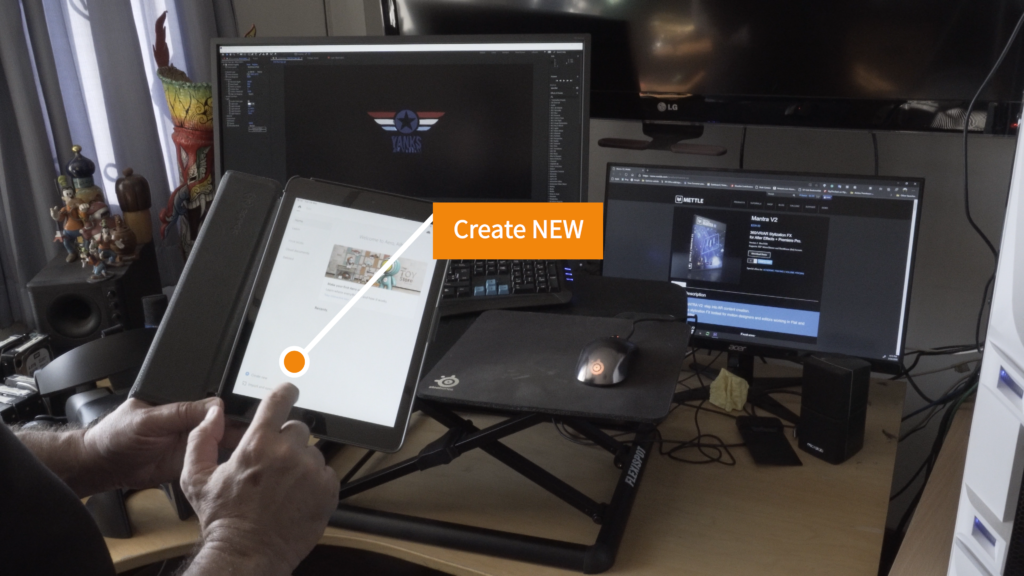
- I open my iPad and open the Aero app. On the bottom left, I select Create New.
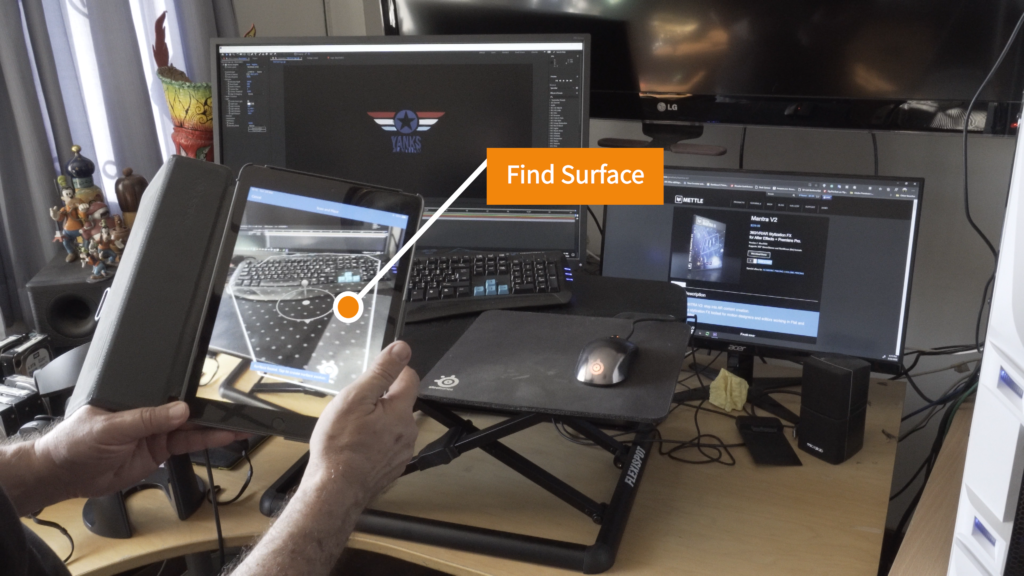
- You’ll notice that the camera is activated, and the App is trying to find surfaces to place your AR object on. Once it finds a suitable surface, it asks you to tap the position, which will select that as the anchor spot.
- Next, click the blue + button, which will open a menu. Select Creative Cloud, and you should see your Project Aero folder. Open it up and select your 3D model. In my case Yanks.glb
- The next window lets you Open by clicking in the lower right corner.
- The screen will p[rompt you to “Tap to place the object.”
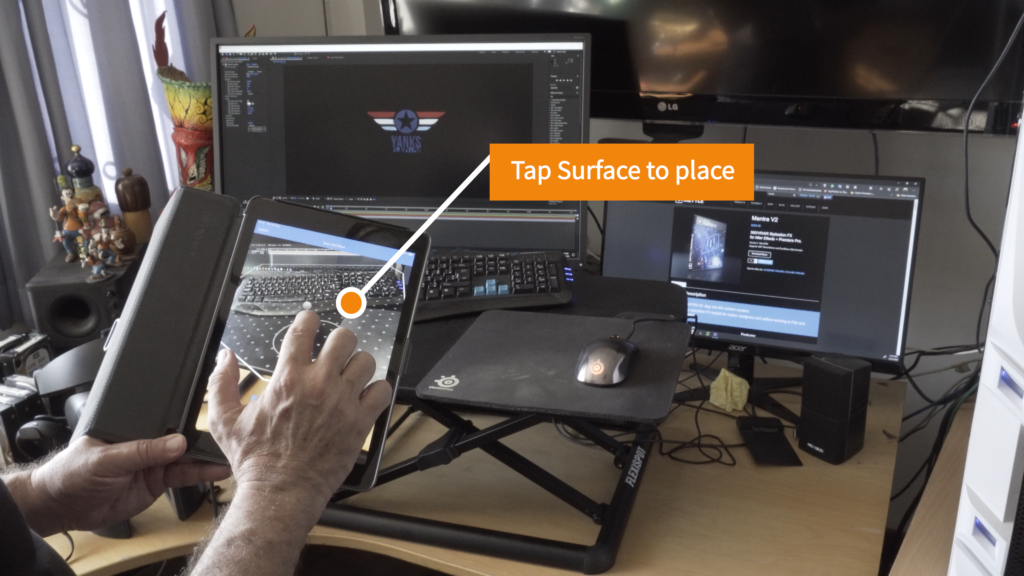
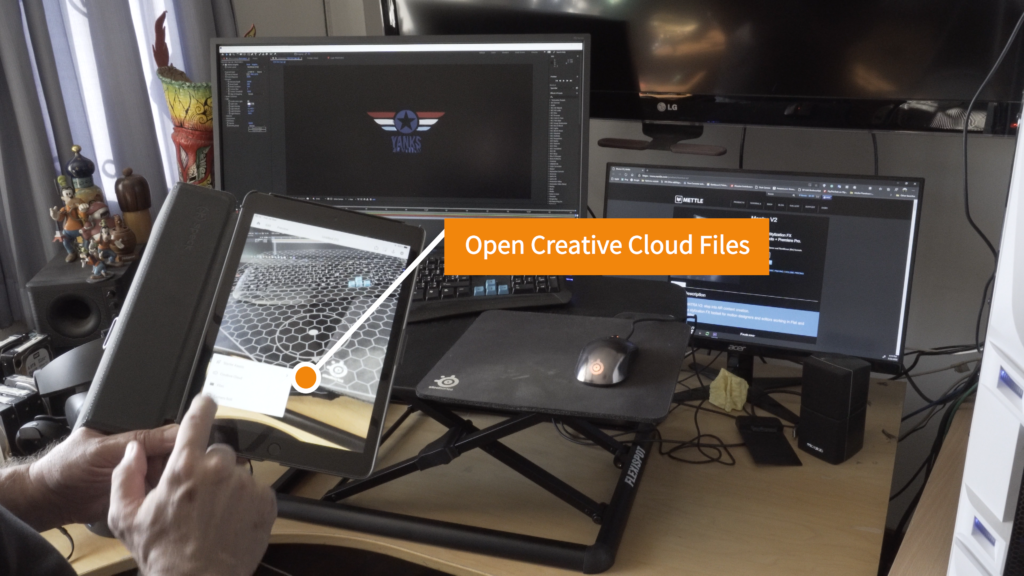
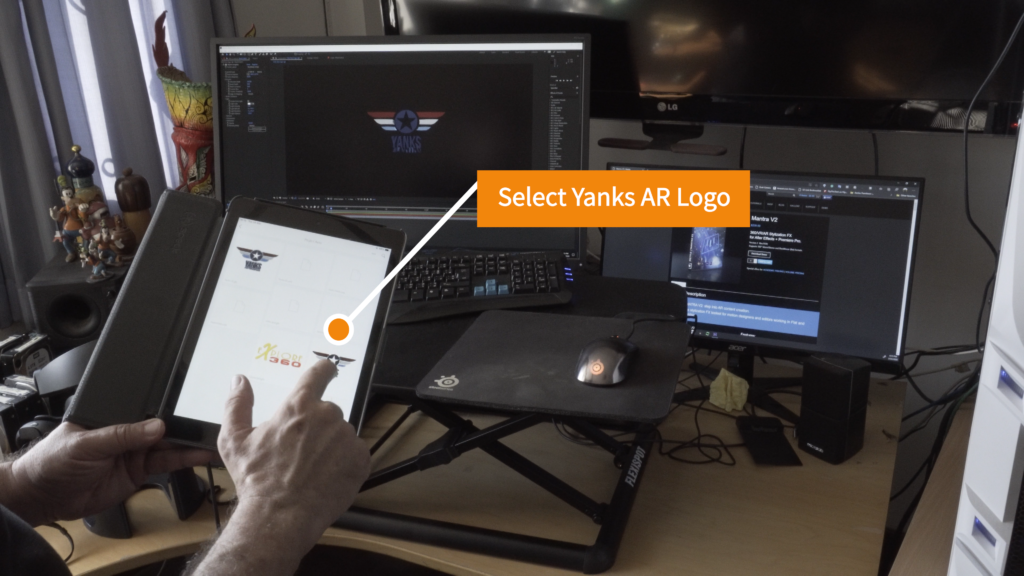
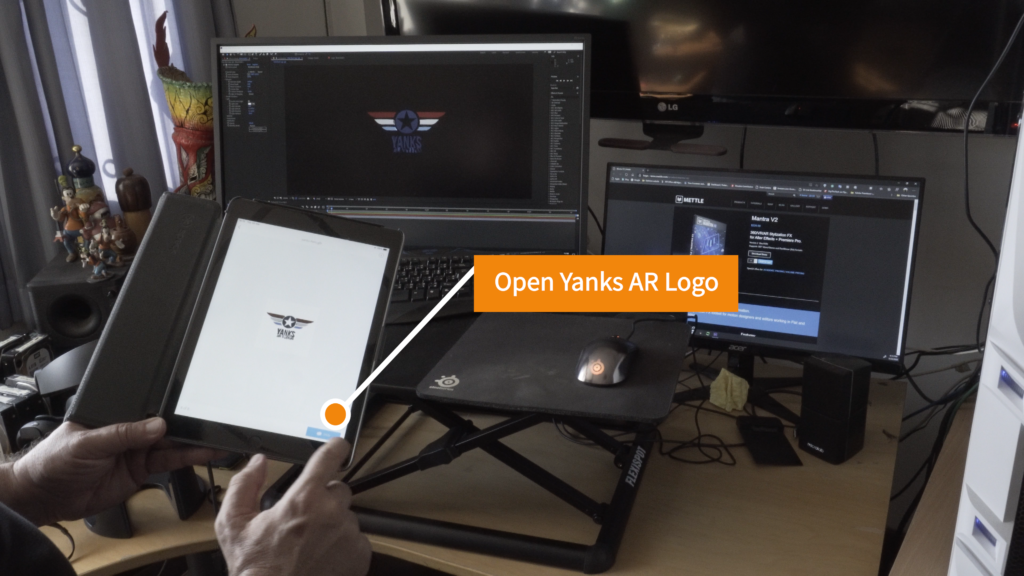
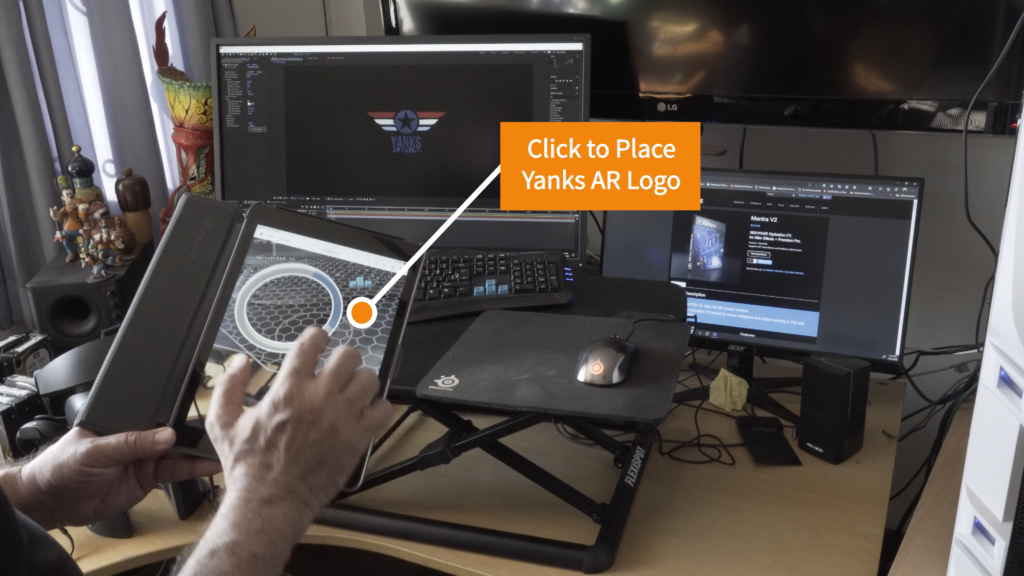
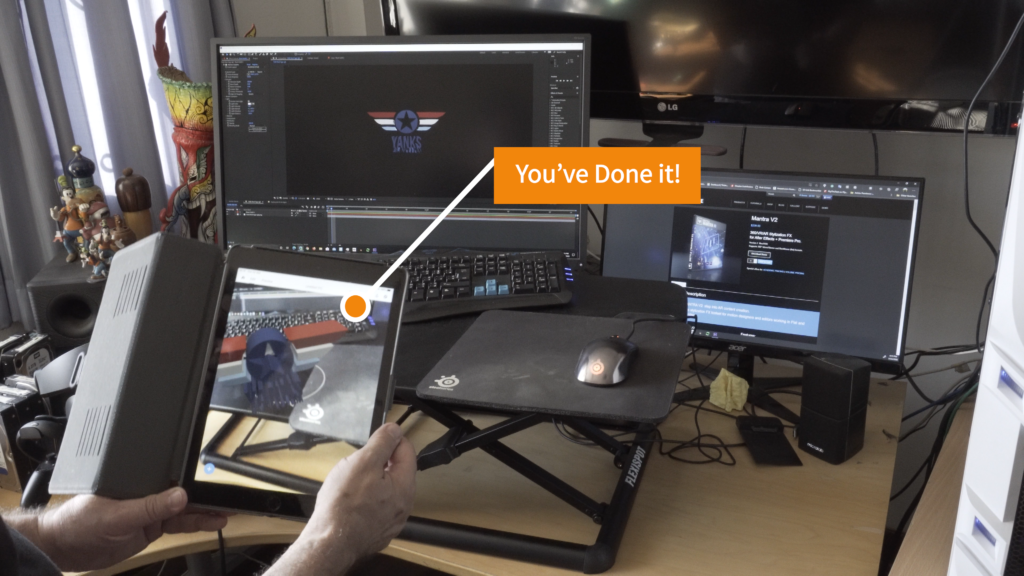
To have some more fun with your AR logo, click on it, and across the bottom, you’ll have choices to do the following.
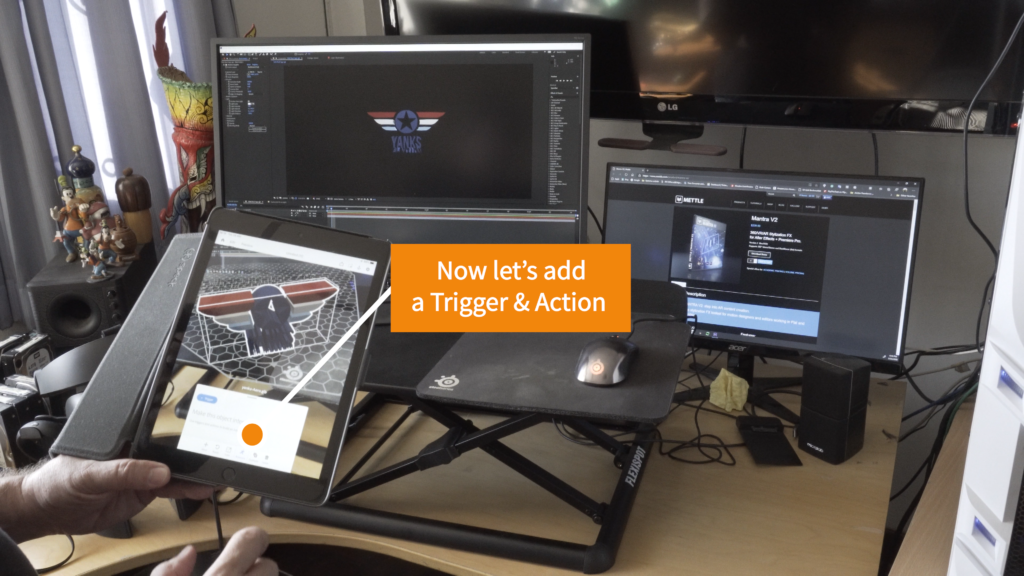
- Move the AR object using X, Y, and Z coordinates.
- Rotate the AR object.
- Scale the AR object.
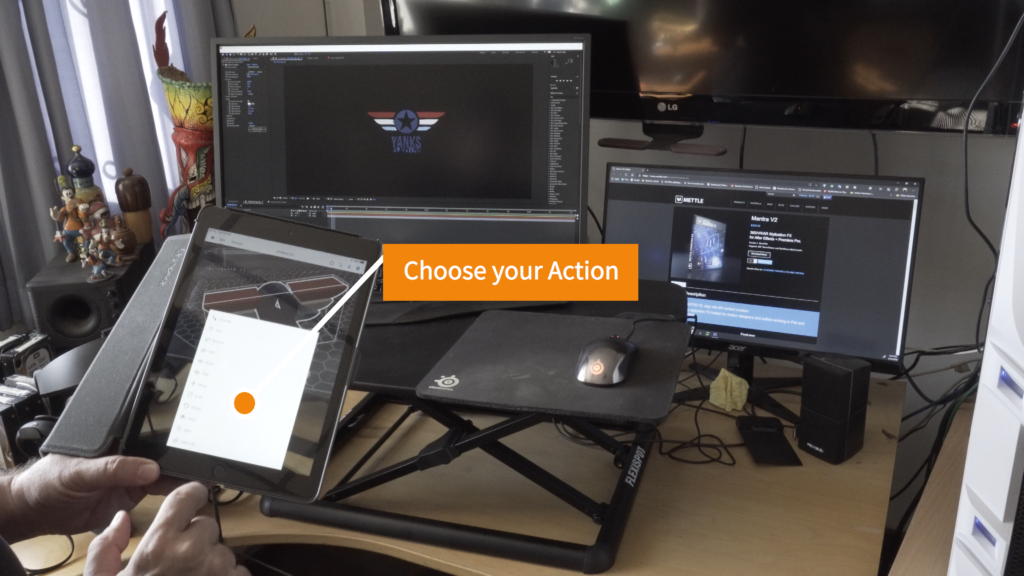
- Behaviors. Here is where the fun begins. By selecting Behaviors, you can assign actions and animations that are triggered in different ways.
- You have a choice of the initial Trigger. This can happen when you Start, Tap, or by Proximity.
- Then click Action, and you can choose from 12 different options, including having it open a URL. You can also stack actions and have multiple things happen in a specific order. What you choose is open to your imagination.
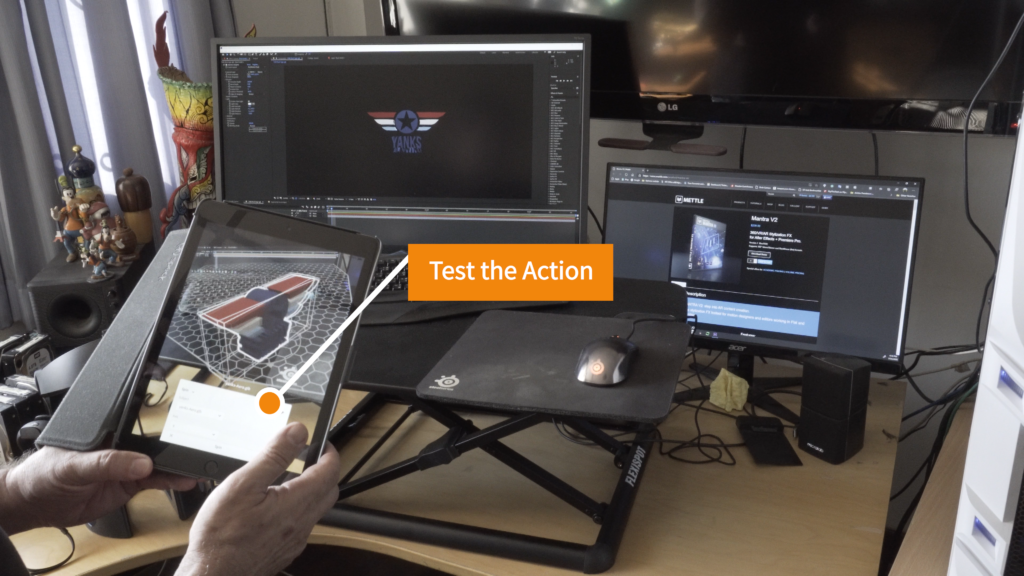
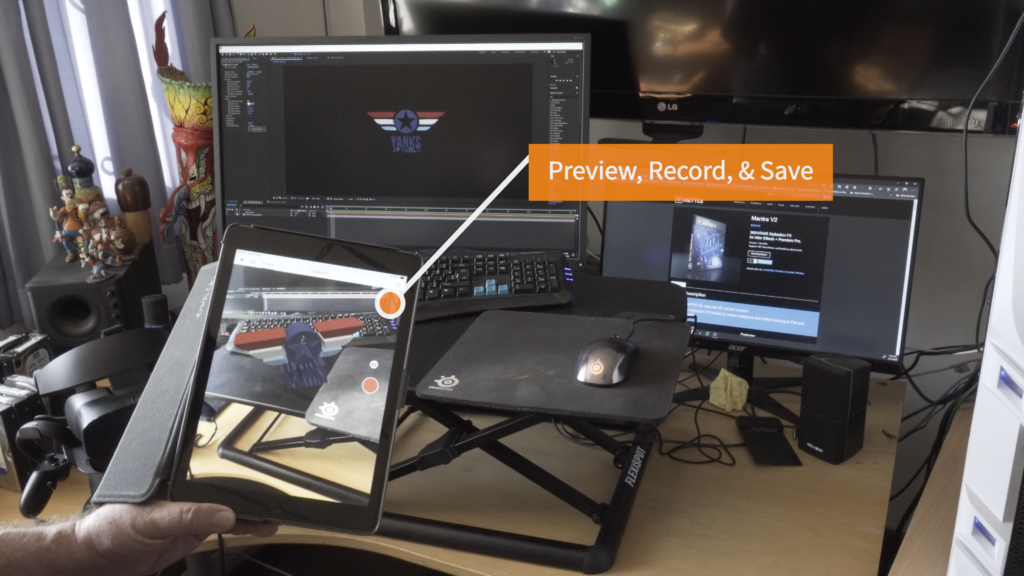
Voila! You’ve done it.
If you have an Android phone like my Samsung S8, then you will need an Android-based AR App. I tried out several and the one that I like best is called PlayAR. You can find it here on the Google Play Store, https://play.google.com/store/apps/details?id=com.inneo.inneoar3dmodelimporter&hl=en_US.

One thought on “Mettle Mantra Graphix Gives You Fast, Easy AR”