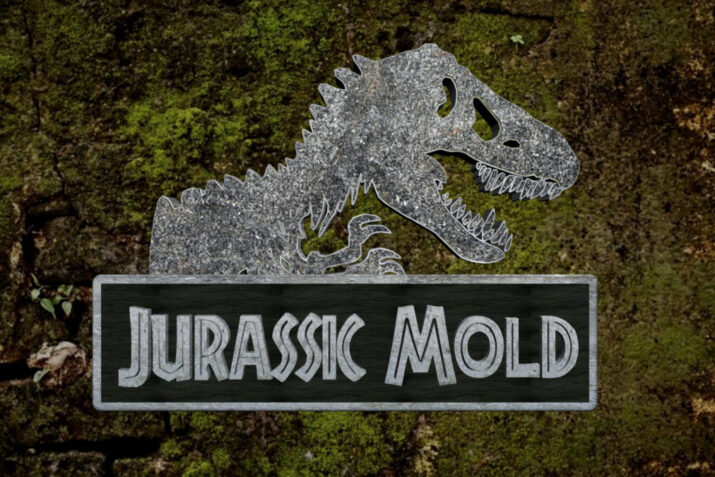
Hands down my favorite titler is NewBlueFX Titler Pro 4. Amazingly fast and simple, but with the depth of features to enable you to be as creative as you want to be. If you enjoyed Jurassic Park and want to recreate the style of the title then this tutorial created by Shannon Olona is for you.
Dinosaurs, Dinosaurs
Dinosaurs are everywhere thanks to the new Jurassic World release.
And while the new one is shaping up to be on of the biggest summer blockbusters ever, we’re still reminiscing about the original and how it captured everyone’s imagination – young and old.
To that end, we’ve decided to recreate the original logo and show you how we did it.
A Tutorial with a Little Nostalgia on the Side
First things first, you’ll want to get your hands on a Jurassic Park font. There are tons of fonts available across the interwebs, but for this tutorial we used this one.
Once you have your font downloaded, open up Titler Pro 4 and load in the Jurassic Park font. For more information on installing fonts for Windows read this and for installing fonts for Mac watch this video.
Step 1: Type in your title into Enter Text. Select your font from the font drop down menu and kern characters to space them. Then scale text to desired size.

Step 2: Add a texture (like this one) to the text. Click on the Move and Resize button and adjust the texture to the desired look.
Then, under the advanced section in the style tab, create a .12 single curve bevel.

Step 3: Select a rectangle from the Add Shape tab, then click and drag it over your text to create a surrounding box. Head to the Style tab and apply a texture (like this one) to the rectangle. Click on move and resize to adjust the texture for your design.

Step 4: Then add a 3D outline to the rectangle and adjust the thickness to 13. Finally add a texture (like this one) for the outline.

Step 5: Double click the workspace. Select the Jurassic Park font and type * to choose the T-Rex. Drag the T-Rex to the bottom of your timeline so that it sits behind the other layers.

Step 6: Apply a texture (like this one) and add an outline of 1.2.
Lastly, check the Environment Map button to make the outline shine.

Step 6: Import your own clip or a background image (like this one.) Go to the Library and under Effects select Essentials. Open Video Tuneup and select the Reset to None effect. Apply Reset to None by dragging it down to the background image in the timeline.
Now you’ll want to go to the Effects tab and adjust the sliders under Effect Settings. Contrast should be around -33.5, brightness should be adjusted to -8.5, and saturation at -2.1 (changing these settings will give you a darker background).
Once you’re done, you’ll have a Jurassic Park inspired title you can use for your own dinosaur fan film.


