For those of you who don’t know the Vuze XR is a fantastic vr180 and 360 dual VR camera that records in either 5.7 k or 4K.
In a previous tutorial,
I showed you how to import your files into your computer and use the Vuze VR
Studio to get your files ready for
editing.
Now I’m going to show you what to do as you
bring your files into Premiere Pro CC 2019 to start your video edit.
I like to create several bins to keep my files
in order, so I’m going to bring my Vuze
XR video files into my footage folder.
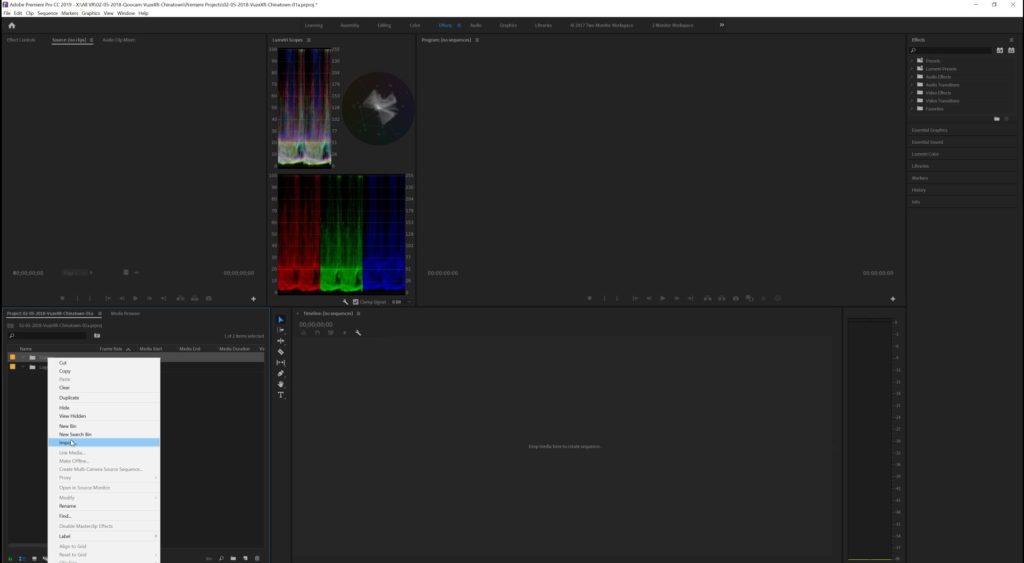
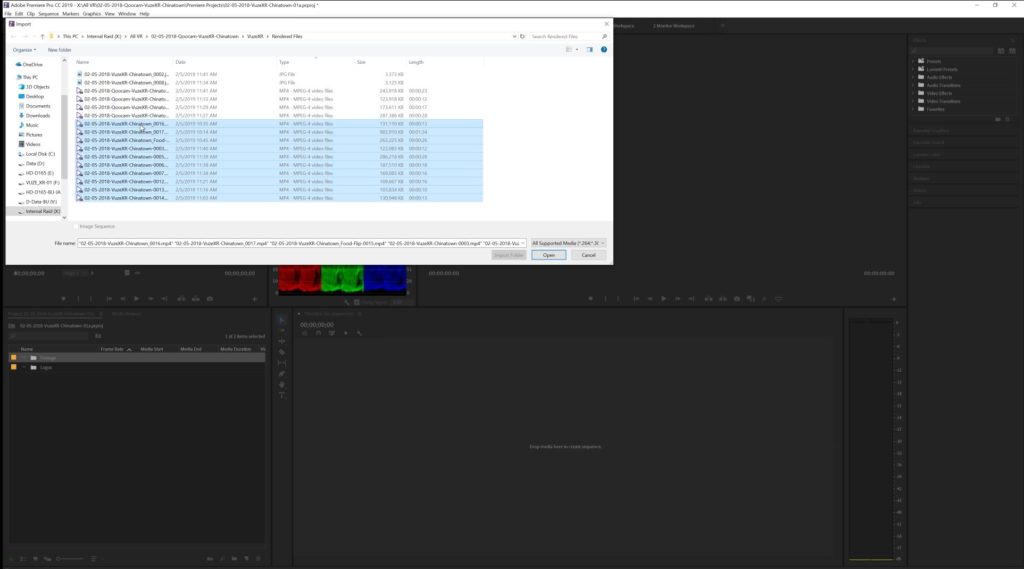
So the first thing to do is to
import the files into Premiere Pro CC 2019.
I’m going to grab just my vr180 files and drag them in.
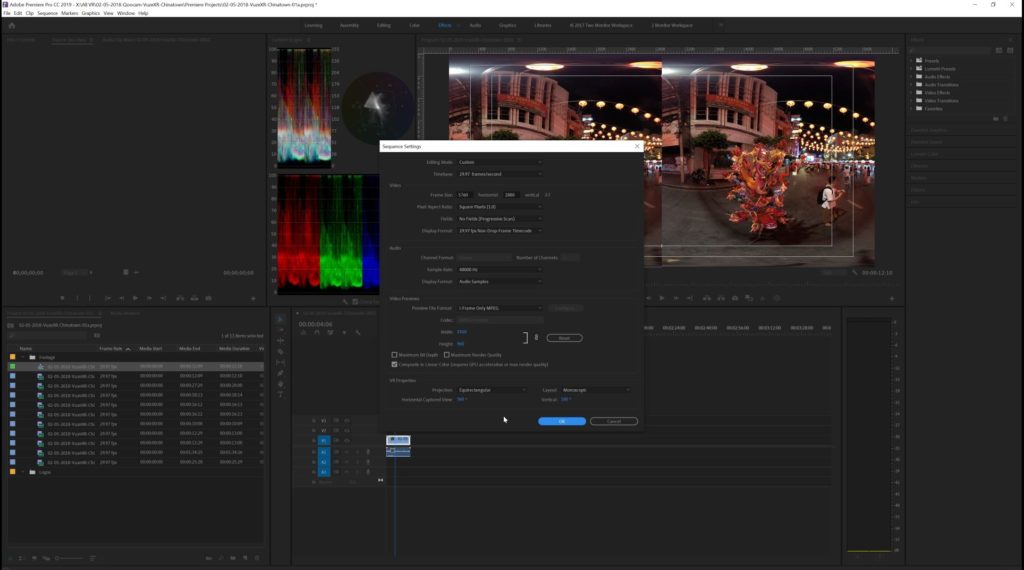
Now if I drag one of these in at to create a new sequence.
Then I take a look at my sequence settings you’ll notice it thinks that it’s monoscopic and it thinks that it’s 360 rather than VR180.
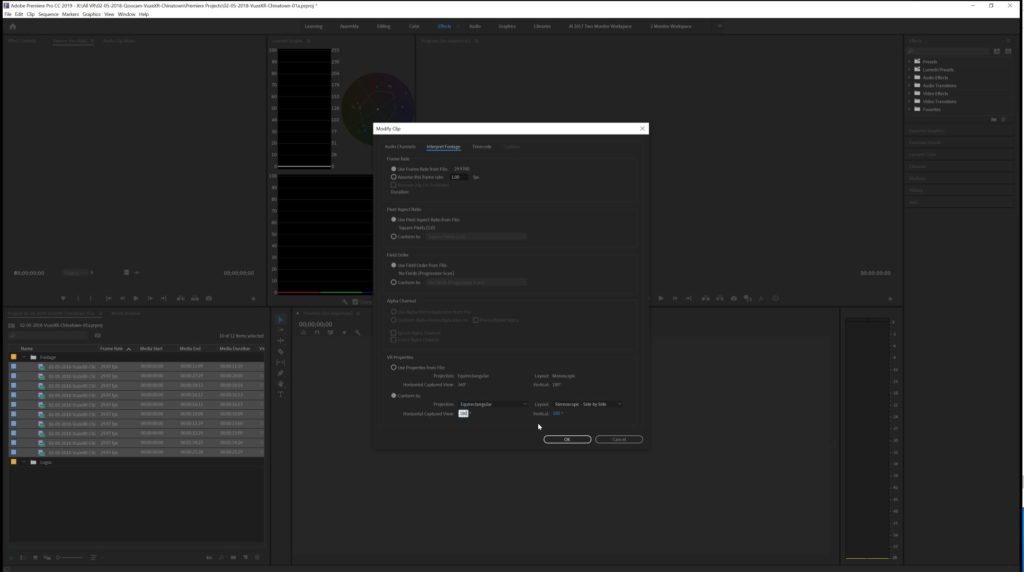
Let me show you the proper way to do this.
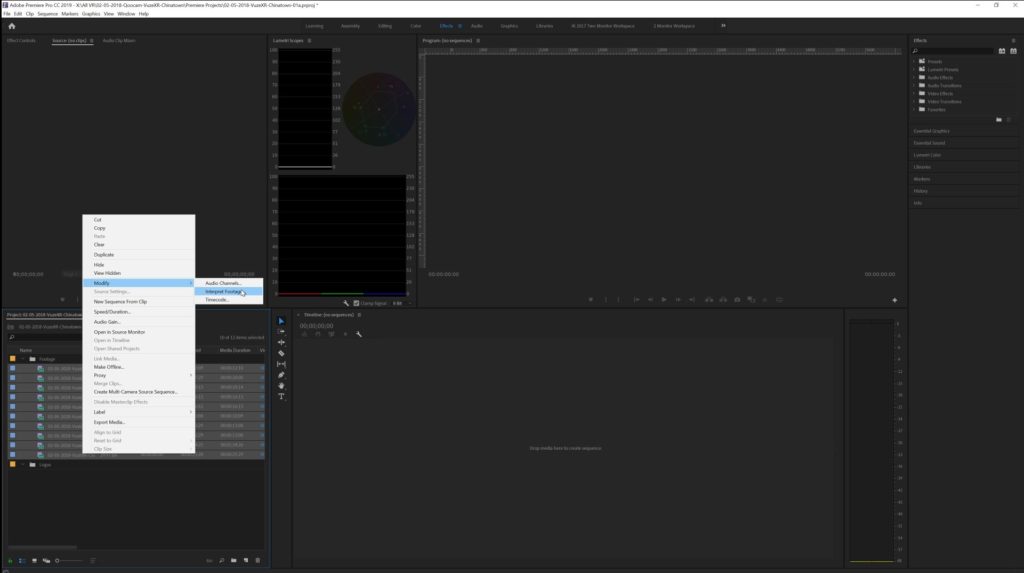
We will delete that sequence and what I’m going to do is I’m going to highlight and select all of my files.
I’m going to right-click I’m going to click on “modify” and then “interpret footage.”
Next, I’m going to go down here at the bottom for the VR properties.
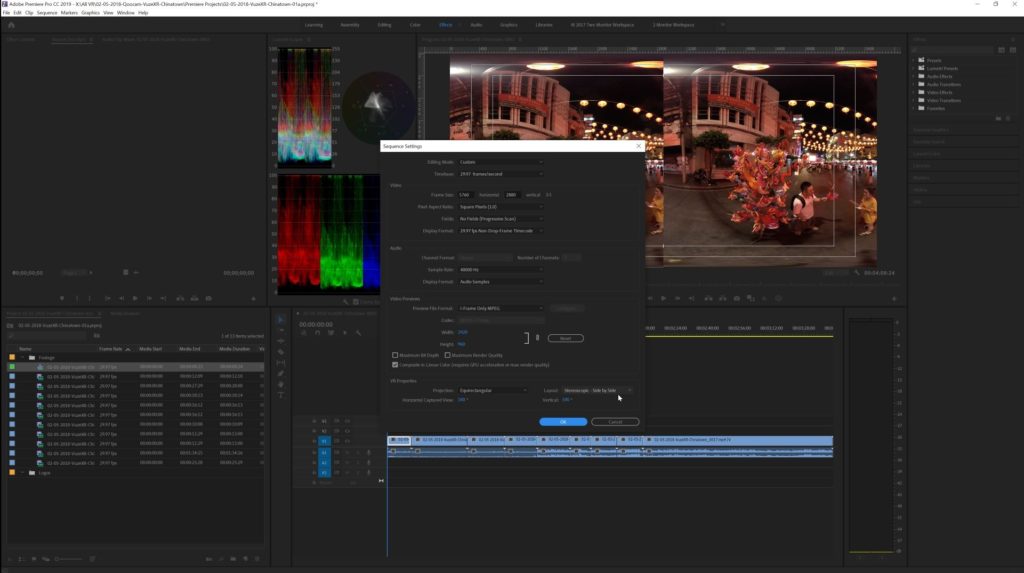
Notice it says it is equirectangular monoscopic 360 and it’s we need to change that.
So we’re going to conform all of these files to equirectangular side by side and 180.
When I drag these files into create a new sequence and I check my sequence settings it’s all correct.
Now we’re ready to go and you can go ahead and edit your files.
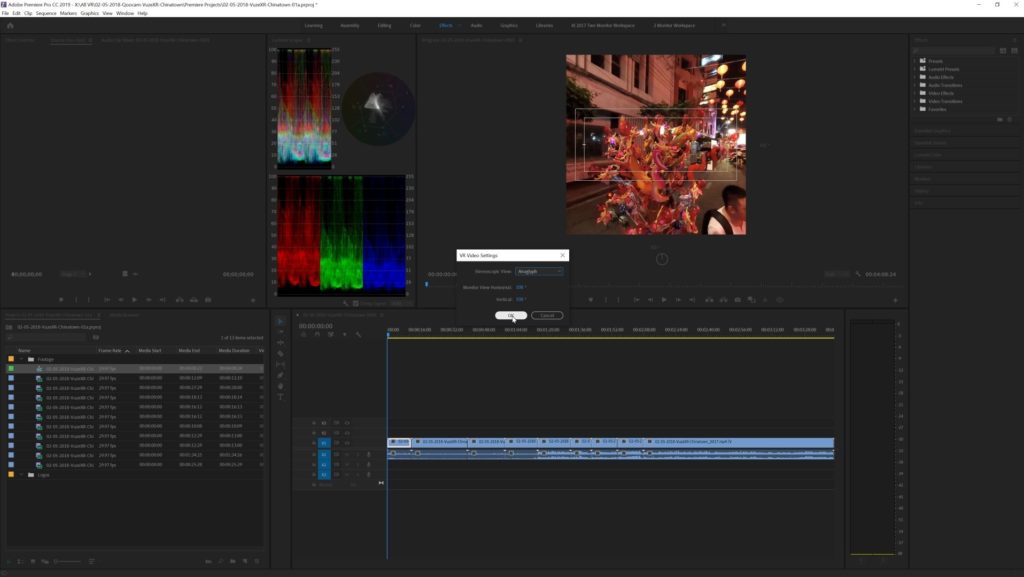
However you like if you want to see it in anaglyph while you’re working on it you can activate that in the settings so that you can see the anaglyph separation and if you’ve got a pair of red-cyan anaglyph glasses then you’re all set to go.
That’s it, happy editing everybody!

