

As you all know, augmented reality is the newest buzzword for Clients. I’m going to show you how to make a fantastic augmented reality sphere that your customers can walk inside. This is going to impress them and anyone else that you show this to. And it’s not difficult to do. What you’re going to need is Adobe After Effects and Mettle Mantra version 2. Now, if you haven’t already purchased Mettle Mantra, you can download the demo version so that you can see just how fantastic this is. The link is right here…https://www.mettle.com/product/mantra-vr/
The first thing that you need to do is pick out two really cool 360 images. In my case, I just completed the first phase of a comprehensive VR tour package for the Yanks Air Museum in Chino, California. Yanks house is one of the largest collections of vintage American aircraft dating all the way back to the Wright brothers.

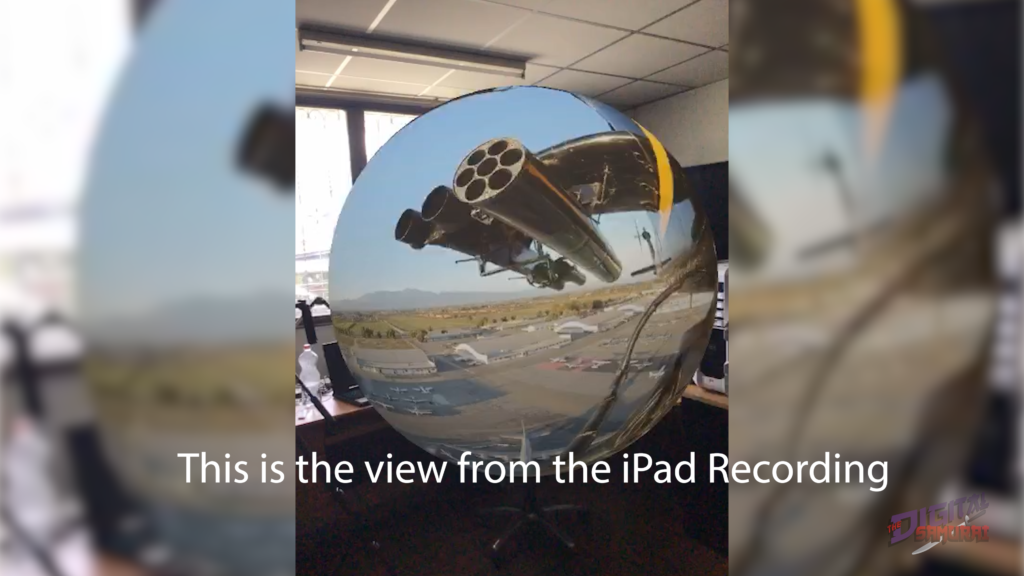
What I wanted to do was create a sphere that took you from outside to inside their museum. The inside shot was easy; I had so many fantastic shots that I had taken for the VR Tour.
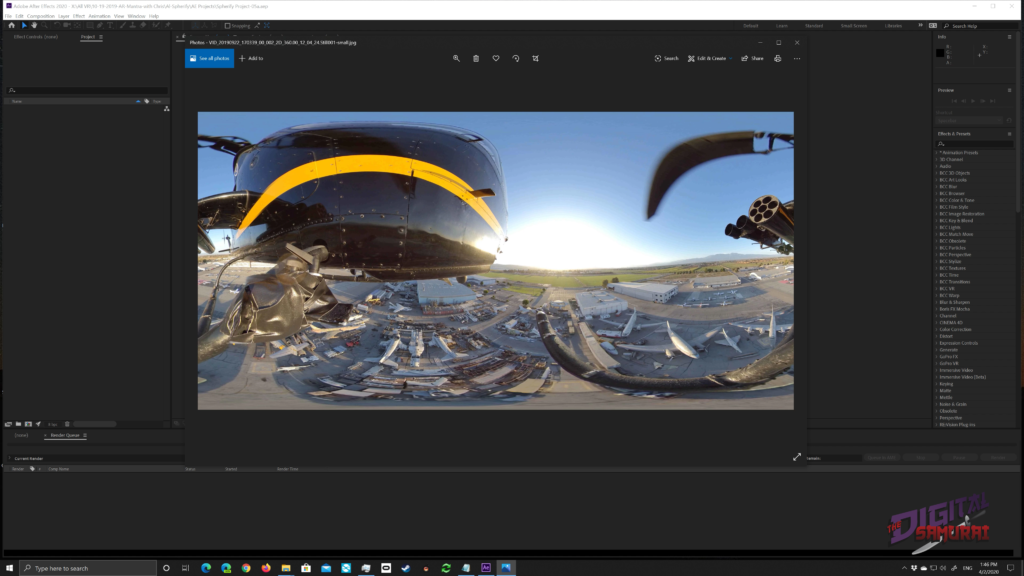
For the outside, that had to be special, unique! As part of the shoot at Yanks, I was lucky to have the opportunity to fly with US Army Helicopter Pilot CW5 (Ret.) John Harris and Cobra 589, courtesy of the Army Aviation Heritage Foundation California Detachment. Captain Harris took me on a thrilling ride reenacting a mock attack run in support of troops on the ground. I created an ideal shot as we were heading back to land in front of Yanks Air Museum from the 360 camera mounted to the skid of the Bell UH-1 helicopter.
To see the full 360 Immersive video from the “Gunners Seat,” click this link if you have an Oculus headset https://www.oculus.com/experiences/media/1677187242334527/130715951625399/or this link for the YouTube version https://youtu.be/RhtvSgRM7xo
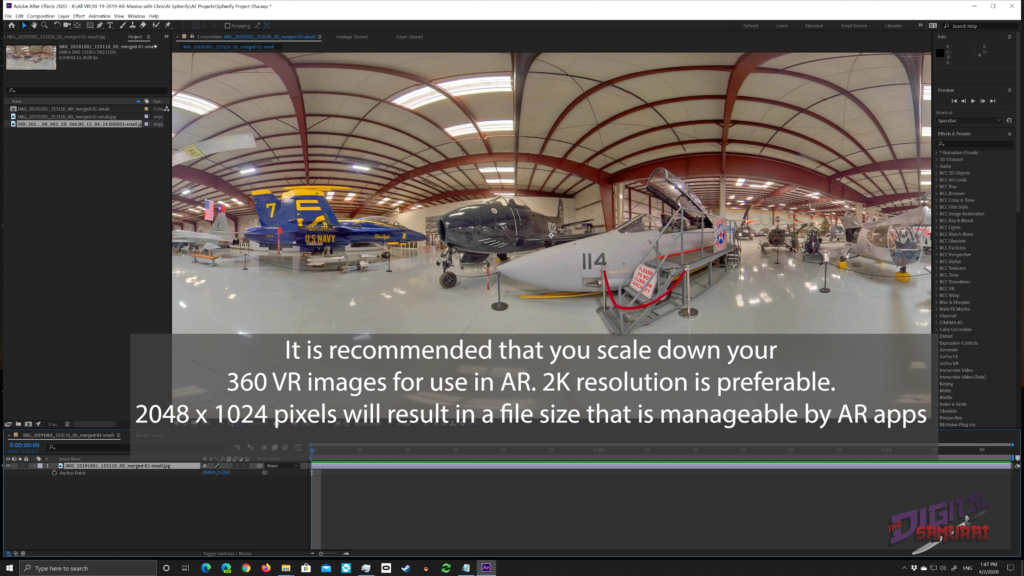
It is recommended that you scale down your 360 VR images for use in AR. 2K resolution is preferable.
2048 x 1024 pixels will result in a file size that is manageable by AR apps
The first step is to make sure that you have downloaded the newest version of Mettle Mantra V2. You can get that here, And you can use the demo version for this.
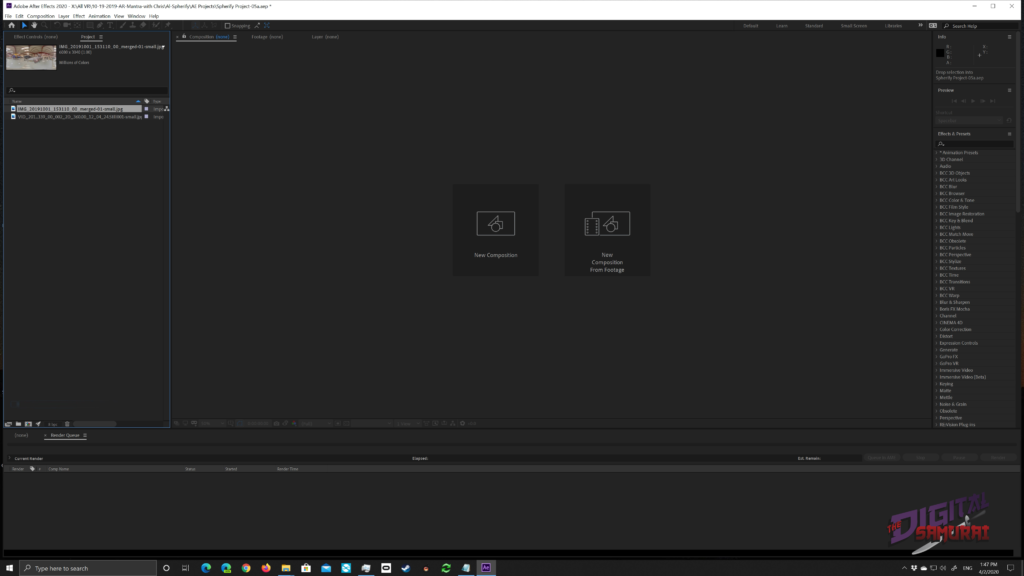
Next, import your two 360 images into After Effects.
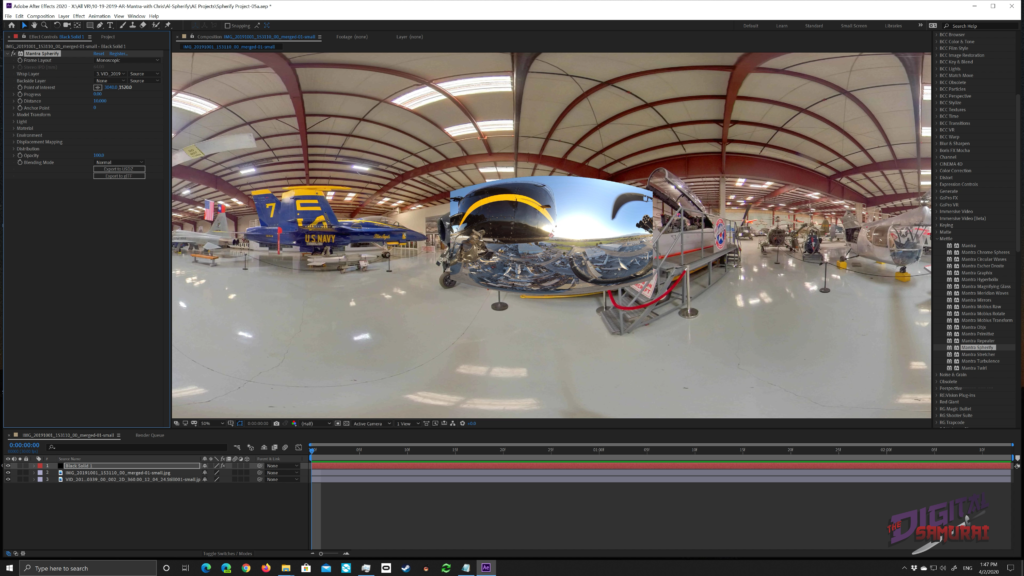
Step three, drag one of the images into the New Comp icon. Then drag the next image to the comp just below the first.
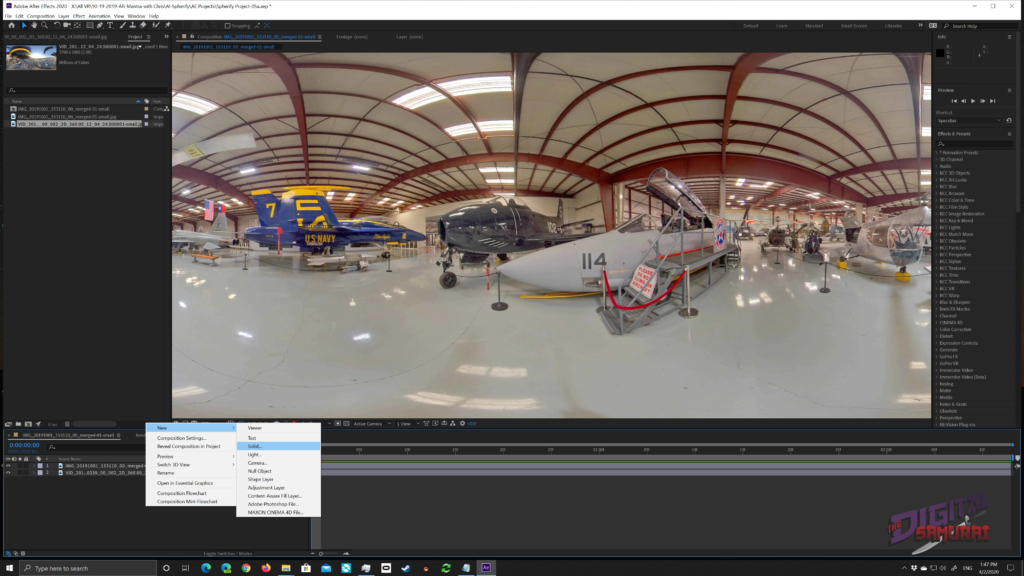
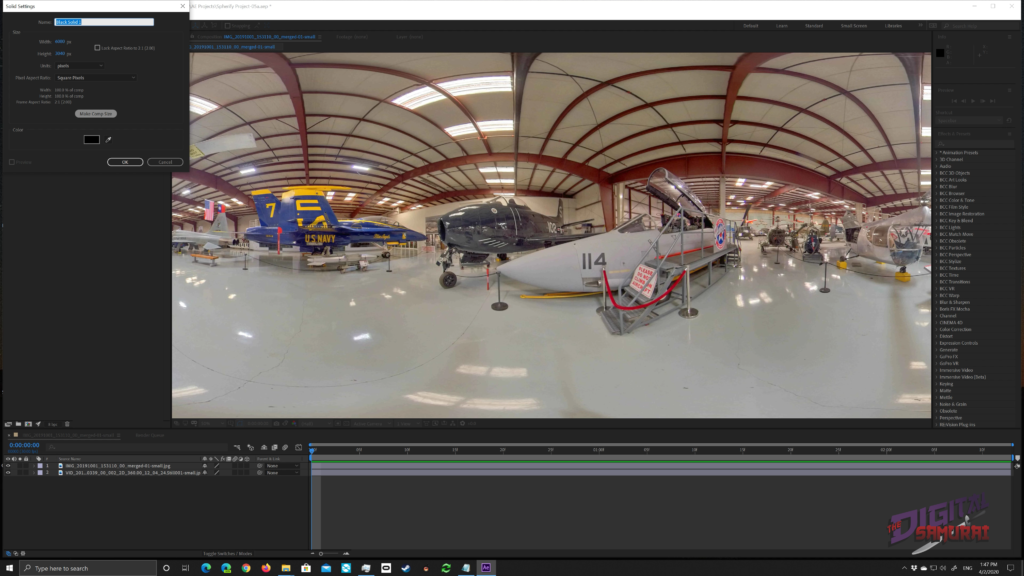
Step four, we will need a solid. To create one, right-click inside the comp area and select solid from the list. When the menu pops up, be sure to click “make comp size.” That will make sure your solid is the same size as your comp. Your solid layer needs to be above the two images.
Next, head over to your Effects panel and open Mettle and select Mantra Spherify and drag it onto the solid layer.
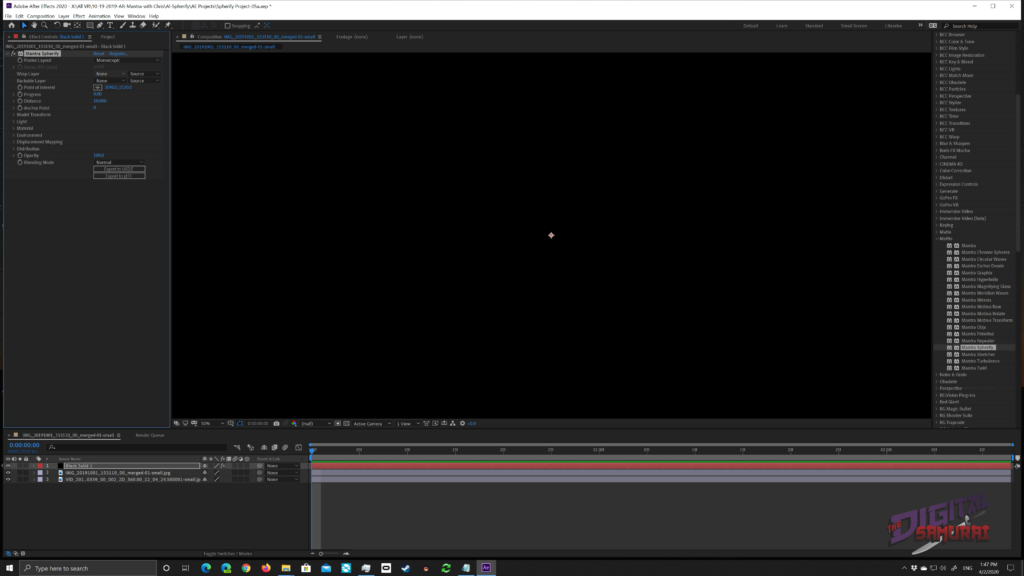
Look at your Effects Control panel and notice that you have two choices, one for the wrap layer and one for the background layer.
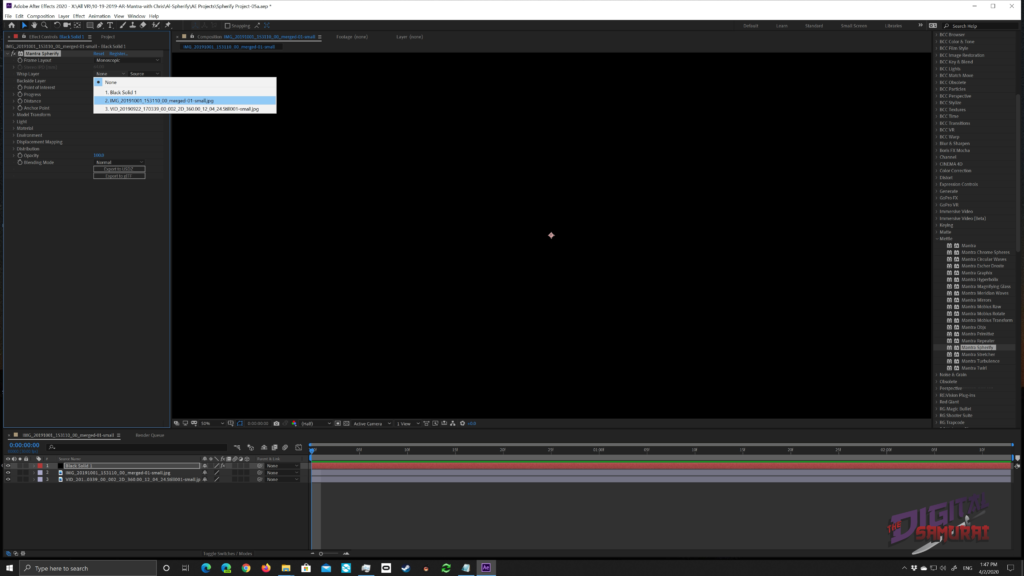
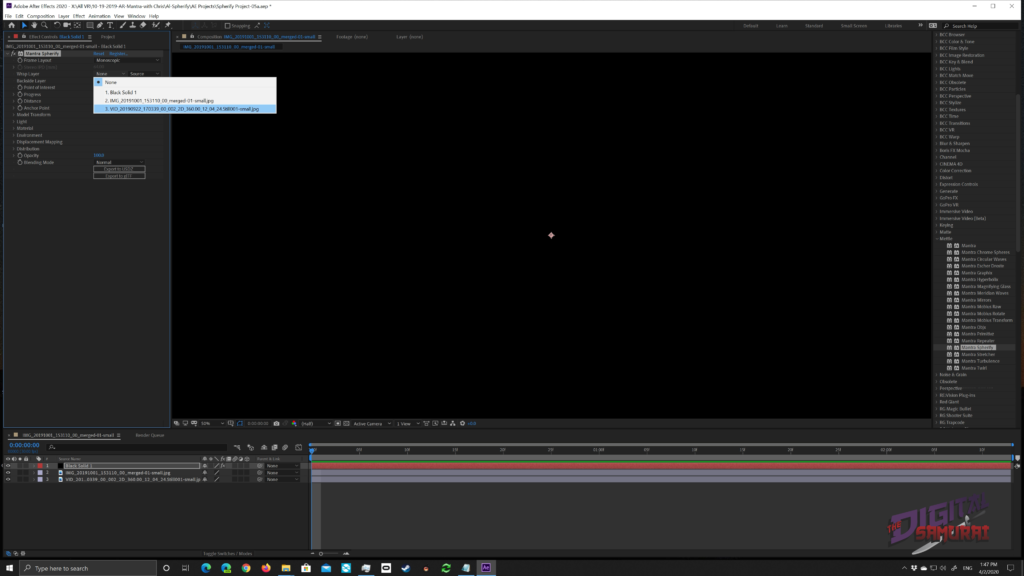
In the drop-down, select the helicopter shot for the wrap layer and the inside shot for the background.
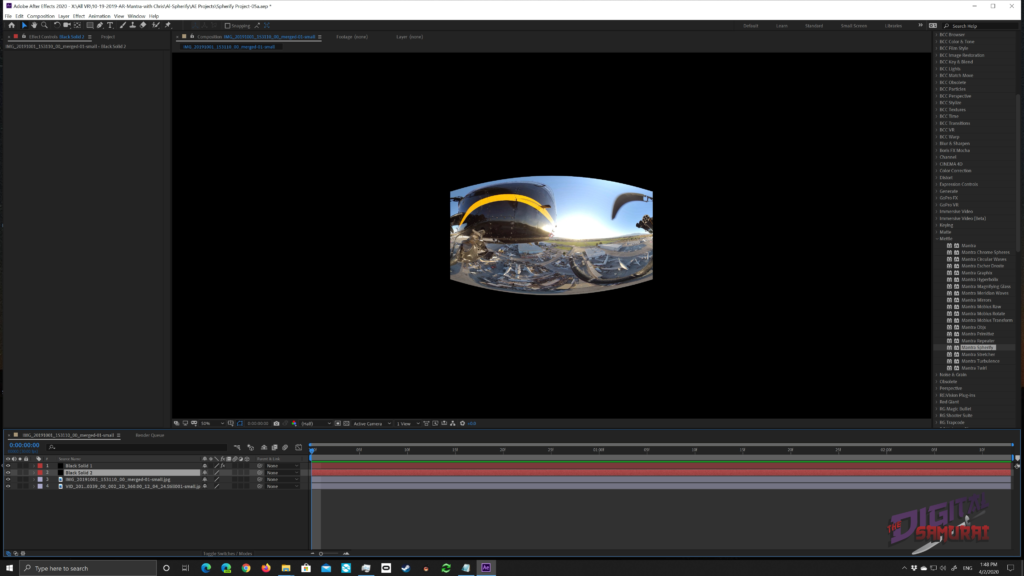
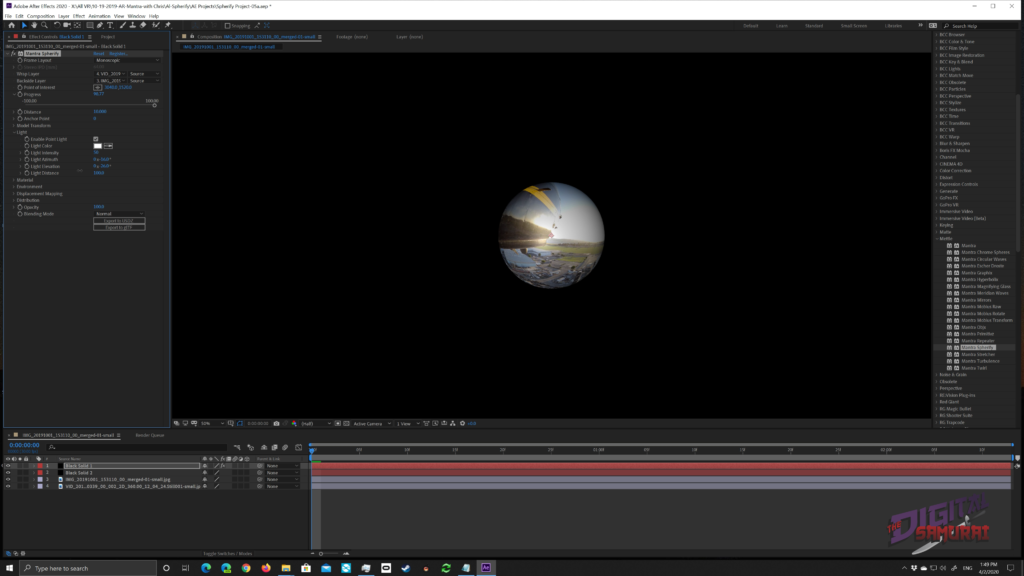
But wait, you can still see the inside shot in your comp. So let’s right-click again inside the comp window and create another black solid. This one should be below the first solid but above the two images.

By selecting “Progress,” slide it to 100, and bang, you have created a sphere. If you take the slider the opposite way to -10, our sphere gets turned inside out. For our sphere, we want the helicopter shot facing out.
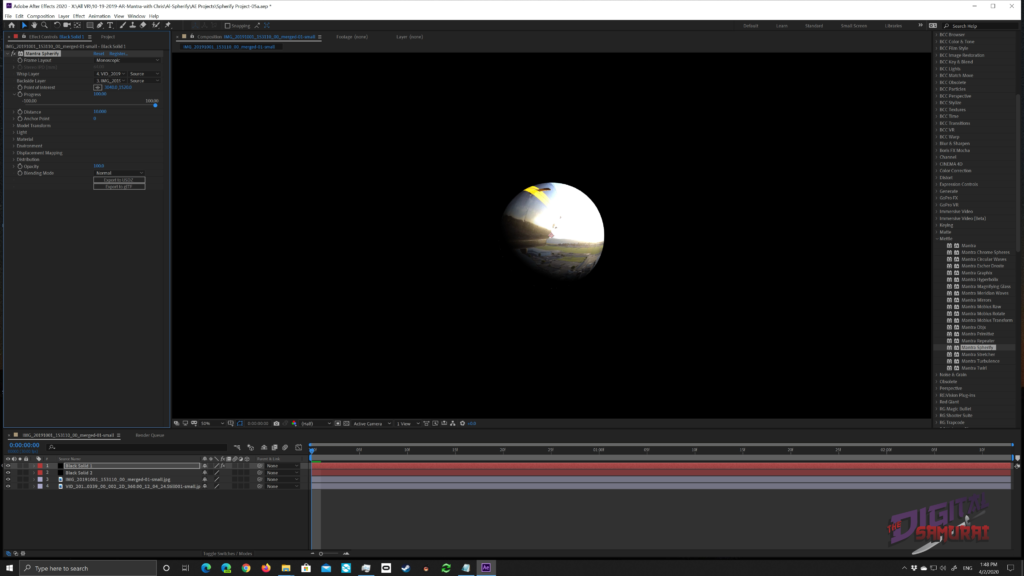
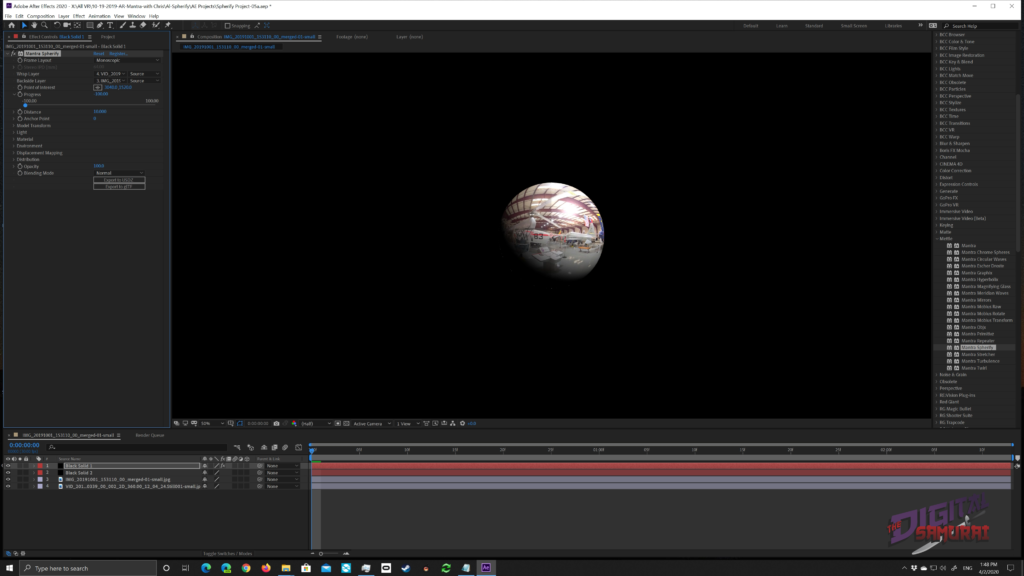
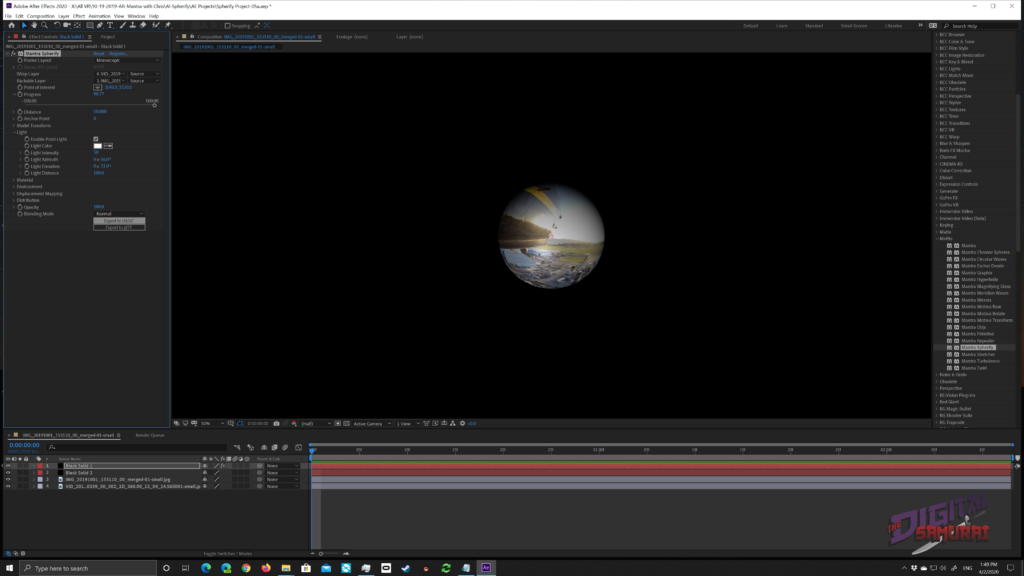
To make things easier for you to see, you can adjust the point light. By adjusting the light intensity, light elevation, and distance. This will not affect what your sphere looks like when you bring it into Adobe Aero. It is strictly for you to be able to see the sphere better in After Effects.
The final step is to export our models for use in AR Player. There are two choices here. We can export as a USDZ or a gTF model.
These two formats are slightly different formats used for different AR devices.

The easiest way to export these is to put them in a Project Aero folder. If you don’t see one in your Creative Cloud folder, then just create one yourself. Once finished exporting, let’s move over to Adobe Aero.
I’ve been lucky to have been working with Aero for quite some time, and I have seen it mature into a valuable tool for Augmented Reality.
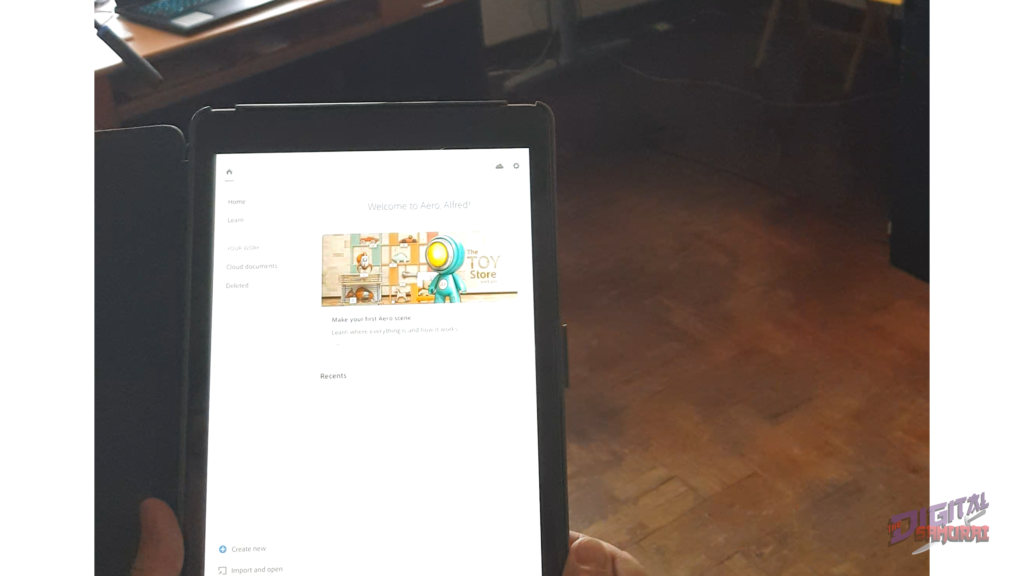
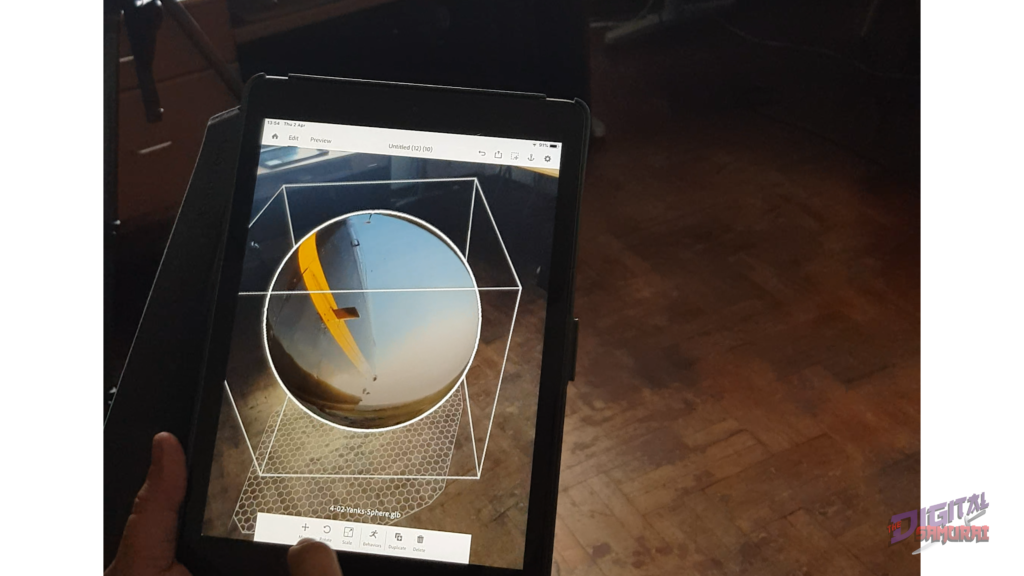
I have installed it on my iPad 2018 version 6. When you open it, you’ll notice on the lower left “ + Create New,” click that, and Aero will start searching for a surface to anchor your AR Sphere. I found it best to aim at my floor because I wanted to make the sphere big enough to walk into.
Once Aero finds a suitable area, you will be prompted to tap a spot to secure the anchor.
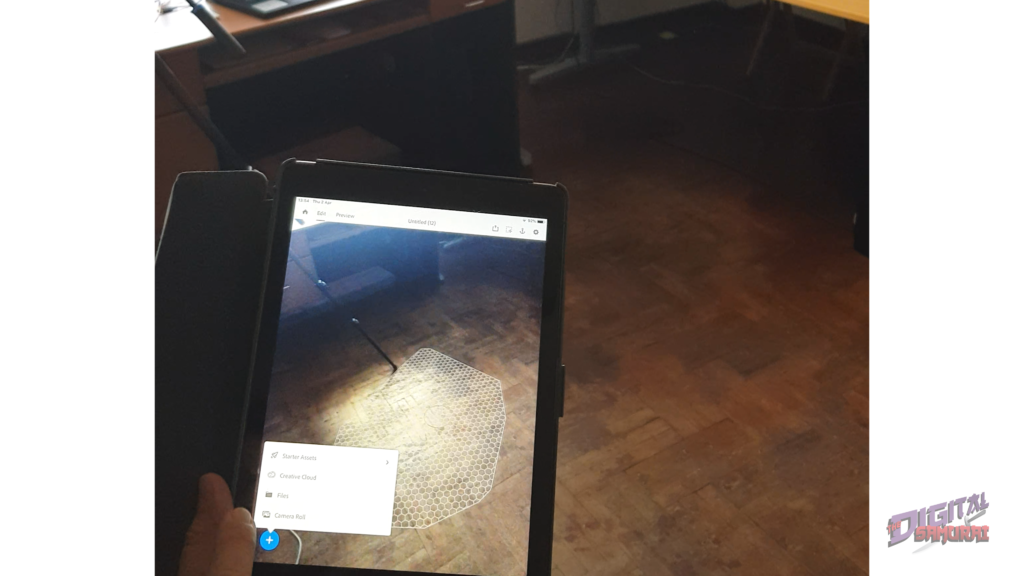
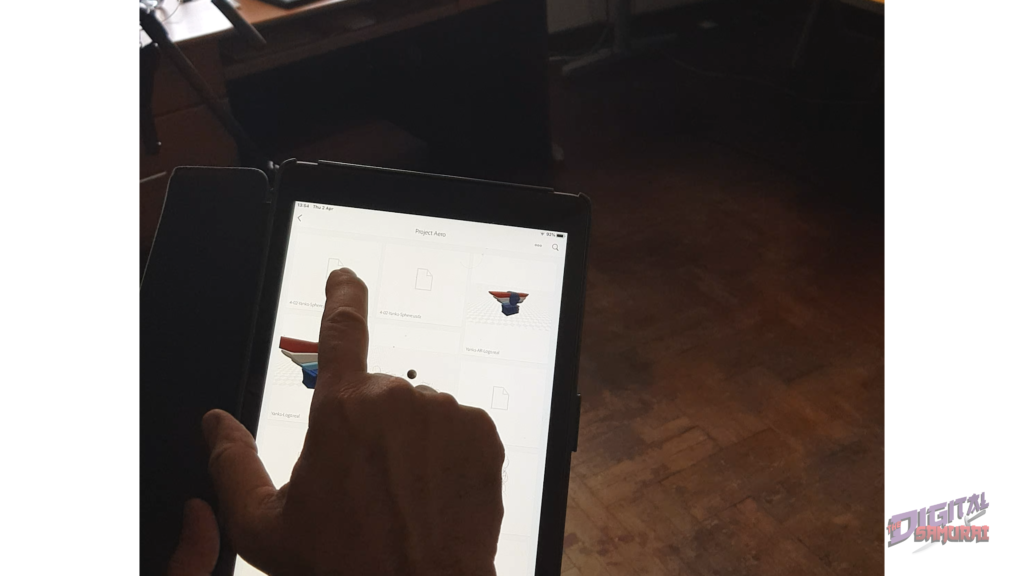
The next step is to click the “+” appearing on the lower left of the screen, and that will bring up a menu. In the menu, open the Creative Cloud selection, then the Project Aero folder, where you will see you model that you created. Select by tapping it and follow up by then clicking the “Open” command on the lower right side of the screen.

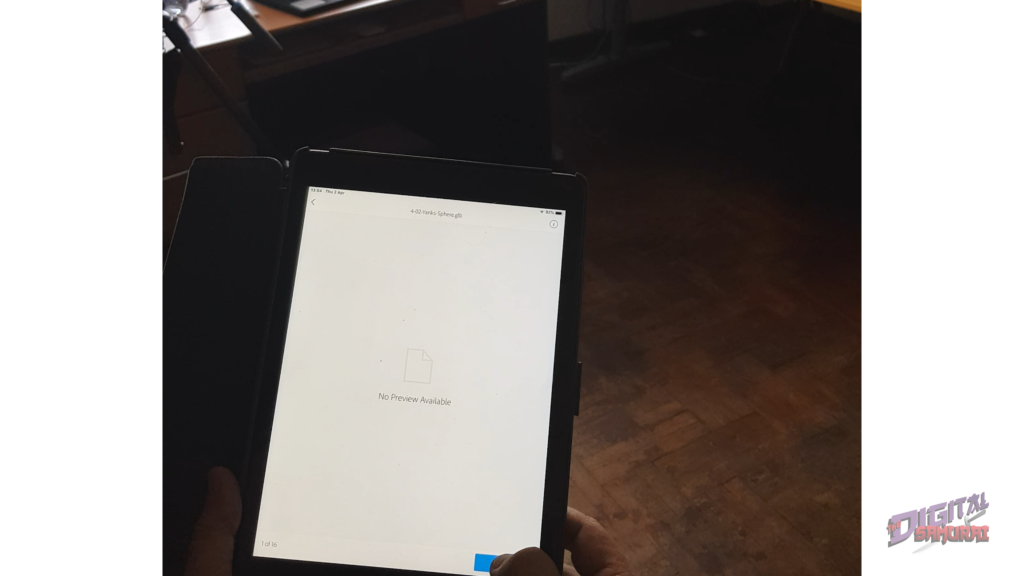

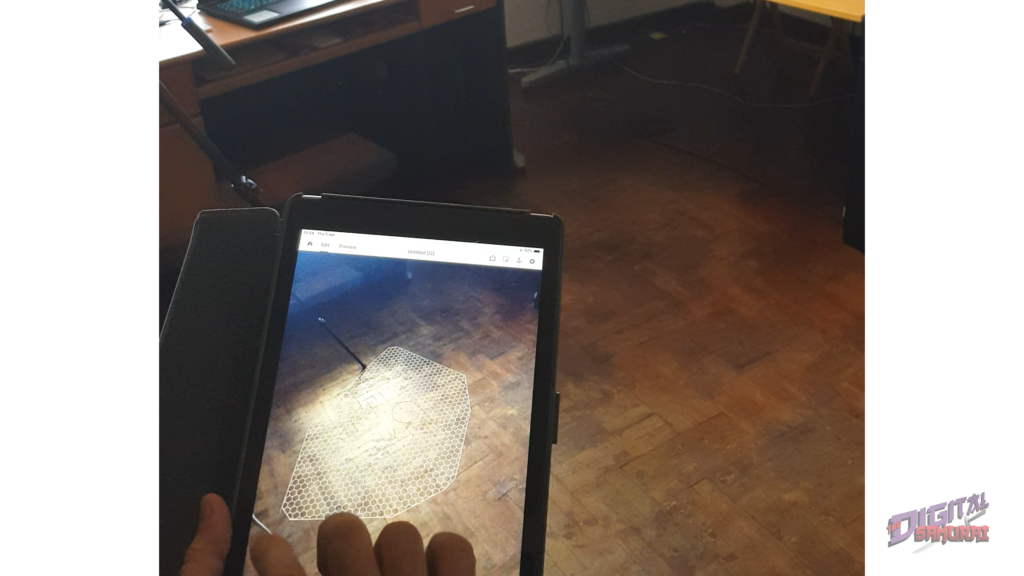
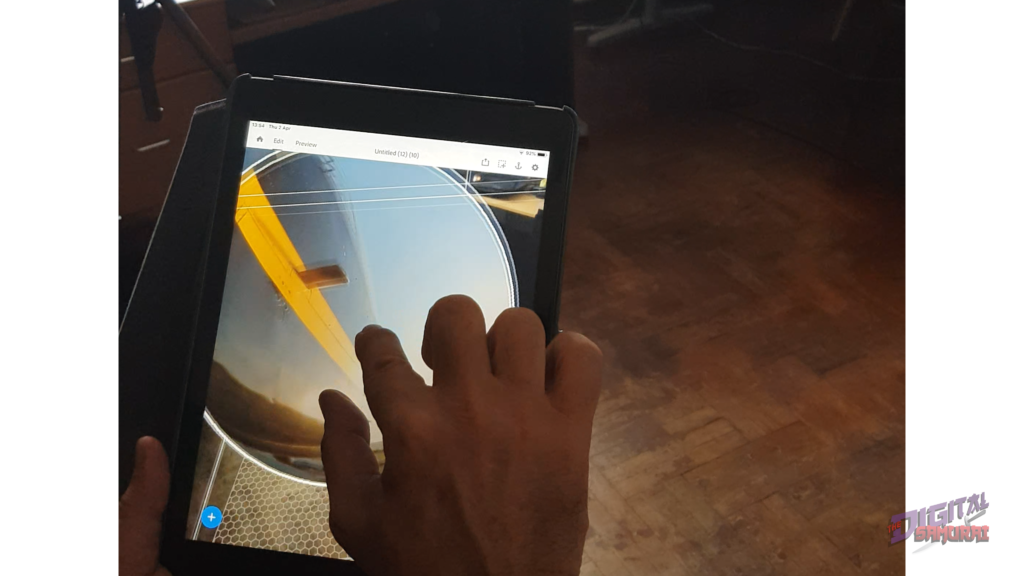
You’ll then be prompted to tap to place the AR sphere where you want it to go on the floor. Give it a moment while it loads, and you are almost done.
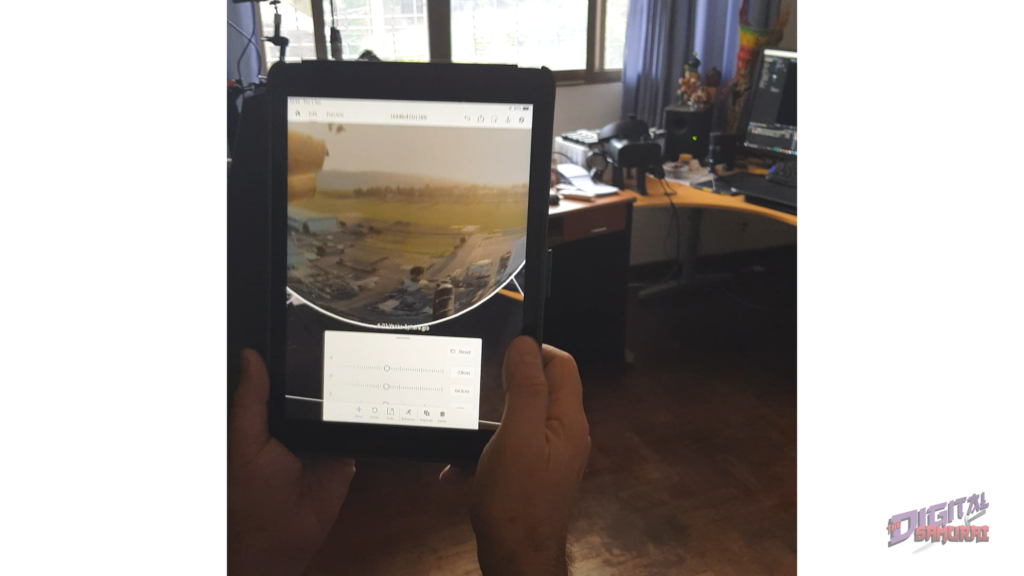
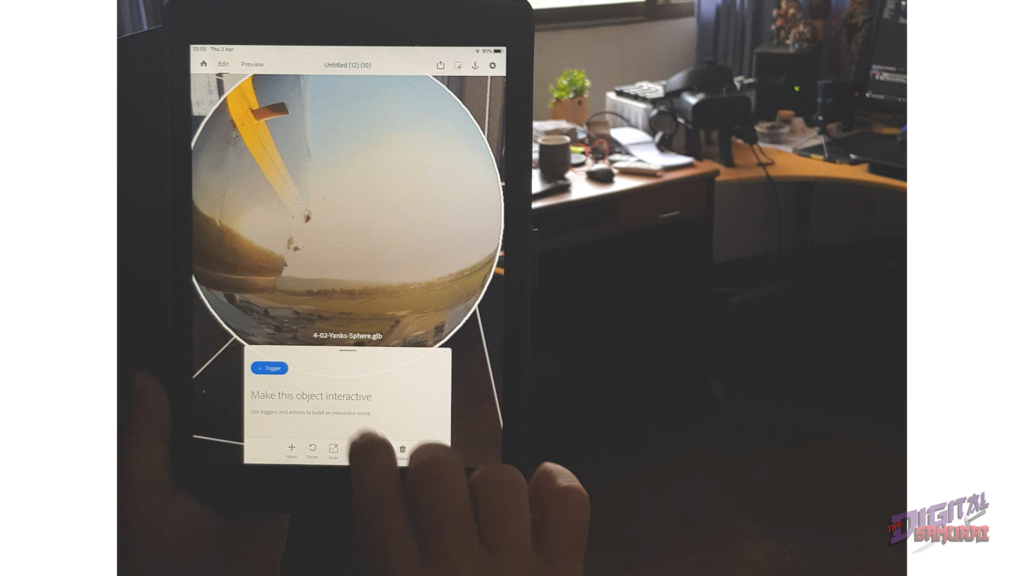
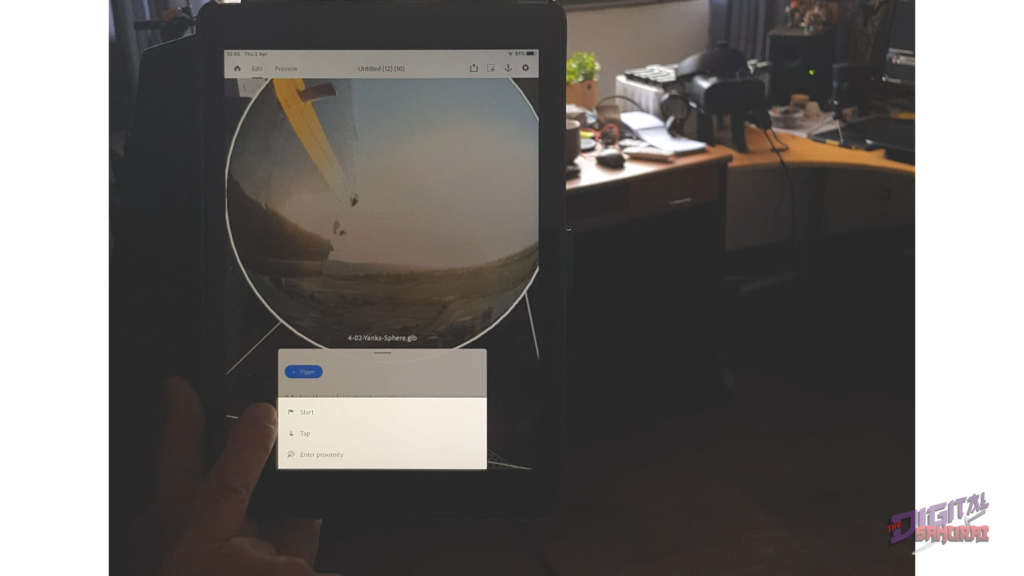
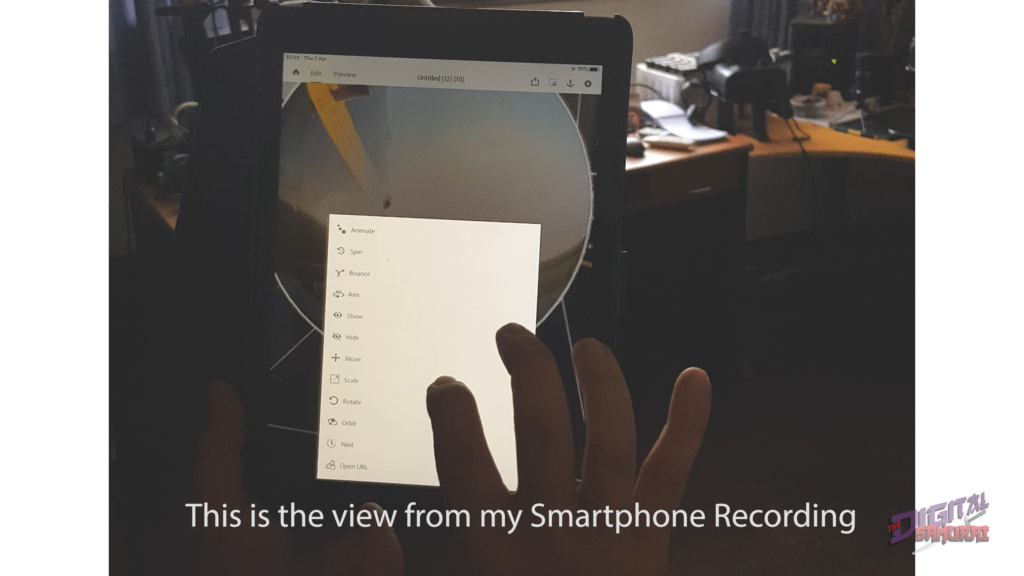
I wanted to adjust a few things. First, I wanted it bigger and higher in the air. With those selections done, I want to add a Behavior. There are two (or more) steps involved. First, choose a “Trigger.” The choice of Triggers are “Start,” “Tap,” or, “Proximity.” I’ve chosen “Tap.”
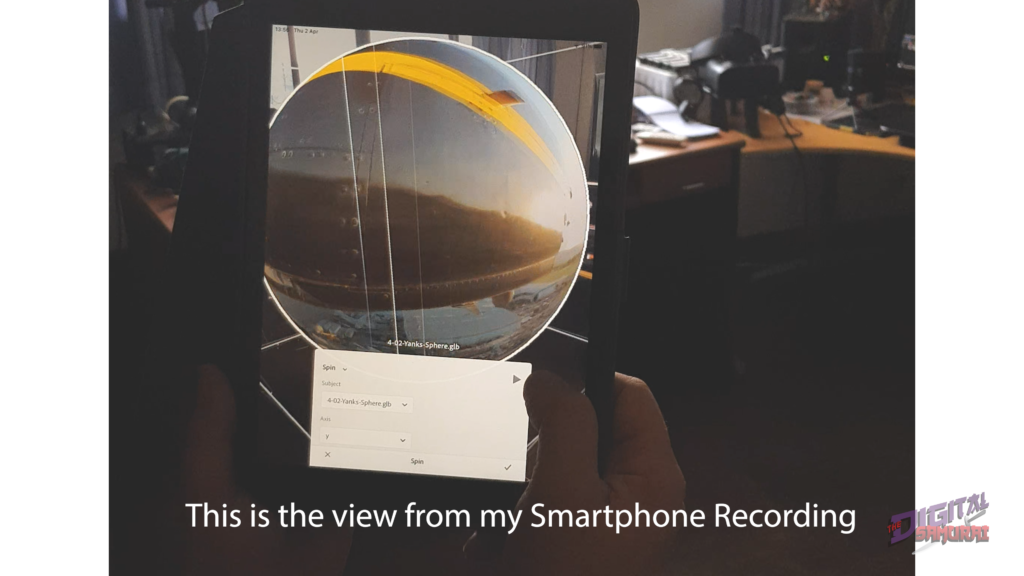
Next, we want an “Action” to occur when we tap the AR Sphere. Here you have twelve to choose from. I decided on “Spin.” You can test the action and even adapt to rotations on the Y, X, and Z-axis, also chose back and forth, and a few other options. There is a “Play” icon in the upper right of the menu to test the action. When you are satisfied with it, simply click the “check” icon.
Now your all set. Change from “Edit” to “Preview,” tap the record button to record video, or the camera icon for still images. Then tap the AR Sphere, and the show begins. Take a walk and enter the AR Sphere and look all around inside Yanks Air Museum!
You can use any two 360 images to create your own version of this effect. If you have any questions or comments, please leave them below, and I’ll be happy to get back to you.

If you don’t have an iOS device, fear not, there are some very cool android based AR Players out there. The one that I have tested and like is called ARPlay. Here is the link for it.
I would love to see what you create with Mettle Mantra Spherify. And if you would like to see this Yanks Air Museum AR Sphere, just let me know, and I’ll send it to you!
I hope you enjoyed this tutorial, and please click like and subscribe to my YouTube channel and follow me on Facebook!