
Over the past year, the tools of the 360 trade have been emerging, developing and creating new terms in video production. Terminology like LatLong, Rotate sphere, HMD, FOV, stitching have been coupled with more familiar video terms like parallax, Cinematic, Haptics and latency to define new meanings in the VR Metaverse. We now even have VR Face to describe how people look while wearing an HMD, or Head Mounted Display.

The leaders of this brave new editing platform have likewise revealed themselves. I am going to list some programs that I believe have become the essential tools of the 360 VR video trade.
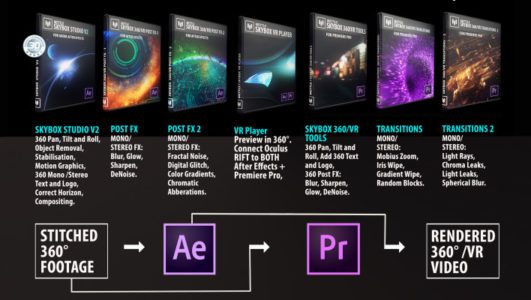
First. The most called upon tool in the arsenal, Mettle SkyBox. Chris Bobotis, Nancy Esperjesy, and their team have been true pioneers in the field of 360 VR Video. Even Forbes christened him so in a recent story. The plugins and transitions, for Adobe Premiere and After Effects, have become the go to the toolset for 360 VR video creators.

Second. What do you do when you already have Academy Award winning planar tracking technology which is also the most popular tracking software in the business? The answer was clear to Ross Shain, CFhief Marketing Officer at Boris FX, create a planar tracking tool that could world in the spherical world of 360 VR video. Hence, Mocha VR was born. I was lucky enough to be included in the beta team that tested this remarkable product. Tracking, roto, removing and/or replacing objects and even horizon stabilization give the 360 VR video creators an essential instrument to tap into. Mocha VR supports Adobe, Avid, OFX hosts &and is available as a standalone app.
360 VR Video continually creates new opportunities for storytelling by granting filmmakers the ultimate tool to put people in the story. Immersion has become the buzz word when creating new narratives.
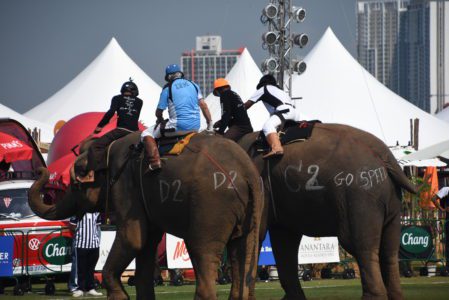
One such chance came to me on a very hot Bangkok day in March. The Anantara Resort played host to the 2017 King’s Cup Elephant Polo Tournament. In it’s the fifteenth year, the event is one of the biggest charitable events in Southeast Asia. Over USD $13 Million was raised and donated to projects that better the lives of Thailand’s wild and domesticated elephant population.
A total of 30 unemployed former street elephants took part in this year’s festival during which they were given full veterinary checks and care, much-needed food and drink and essential vitamin supplements for the duration of the event.
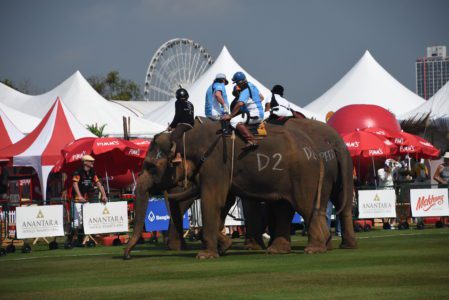
The 2017 event featured ten teams encompassing over 40 players, including Thai celebrities, supermodels, professional horse polo players and New Zealand All-Blacks rugby players. The four-day festival had something for everyone including an impressive Opening Parade, Children’s Educational Day, Ladies Day, known as The ‘Bangkok Ascot’ and fun elephant related activities.
So how do you capture something as big, if you’ll pardon the pun, as Elephant Polo? From the ground on the sidelines, it was an easy task to 360 videos the elephants using the six cameras professional GoPro Omni. And when the pachyderms approached the Omni, their massive size was on full display.

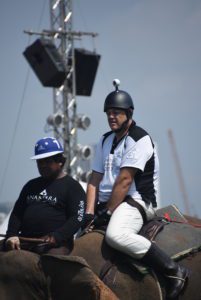
But how do you make the audience of 360 viewers feel what it is like to take part in the event? The solution was to get one of the players and one of the elephant handlers or drivers, called Mahouts, to wear a custom helmet topped with a Samsung Gear 360 camera.
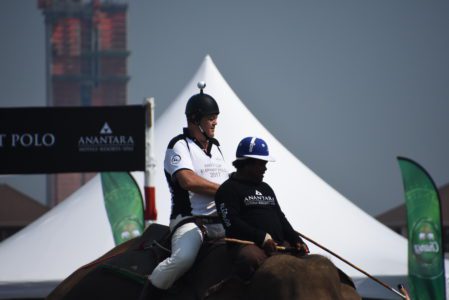
What came next was truly the daunting part. The elephants move, the mahouts, turn their heads as do the players.
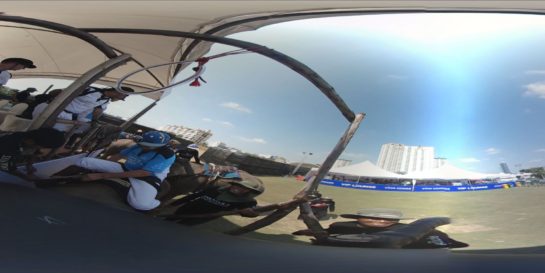
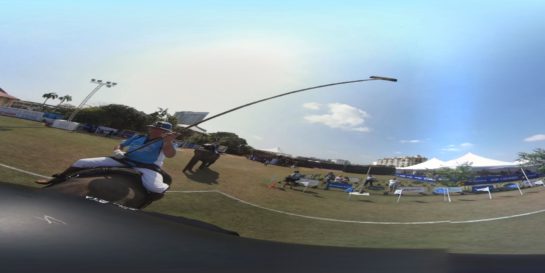
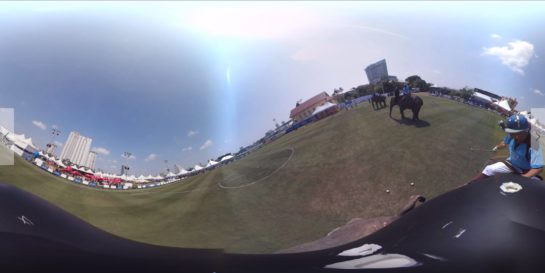
Looking at the initial shots showed me that the rather simple idea was going to present some not so simple challenges in post production.

Enter MochaVR. Working with a composition in Adobe After Effects, I applied Mocha VR and went to work as the window opened the software.
The first step was to choose a stable area in the horizon, create a layer by drawing a spline around it. Next, the task of tracking the 8:30 long video.
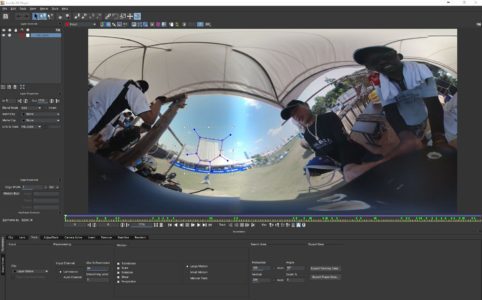
Once that time-consuming task was accomplished, I had to check and adjust the spline to get an accurate track. With the naturally occurring very erratic movements in this footage, so you need to adjust the Search Areas. Auto will power through most of this on Quarter resolution, but the wild swings of the rider mean that sometimes you need to turn off “Auto” and enter larger manual X/Y values.
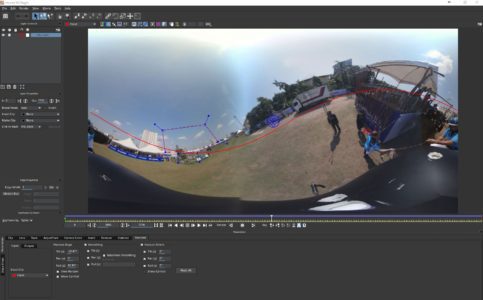
Also, the sunlight refraction coming through one of the stitch points can throw off the track. When this happens, you should undo the tracked frames and move the spline to another part of the shot that is coplanar. I had to do this several times, focusing on the large building for most of the shot, but occasionally moving the shape over to the tents. The shape is animating all over the place (due to me moving the search area during the shot), but that is not important: What is important is viewing the surface and grid, making sure THAT is not veering off too far from your original position. In tracking, surface/grid is the thing that tells you your tracking is accurate. You’ll see it distort a bit, but for the reorient purpose it should be okay. I had to increase the Angle parameter slightly as there are some sharp turns in the video.

I then chose the Reorient tab and used the MochaVR tools to create a horizon line that mimicked the roller coaster video. For the reorient itself, I fit the horizon to the first frame and turned OFF pan in Smoothing.
Task completed, simply by closing MochaVR and selecting “Render” in the MochaVR plugin opened in After Effects, the real magic began. The effect was rendered in After Effects, and the result of the Mocha VR plugin displayed a beautifully stabilized horizon.
I want to give big thanks for the assistance of Martin Brennand, Mocha Product Specialist and all around Mocha Guru.
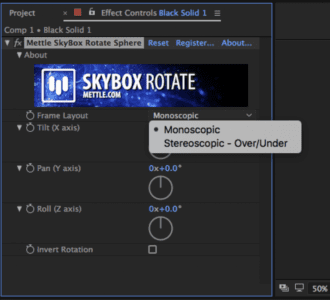
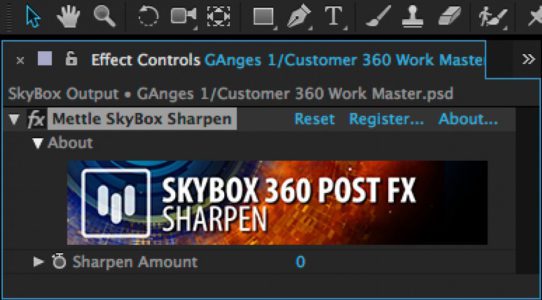
With that task completed, next Mettle stepped in and enabled me to “rotate the sphere” so that I was watching the view from the player’s perspective. Another vital tool in the Mettle SkyBox arsenal is the “SkyBox Sharpen” tool. When you 4k video is wrapped around 360 degrees, the resulting resolution in your FOV or field-of-view is reduced to about 1.2K, not even full HD. The consequence is that the image can look a little fuzzy. By adding about 15 to 20 points with the “SkyBox Sharpen” tool, you can add back in some of the edge clarity that makes the image pop.
Mettle SkyBox Project 2D was used with the NewBlueFX Titler Pro 5 to adjust the title for proper viewing in 360. NewBlueFx Titler Pro 5 is my absolute favorite, the go-to titler for all the titles that I create. The program offers a huge variety in the Smart Library and allows for fast, easy customization of any title. The Multi-title management in design interface and Flexible interface panels make it a breeze to create your title.
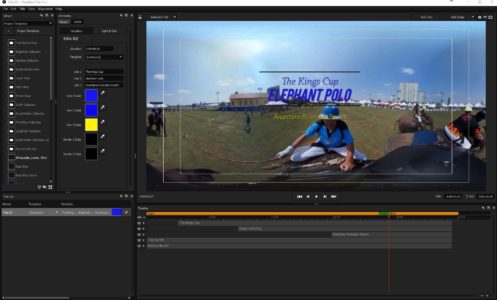
When you are done creating the title, simply click close and the title is automatically rendered. Save it, and the title will appear in your project. Drag it over, and that’s it, you done. If you want to adjust something just double click the title on your timeline and NewBlueFX Titler Pro 5 opens up your title project. Make your changes and close and the update to the title is automatically completed.

The final step before rendering the Kings Cup Elephant Polo 360 View is to add Red Giant Colorista IV to color correct and grade the video.

I love Colorista IV because the set up is so intelligent and the new “Guided Color Correction” makes quick adjustments so fast and accurate by taking you step by step through the process of adjusting your blacks, whites, midpoint, contrast, saturation, and color temperature and tint.

Leaving you the ability to then grade the video for the look that you want.

The only left to do is the render through Adobe Media Encoder so that the 360 metadata is maintained for the video.
For more information on 360 VR, please visit the 360 VR University.

