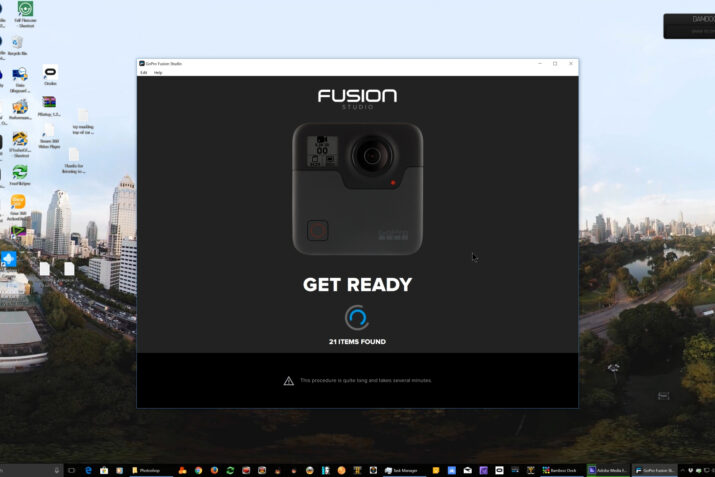
I’m going to give you a look at the brand new GoPro Fusion Studio software that’s just been released. This is Part One of a Three Part Story.
The download link for the software is right here, GoPro Fusion Studio
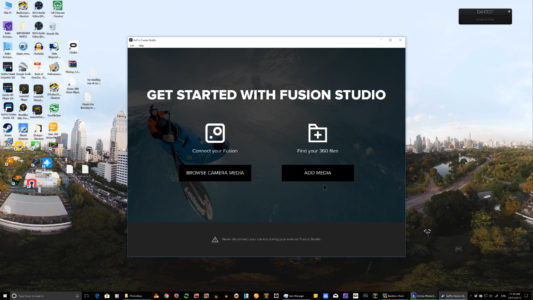
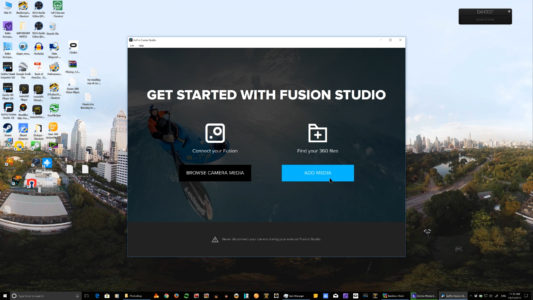
When it opens up, you have your choice of browsing your camera media or any media I prefer to download files directly to the computer and then go ahead and add them into the studio so let’s click add media?
We’ve created our fusion folder right here so we’ll click that.

Inside that by the way, you see a BACK and a FRONT folder, and then inside that, you’ll have your media from the fusion micro SD cards.
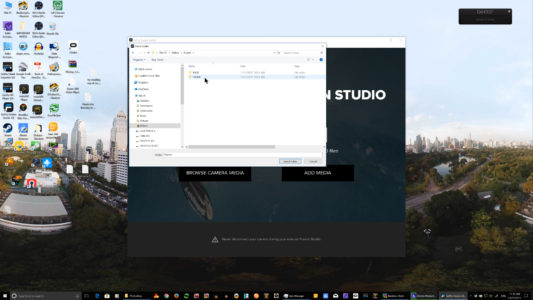
So I’m going to click on fusion.
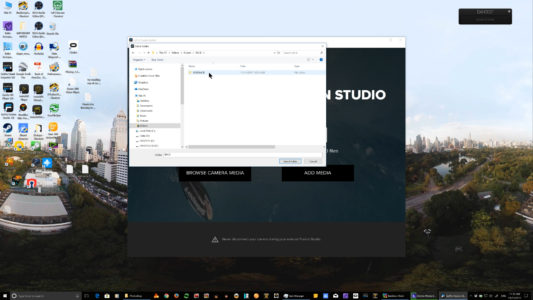
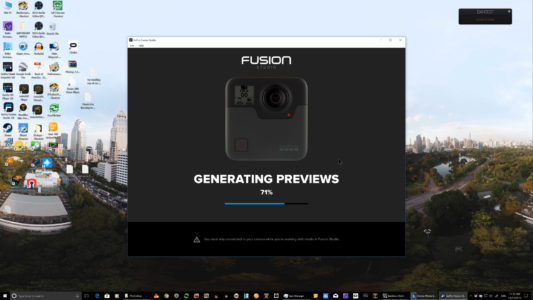
Select that folder, and as you see, it’s getting everything ready for you quite quickly.
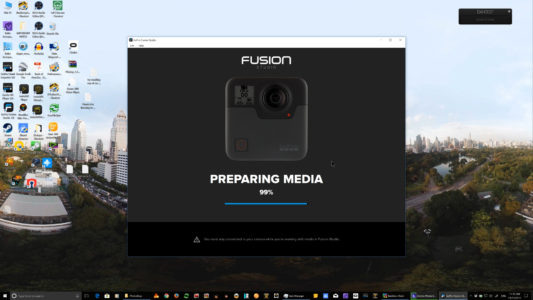
It found 21 items in this shot.
I’m going to show you something very quickly. Here is the layout if you go here to edit you’re going to see preferences.
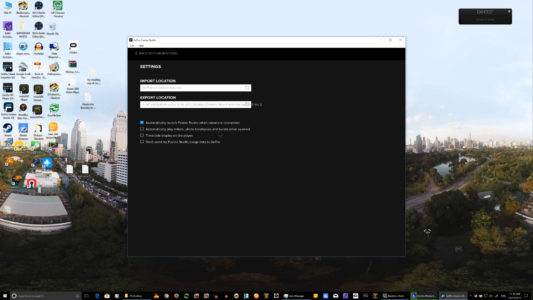
And inside preferences, you can select your import location and your export location. I’ve already created a place for these to go and put it in.
Then you have several choices here as to options that you can select in the software.
Automatically launch fusion studio when the cameras connected
Automatically play videos photo time-lapse and burst when opened
Have the timecode displayed on the player.
Don’t send my fusion studio usage data to GoPro.
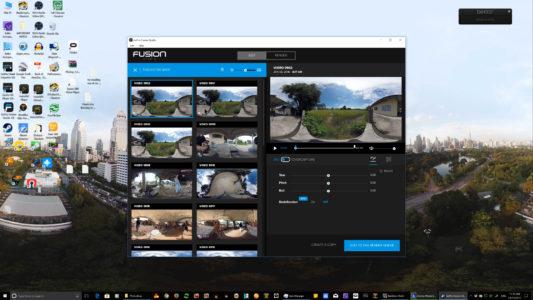
Then we go back to fusion studio in here we have our videos and our stills.
Please Check in tomorrow for Part Two of the GoPro Fusion Studio Exclusive Report
And please join GoPro Fusion Studio Users.
And give a facebook LIKE for 360VRVOICE.
Thanks for watching.

