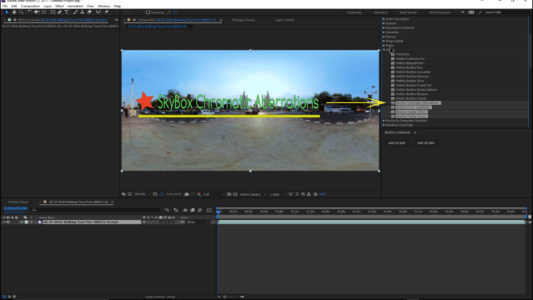
Today we are going to take a look at Mettle SkyBox Post FX 2 for Adobe After Effects. These new effects can only be described as, “Funky.” These will yield some very cool creative effects for your 360 VR videos. Like all of Mettle SkyBox’s plugin, they are totally seam-free, giving you a perfect effect.
Here are the adjustments available for the plugin.
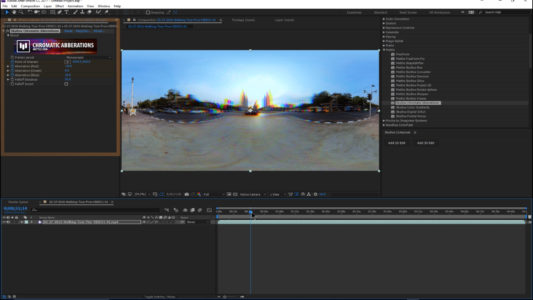
CHROMATIC ABERRATIONS
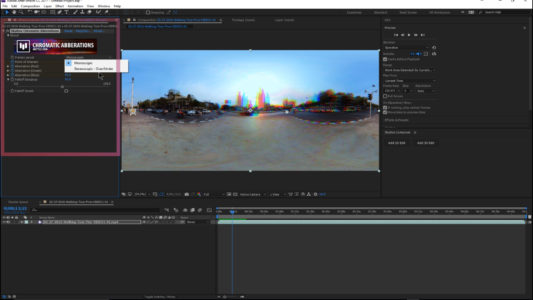
• Frame Layout – choose between Monoscopic or Stereoscopic Over/Under.
• Point of Interest – central location of the effect. The position can be moved around by the user. The default positon is in the center of the footage. The Point of Interest position is also key-frameable for movement if that is desired.
• Aberration (Red) – adjust the scale of the Red channel of your footage.
• Aberration (Green) – adjust the scale of the Green channel of your footage.
• Aberration (Blue) – adjust the scale of the Blue channel of your footage.
• Falloff Distance – adjust the falloff distance of the Aberration effects from the Point of Interest. (i.e. the higher the Falloff Distance value, the more noticeable Chromatic Aberrations will become on the entire 360 shot.)
• Falloff Invert – use this setting to invert the Falloff Distance for the Chromatic Aberrations. (i.e. with Falloff Invert checked, there will be no Chromatic Aberrations occurring around the Point of Interest. This can be adjusted using the Falloff Distance.)

The clip that I am using is from Democracy Monument in Bangkok, Thailand. This extremely robust roundabout area is a major traffic hub. With this, we will look at all four of the 360 plugin effects in this package, Chromatic Aberrations, Color Gradients, Digital Glitch, and Fractal Noise.

The first one that we will apply will be the Chromatic Aberrations effect. When you drop this onto the timeline video, it automatically starts you off with the Red channel set at -10. But, of course, you don’t have to leave it that way. The best way to use these is to keyframe them and create a look.

So let’s turn on our keyframing. And change your point of interest. It starts at dead center right here. Let’s take this down to zero. Then let’s move it forward, slightly. Now, let’s start tweaking these. Move forward on the timeline a little more and change the parameters again.

Change the red, green and blue up or down to create different looks to the image. Shift your center point to a different position on the timeline to alter the look further.

By moving it to the right, it will create a “warping” effect to the video. Continue down the timeline, changing the settings, until you get to the end of the timeline.

When you are done, preview the video file by playing it back. You can adjust the keyframes making the changes fast or slow as you desire.

So as you can see it creates a very trippy kind of hallucinogenic type of effect. The falloff distance can also be adjusted, and it can be inverted as well. If you are creating Stereoscopic 3D 360, the plugin can be manipulated for Over/Under Stereoscopic 3D 360.
And that’s the chromatic aberrations, so very cool and very funky. A fantastic creative tool from Mettle and the SkyBox Post FX 2.
To see the video, click here.


One thought on “How To Use-Mettle SkyBox Post FX 2- Chromatic Aberrations”