
This is the second part of my tutorial about how to use the Omni Importer. This time we’re gonna look at how easy it makes it for you doing 360 photos.

So let’s begin by opening up the Omni Importer.

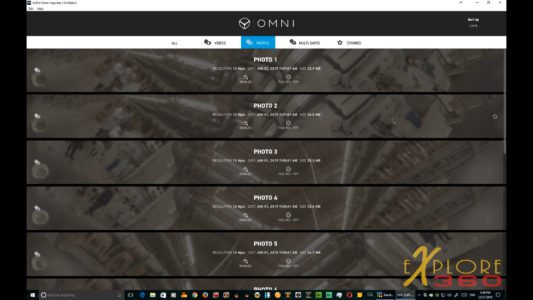
These are some shots from Saigon Vietnam. Initially, you’ll notice the videos are listed, but if I click the photos at the top selection bar, you’ll see the photos that I shot with the Omni.
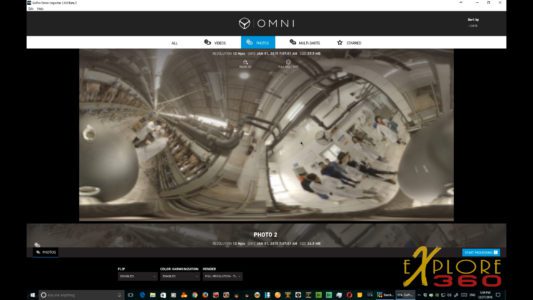
By clicking on the photo, you can open it up and see the image. I’ve already set my default settings for full resolution .tif files in for color harmonization. If I wish I can change those settings at the bottom of the screen.
The next step is to click “Start Processing.” You would then be prompted to pick a location to put your 360 photos. I like to use a folder that I name “Stills.” The software will automatically create additional folders labeled “PHOTOS,” with a number designation from “1” to however many photos you have.
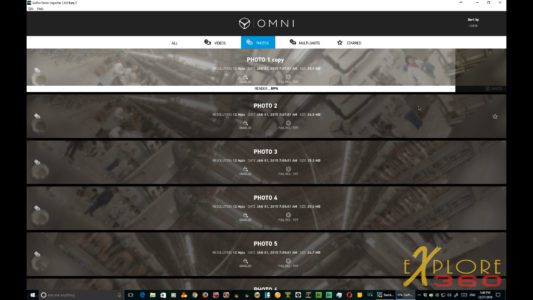
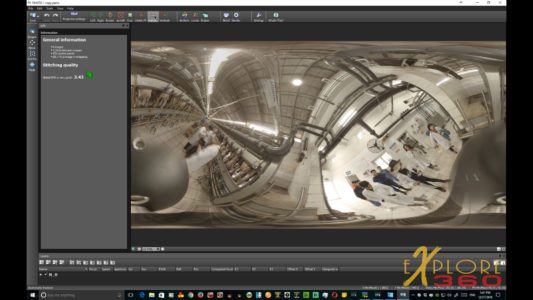
The software processes the photos quickly, and when complete we will then open up Autopano Giga to make the necessary adjustments and Output the final render.
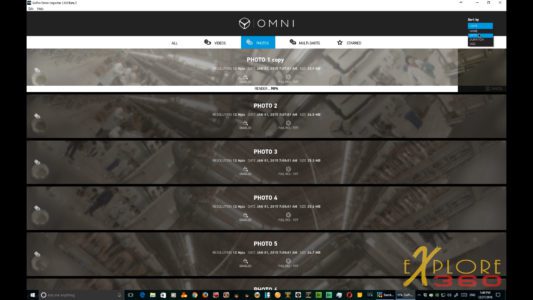
The drop-down list on the top right allows you to sort by name, date duration or size.


The first thing that will have to do is adjust the horizon. At the same time, you want to make sure that your vertical lines are at ninety degrees. The easy way to do this is to select the vertical tool to find a good vertical line to use click at the top of it holding mouse button dragging down to the bottom of that vertical line on the screen and clicking the enter button. This will snap the image into proper vertical alignment.
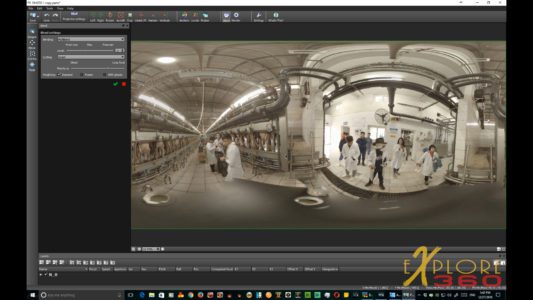
After that, you can apply blending to smooth out the image. Since this is a still image, we’re going to pick “Smart” blending. In the Smart setting, you may need to adjust for the focal lengths to make the image blend together nicely. Moving the indicator along the slide bar until you get it the way you like it once you’re done click the green check. The final step in Autopano Giga is to click the render selection at the top.

Once it is rendered, you will probably want to open it up in Photoshop adjust the levels, color and use cleaning tools to remove your rig from the bottom of the shot.
In my next tutorial, I’ll show you how to use Photoshop to do a quick and easy rig replacement on your 360 still images.